Understand how Sanity Works?
Sanity.io is a unified platform for structured content. To understand it, we can divide Sanity.io into two things:
- Sanity Studio: The Sanity Studio is an open-source CMS that we can fully customize by defining the schema for the content.
- Sanity Server: The Sanity Server is a database that is fully managed by the Sanity team. So, you don't need to worry about managing the database.
To get started, go to the Sanity official website, and create an account.
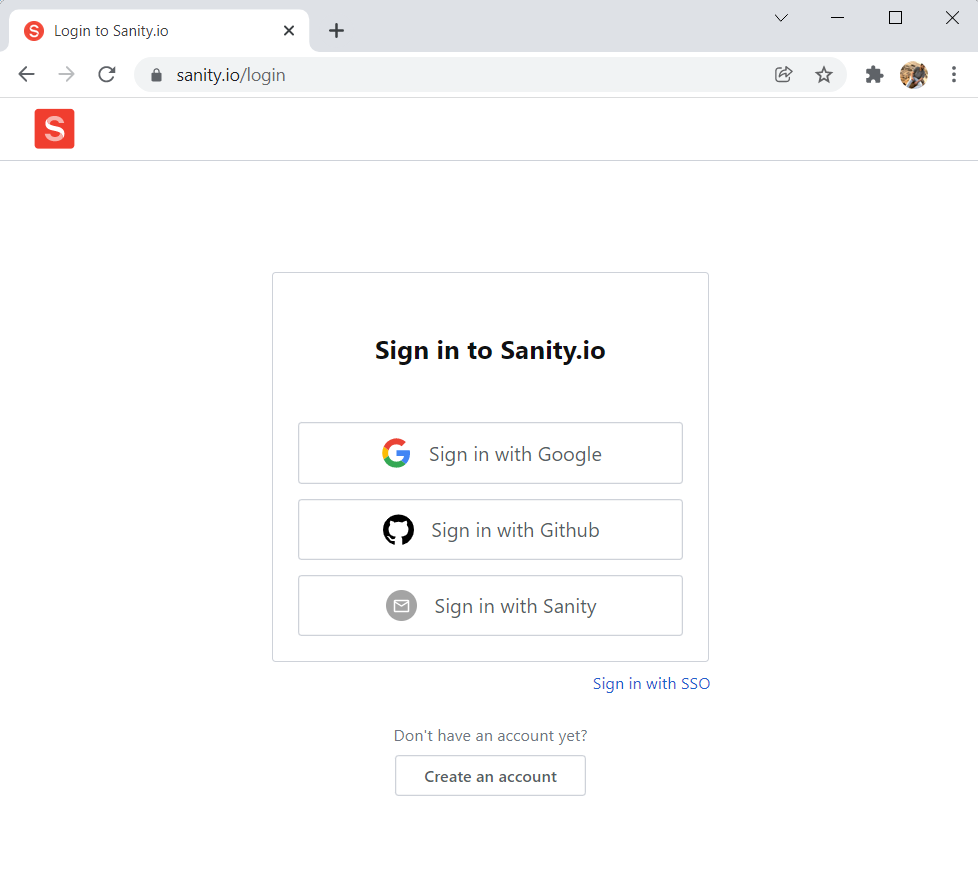
After you login in Sanity website, create a project from the website.

Next, the below dialog box appears.
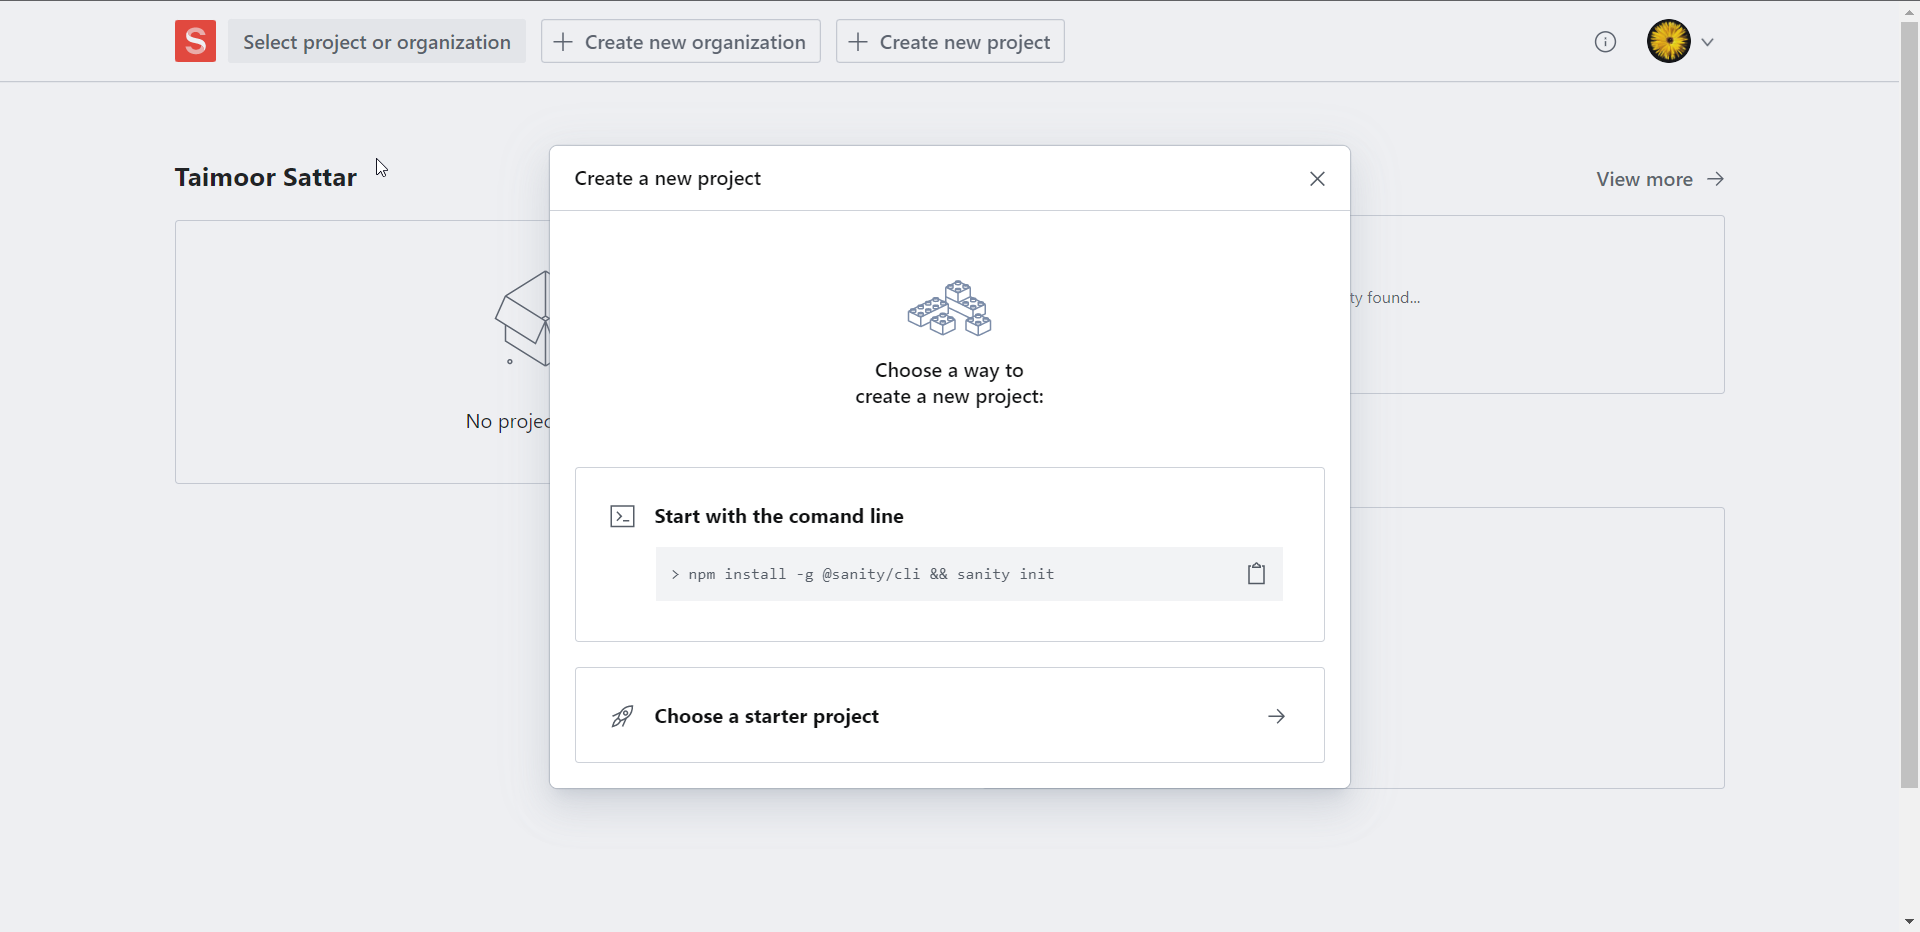
We can't create a project directly from Sanity Dashboard, we have to do it using CLI/terminal.
From here, you need to open the terminal. To create the Sanity project from the command line, it'll ask you a bunch of questions when you need to select it by the up and down arrow. So, it is recommended to download the below terminal on your system.
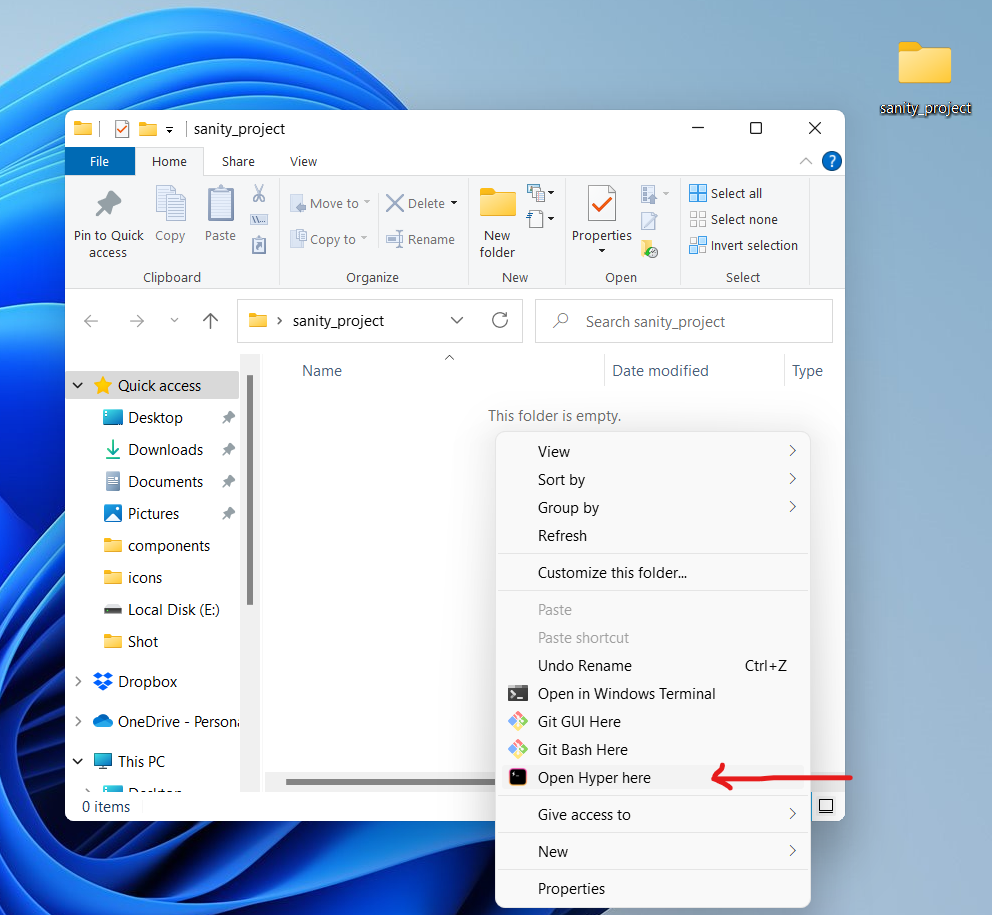
After you download hyper.is terminal, open it in the working directory.
Firstly, we need to install the @sanity/cli globally.
To install @sanity/cli globally, you can execute the below command in the terminal:
npm i -g @sanity/cli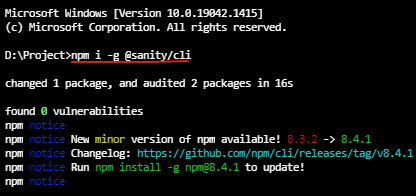
After that, execute the below command in the terminal.
sanity initThe above command logs in the terminal as below.
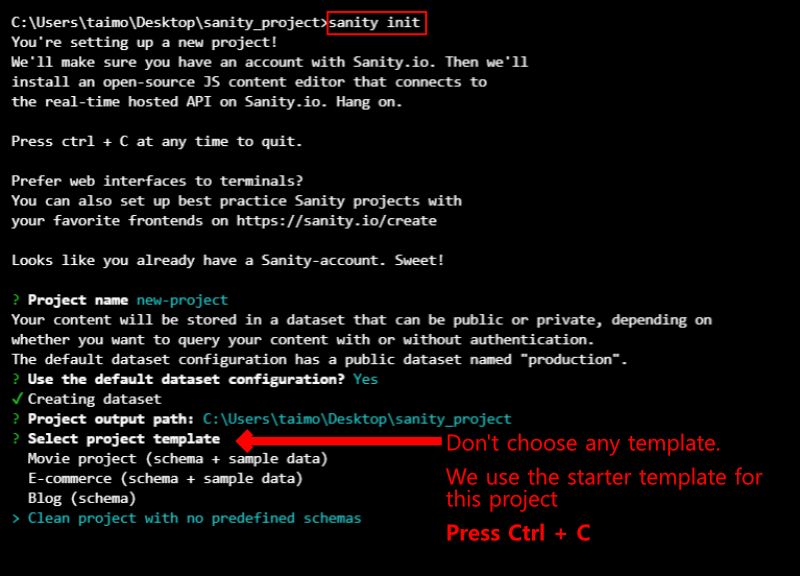
When the terminal asks to select the project template, exit the terminal by pressing ctrl+c. For the course, we will use a Sanity starter template so that every person is in sync.
We have created a Sanity Server from the terminal. If we visit the dashboard of the Sanity website, we can see that the new project is created.
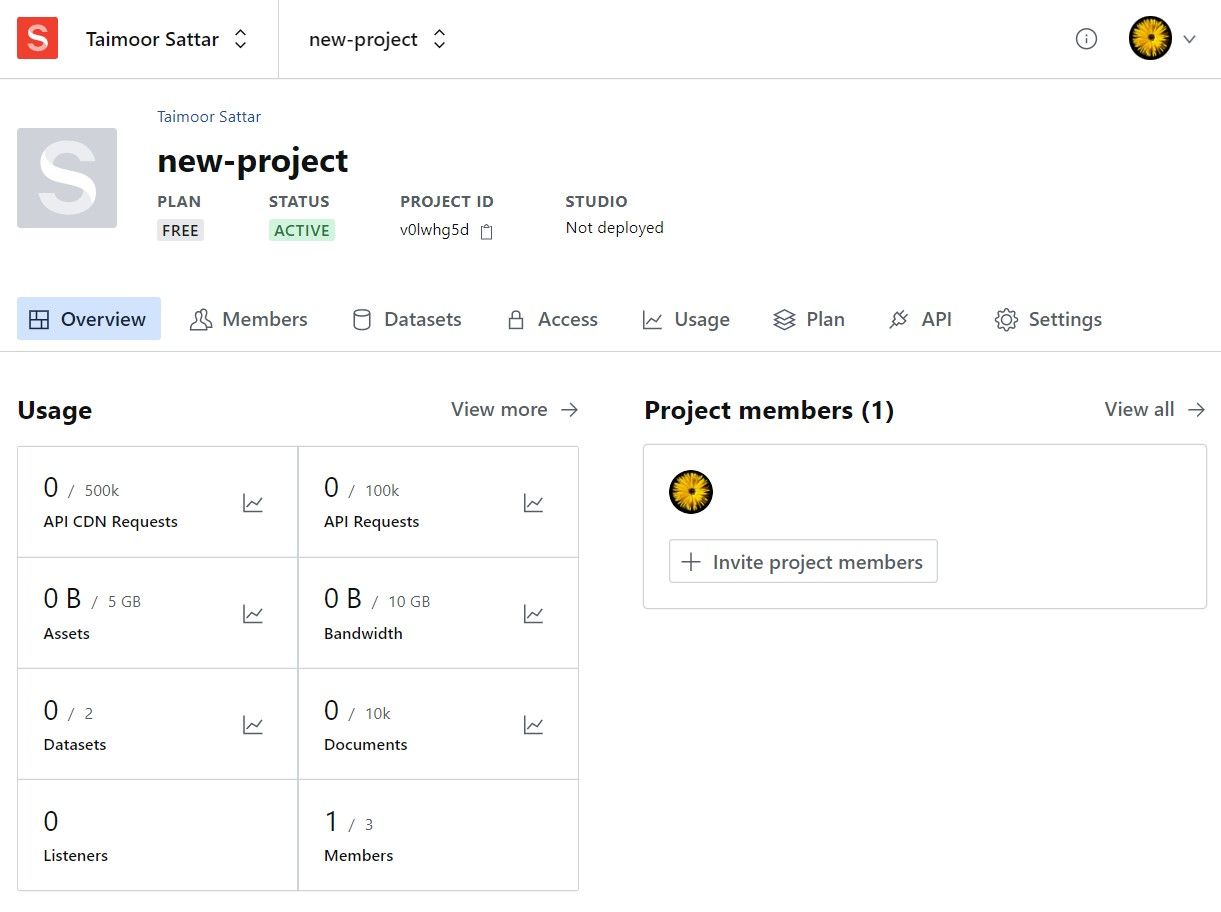
From the Sanity dashboard, we can perform the following actions:
- View how much data usage for your respective project
- Add CORs origin for your domain
- Add token, in order to send authentic requests to the sanity API routes
- Webhooks, delete your project, add dataset, upgrade plan, etc.
Next, we need to install the Sanity studio (CMS) to interact with the Sanity server.
To run the Sanity studio, you clone the sanity starter template from the below GitHub repo:
To clone the above repo, You can execute the below command in the terminal:
git clone https://github.com/taimoorsattar7/sanity-template-starterNext, you need to install the npm packages by executing the below command in the terminal.
npm installNext, to run the project in your localhost, You can execute the below command in the terminal.
npm run devAfter the project is successfully compiled, go to http://localhost:3333. At the localhost URL, you will be asked to log in.
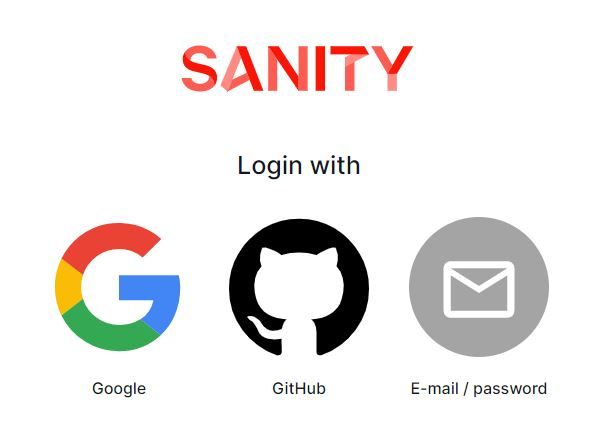
You might not log in to the Sanity Studio dashboard because you are not authorized. This is because you need to put valid projectId and dataset in the project file.
To get the projectId and dataset details, go to the sanity dashboard, and there you can find the keys as explained in the image below.
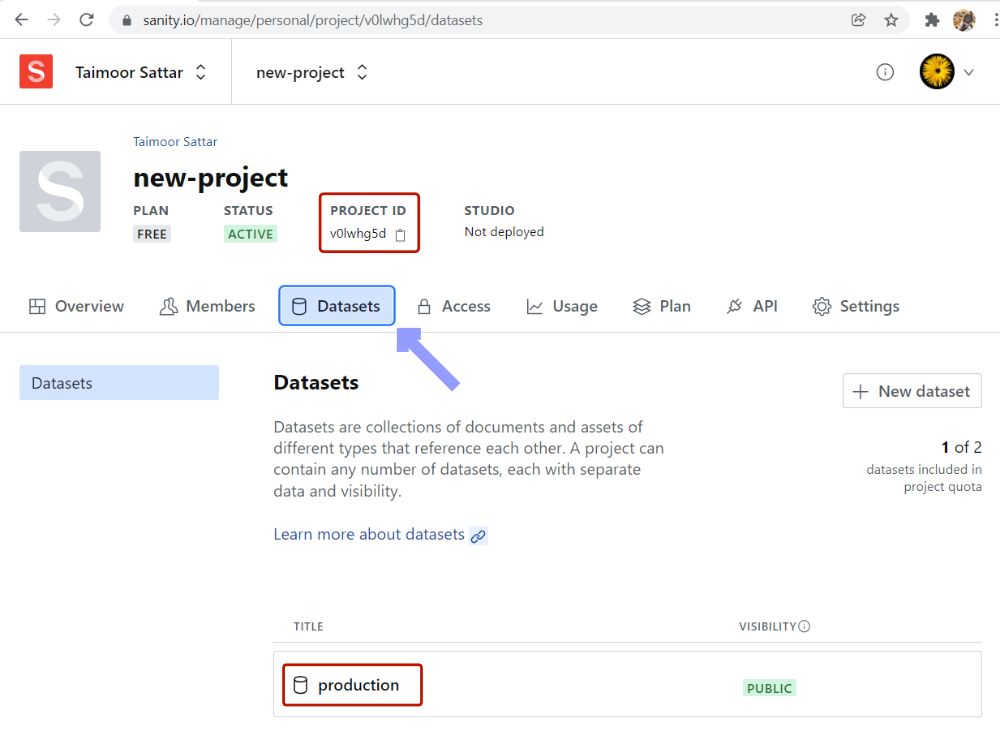
In the sanity.config.js, put your projectId and dataset value.
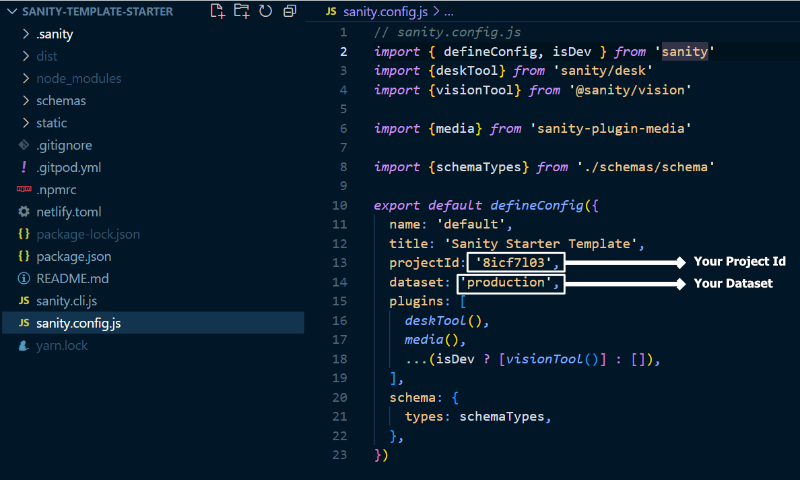
After that, you can run the below command in the terminal to spin up your local studio server.
npm run devAfter that go to http://localhost:3333, and create a new document as in the image below.
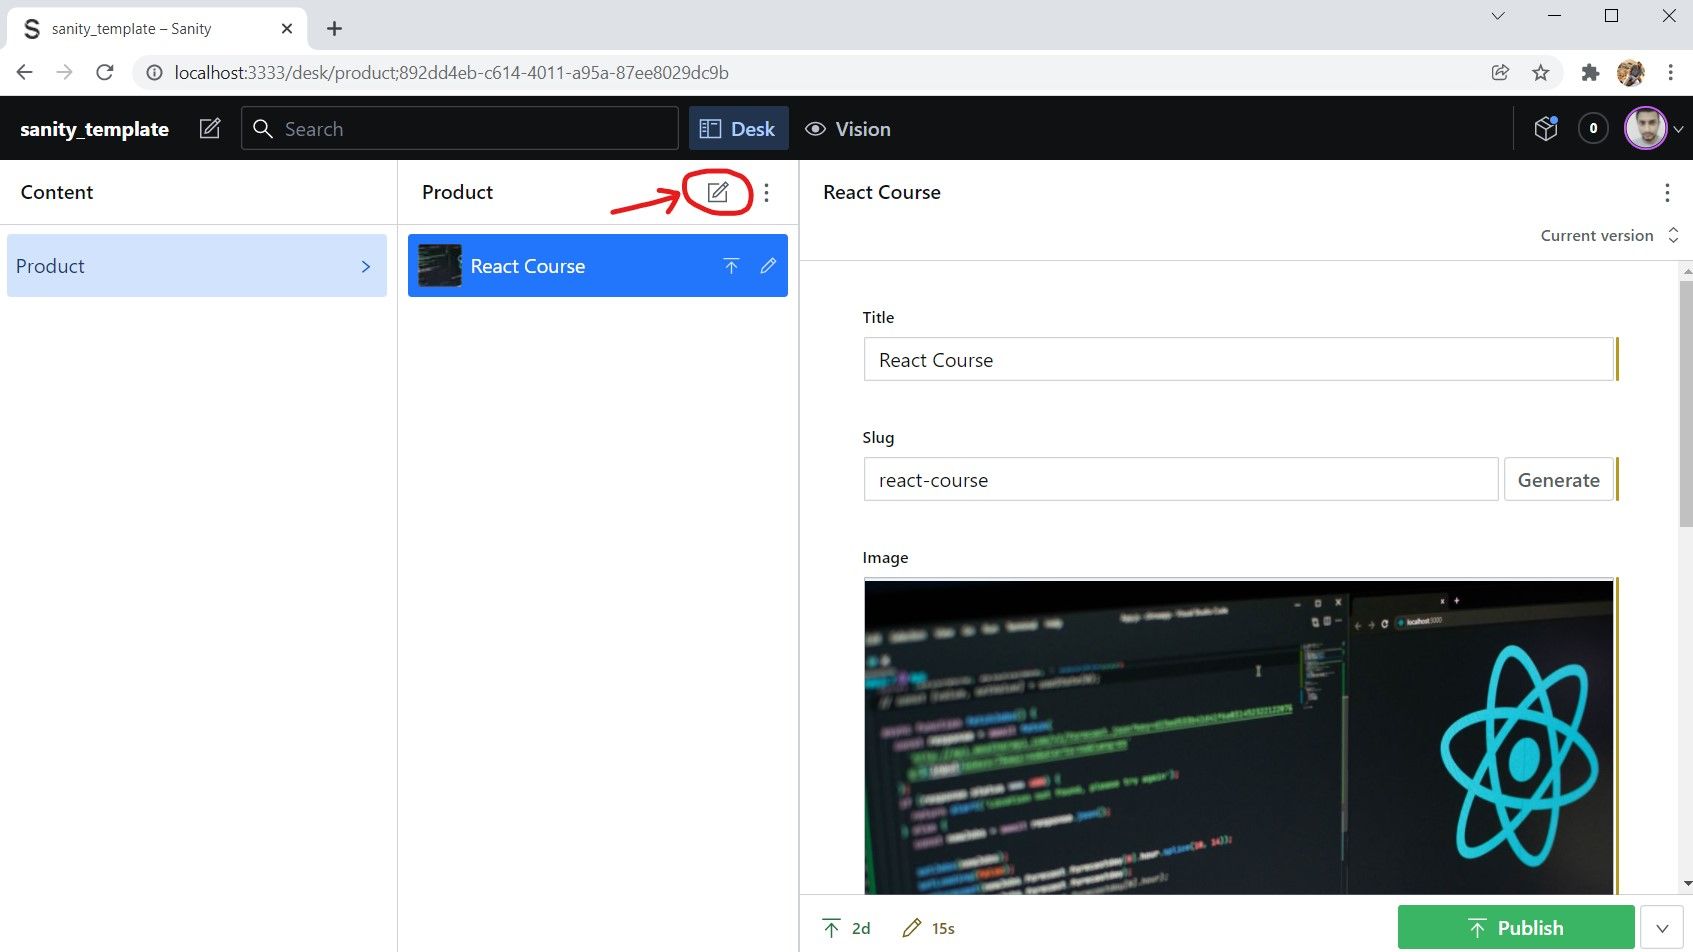
Please login into the Sanity Studio with the same credential e.g. email that You use to register into the Sanity Dashboard.
Great... Now we have the basic setup with Sanity Studio. In the next section, we learn how we can define the schema for the project.