Create a slug for blog Post in Gatsby
We query the filesystem data from GraphQL and render the list of post content data on the HomePage. But now... To view the blog post in the specific slug, we need to create a slug URL for each post in Gatsby's.
If now we visit the blog slug, it shows an error as below:
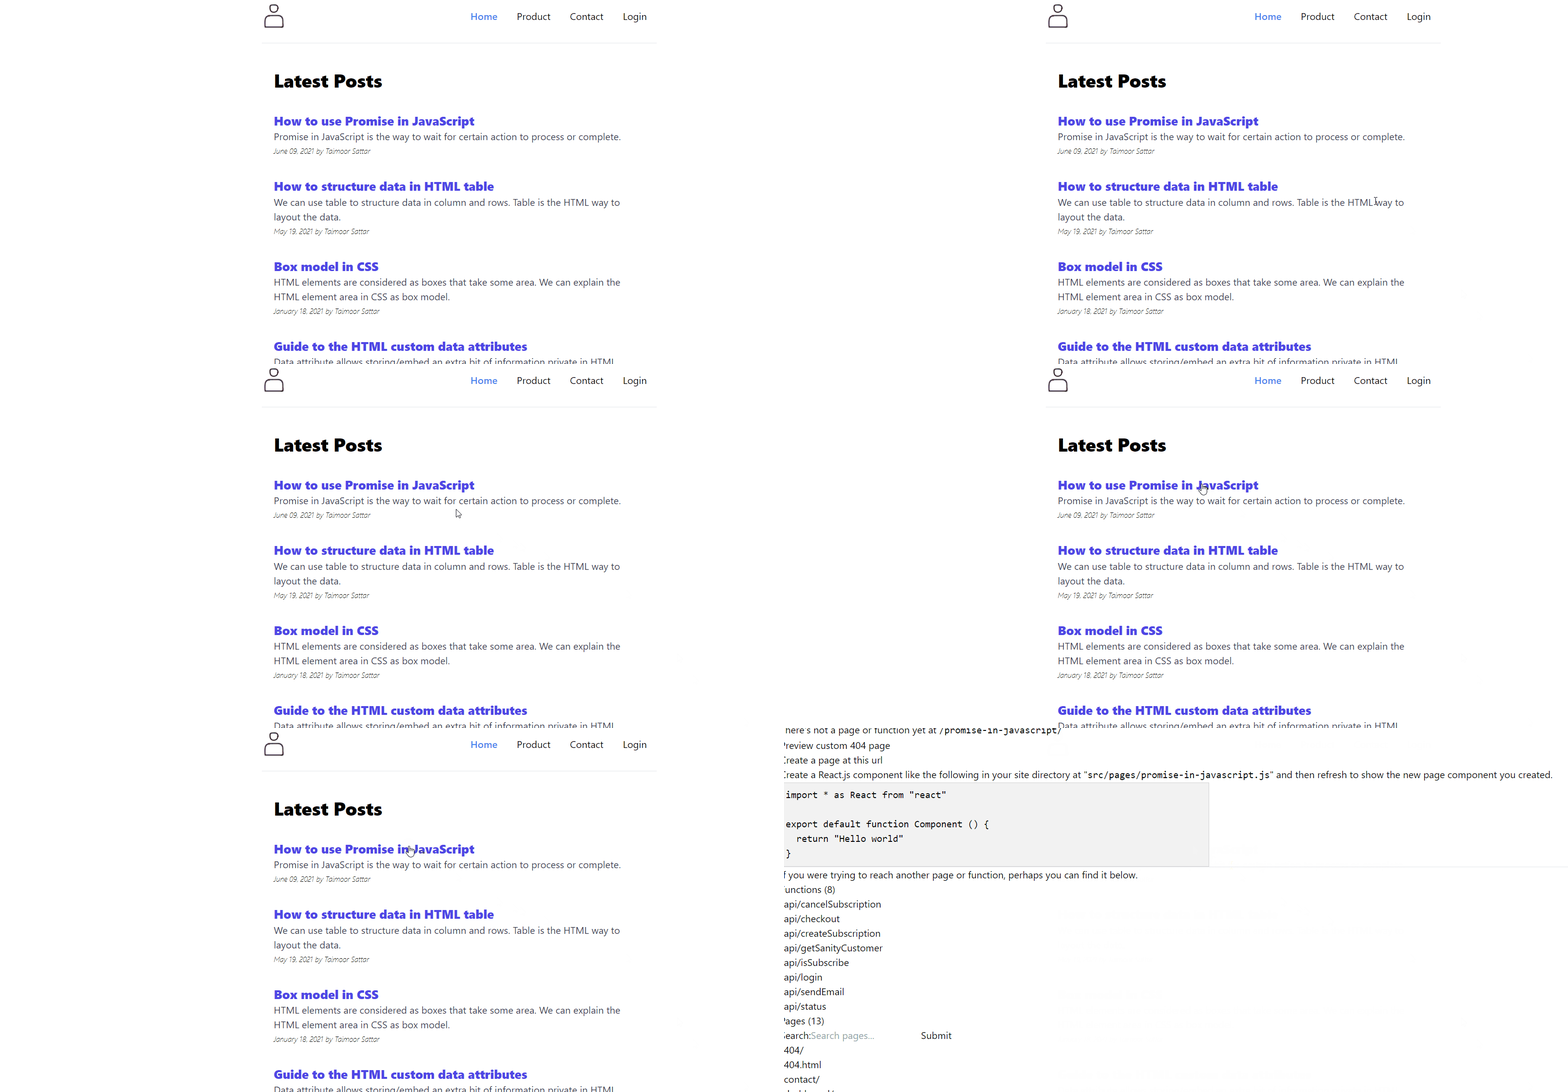
In Gatsby, we can create a specific slug at build time. For that, we can export a function createPages in the gatsby-node.js where we can create pages dynamically based on the slug.
In the gatsby-node.js, we can write the code as below:
exports.createPages = async ({ graphql, actions, reporter }) => {
  const { createPage } = actions
  // Here you'll write the logic for creating the blog post dynamically.
}
In the above code, we export createPage function to create posts slug. The createPage function accepts three (3) parameters.
- path: Create slug for the specific post
- component: Associate component for each post slug
- context: Add additional data that is passed to the React component through props. The context data can also be used as arguments for the page GraphQL query.
To create blog posts dynamically based on the slug, we can write the logic in the createPages as below:
const path = require(`path`)
const { createFilePath } = require(`gatsby-source-filesystem`)

exports.createPages = async ({ graphql, actions, reporter }) => {
  const { createPage } = actions

  // Define a template for blog post
  const blogPost = path.resolve(`./src/templates/blog-post.js`)

  // Get all markdown blog posts sorted by date
  const result = await graphql(
    `
      {
        allMarkdownRemark(
          sort: { fields: [frontmatter___date], order: ASC }
          limit: 1000
        ) {
          nodes {
            id
            fields {
              slug
            }
          }
        }
      }
    `
  )

  if (result.errors) {
    reporter.panicOnBuild(
      `There was an error loading your blog posts`,
      result.errors
    )
    return
  }

  const posts = result.data.allMarkdownRemark.nodes

  // Create blog posts pages
  // But only if there's at least one markdown file found at "content/blog" (defined in gatsby-config.js)
  // `context` is available in the template as a prop and as a variable in GraphQL

  if (posts.length > 0) {
    posts.forEach((post, index) => {
      const previousPostId = index === 0 ? null : posts[index - 1].id
      const nextPostId = index === posts.length - 1 ? null : posts[index + 1].id

      createPage({
        path: post.fields.slug,
        component: blogPost,
        context: {
          id: post.id,
          previousPostId,
          nextPostId,
        },
        defer: index + 1 > 5,
      })
    })
  }
}
In the above function, we first query all the markdown (blog post) slug using GraphQL; and for each post slug, we assign a React component template.
We use the content parameter in createPage to send a post id for each blog post to the React component template so that we can use that post id to query specific blog posts in GraphQL. In addition, we also send the next and previous blog post id along with the current blog post id. In this way, we can create a navigation link to the next and previous blog post as below:

You can download the gatsby-node.js file from below:
As in the gatsby-node.js, we assign React component for each blog post. For the React component template, we can create a file at the below location:
/src/templates/blog-post.js
In the blog-post.js, we can write the code as below

import React from "react"
import Layout from "@components/layout"

const BlogPostTemplate = ({ pageContext, location }) => {
  return <Layout location={location}>{JSON.stringify(pageContext)}</Layout>
}

export default BlogPostTemplate
The above code renders as below in the browser:

In the above image, we can view the blog post id for the current, previous, and next blog posts. Now we can use that blog post id to fetch the blog post data using GraphQL. For that we can write the query in GraphQL IDE as below:
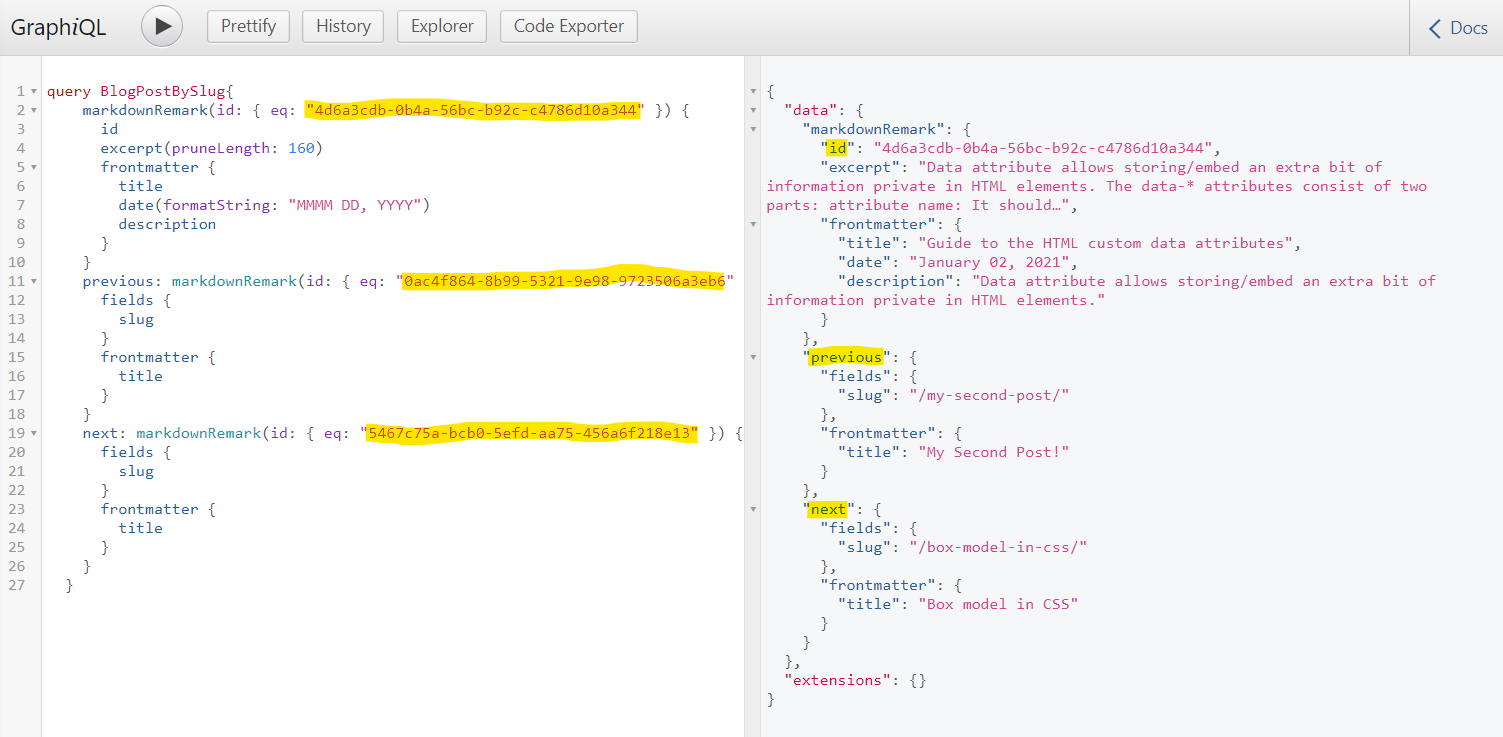
In the blog-post.js, we can write a GraphQL query to fetch the post content for the specific slug as below.
import React from "react"
import { Link, graphql } from "gatsby"

import { GatsbyImage, getImage } from "gatsby-plugin-image"

import Layout from "@components/layout"
import Seo from "@components/seo"

const BlogPostTemplate = ({ data, location }) => {
  const post = data.markdownRemark
  const { previous, next } = data

  const featureImg = post.frontmatter?.featuredimage

  return <Layout location={location}>{JSON.stringify(data)}</Layout>
}

export default BlogPostTemplate

export const pageQuery = graphql`
  query BlogPostBySlug(
    $id: String!
    $previousPostId: String
    $nextPostId: String
  ) {
    markdownRemark(id: { eq: $id }) {
      id
      excerpt(pruneLength: 160)
      html
      frontmatter {
        title
        date(formatString: "MMMM DD, YYYY")
        description
      }
    }
    previous: markdownRemark(id: { eq: $previousPostId }) {
      fields {
        slug
      }
      frontmatter {
        title
      }
    }
    next: markdownRemark(id: { eq: $nextPostId }) {
      fields {
        slug
      }
      frontmatter {
        title
      }
    }
  }
`
In the above code, we pass the post id as a reference to the GraphQL query to fetch the respective blog post. We use page queries to fetch the data using GraphQL. You can read more about it on the below page:
The main difference between the Static query and Page Query is that Page Query accepts query variables during build time. While that is not possible for Static Queries.
If we now visit the browser, we can view the blog post data as below.
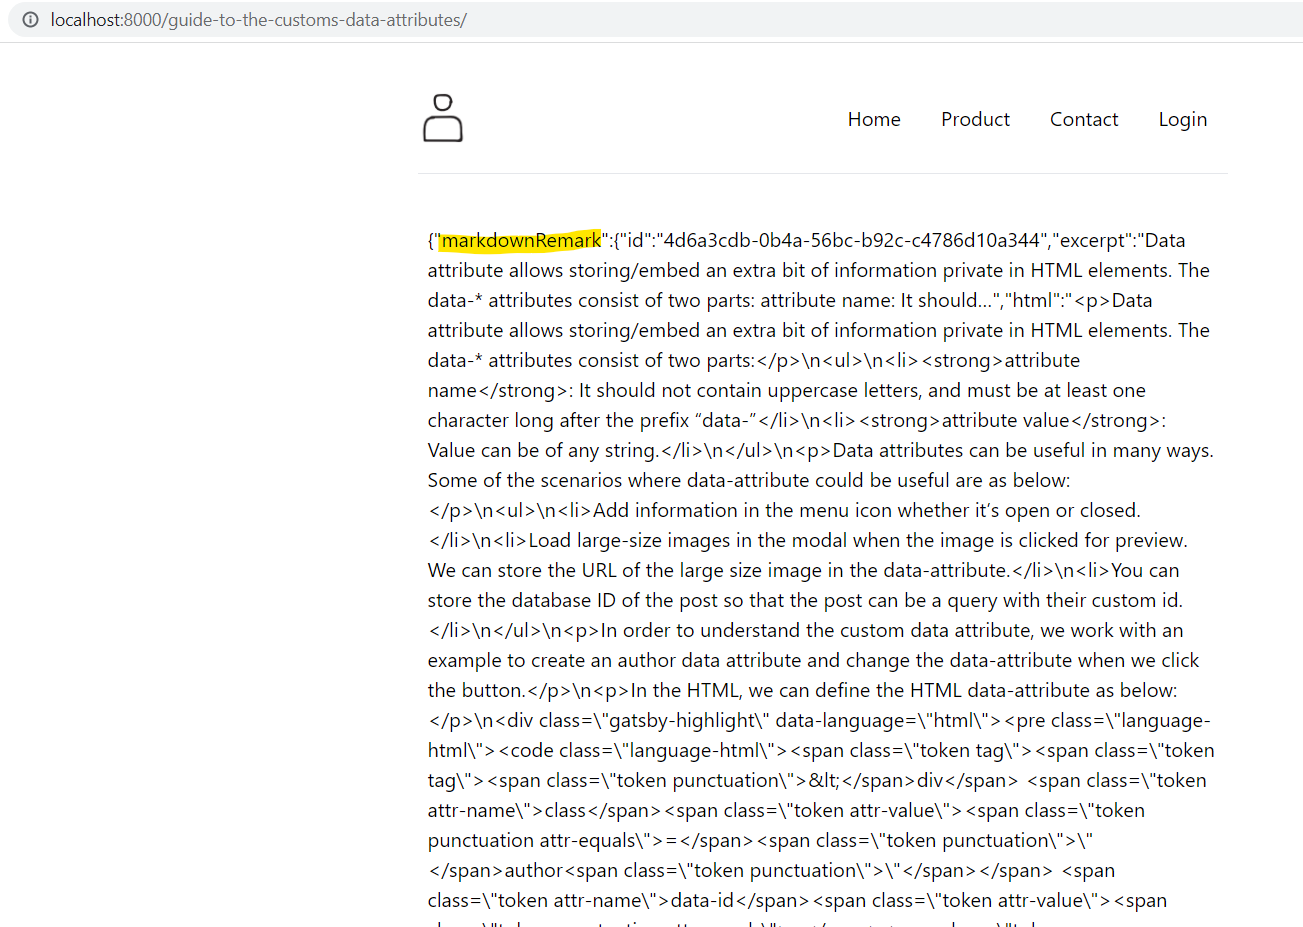
The blog post-render is in the format of JSON stringify. We need to style the data in a more presentable format using TailwindCSS. For that, in the blog-post.js file, we can write the code as below:
import React from "react"
import { Link, graphql } from "gatsby"
import { GatsbyImage, getImage } from "gatsby-plugin-image"
import Layout from "@components/layout"
import Seo from "@components/seo"
const BlogPostTemplate = ({ data, location }) => {
const post = data.markdownRemark
const { previous, next } = data
return (
<Layout location={location}>
<Seo
title={post.frontmatter.title}
location={location}
description={post.frontmatter.description || post.excerpt}
/>
<article className="container w-full">
<h1 className="mb-4 text-4xl font-extrabold leading-snug">
{post.frontmatter.title}
</h1>
<p className="py-3 text-base italic font-light">
Published {post.frontmatter.date}
</p>
<section
dangerouslySetInnerHTML={{ __html: post.html }}
itemProp="articleBody"
/>
<hr className="mb-8 border-b-2 border-grey-light" />
<div className="flex content-center justify-between pb-12 font-sans">
<div className="text-left">
{previous?.fields?.slug && (
<>
<span className="text-xs font-normal md:text-sm text-grey-dark">
{previous && (
<Link to={previous.fields.slug} rel="prev">
« Previous Post
</Link>
)}
</span>
<br />
<p>
<Link
to={previous.fields.slug}
className="text-base font-bold no-underline break-normal md:text-sm text-teal hover:underline"
>
{previous.frontmatter.title}
</Link>
</p>
</>
)}
</div>
<div className="text-right">
{next?.fields?.slug && (
<>
<span className="text-xs font-normal md:text-sm text-grey-dark">
<Link to={next.fields.slug} rel="next">
Next Post »
</Link>
</span>
<br />
<p>
<Link
to={next.fields.slug}
className="text-base font-bold no-underline break-normal md:text-sm text-teal hover:underline"
>
{next.frontmatter.title}
</Link>
</p>
</>
)}
</div>
</div>
</article>
</Layout>
)
}The above code renders in the browser as below:
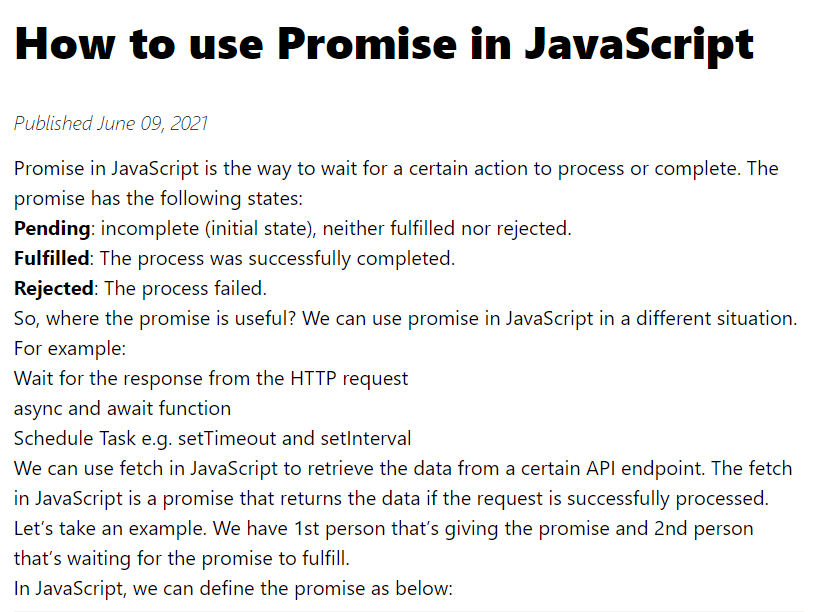
In the filesystem, we use markdown to write the blog post. To style the single HTML element in Tailwind is straightforward; we just assign the Tailwind class name to the HTML element. But... for the markdown post, the HTML elements are nested, we can assign the Tailwind class names directly. Therefore, we can use the Tailwind Typography plugin.
To install the Tailwind Typography plugin, we can execute the below command in the terminal.
npm install -D @tailwindcss/typographyNext, we can create tailwind.config.js file at the root of the project directory. In the tailwind.config.js file, we can add the tailwindcss/typography plugin as below:
module.exports = {
  purge: ["./src/**/*.{js,jsx,ts,tsx}"],
  darkMode: false, // or 'media' or 'class'
  theme: {
    extend: {},
  },
  variants: {
    extend: {},
  },
  plugins: [require(`@tailwindcss/typography`)],
}
To use the @tailwindcss/typography for styling the markdown nested HTML elements, we can add the class name as mentioned below:
className="prose"
In the blog-post.js file, we can add the class name for @tailwindcss/typography as below:
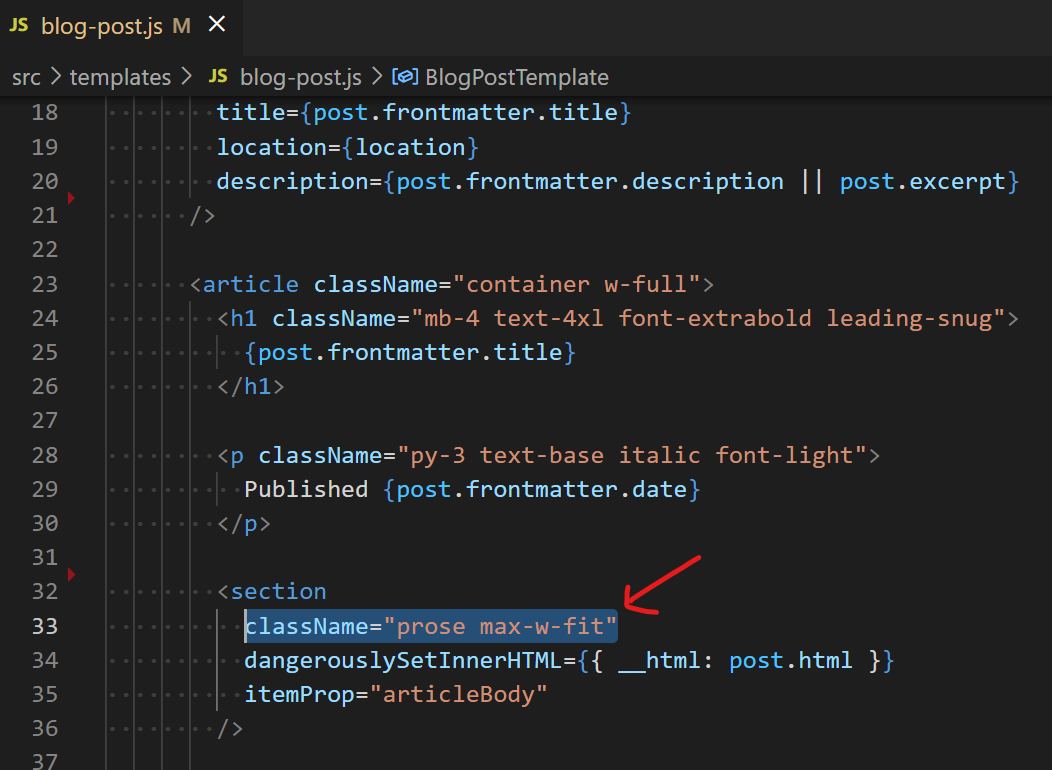
<section
  className="prose max-w-fit"
  dangerouslySetInnerHTML={{ __html: post.html }}
  itemProp="articleBody"
/>
Finally, the blog post renders on the browser as below.
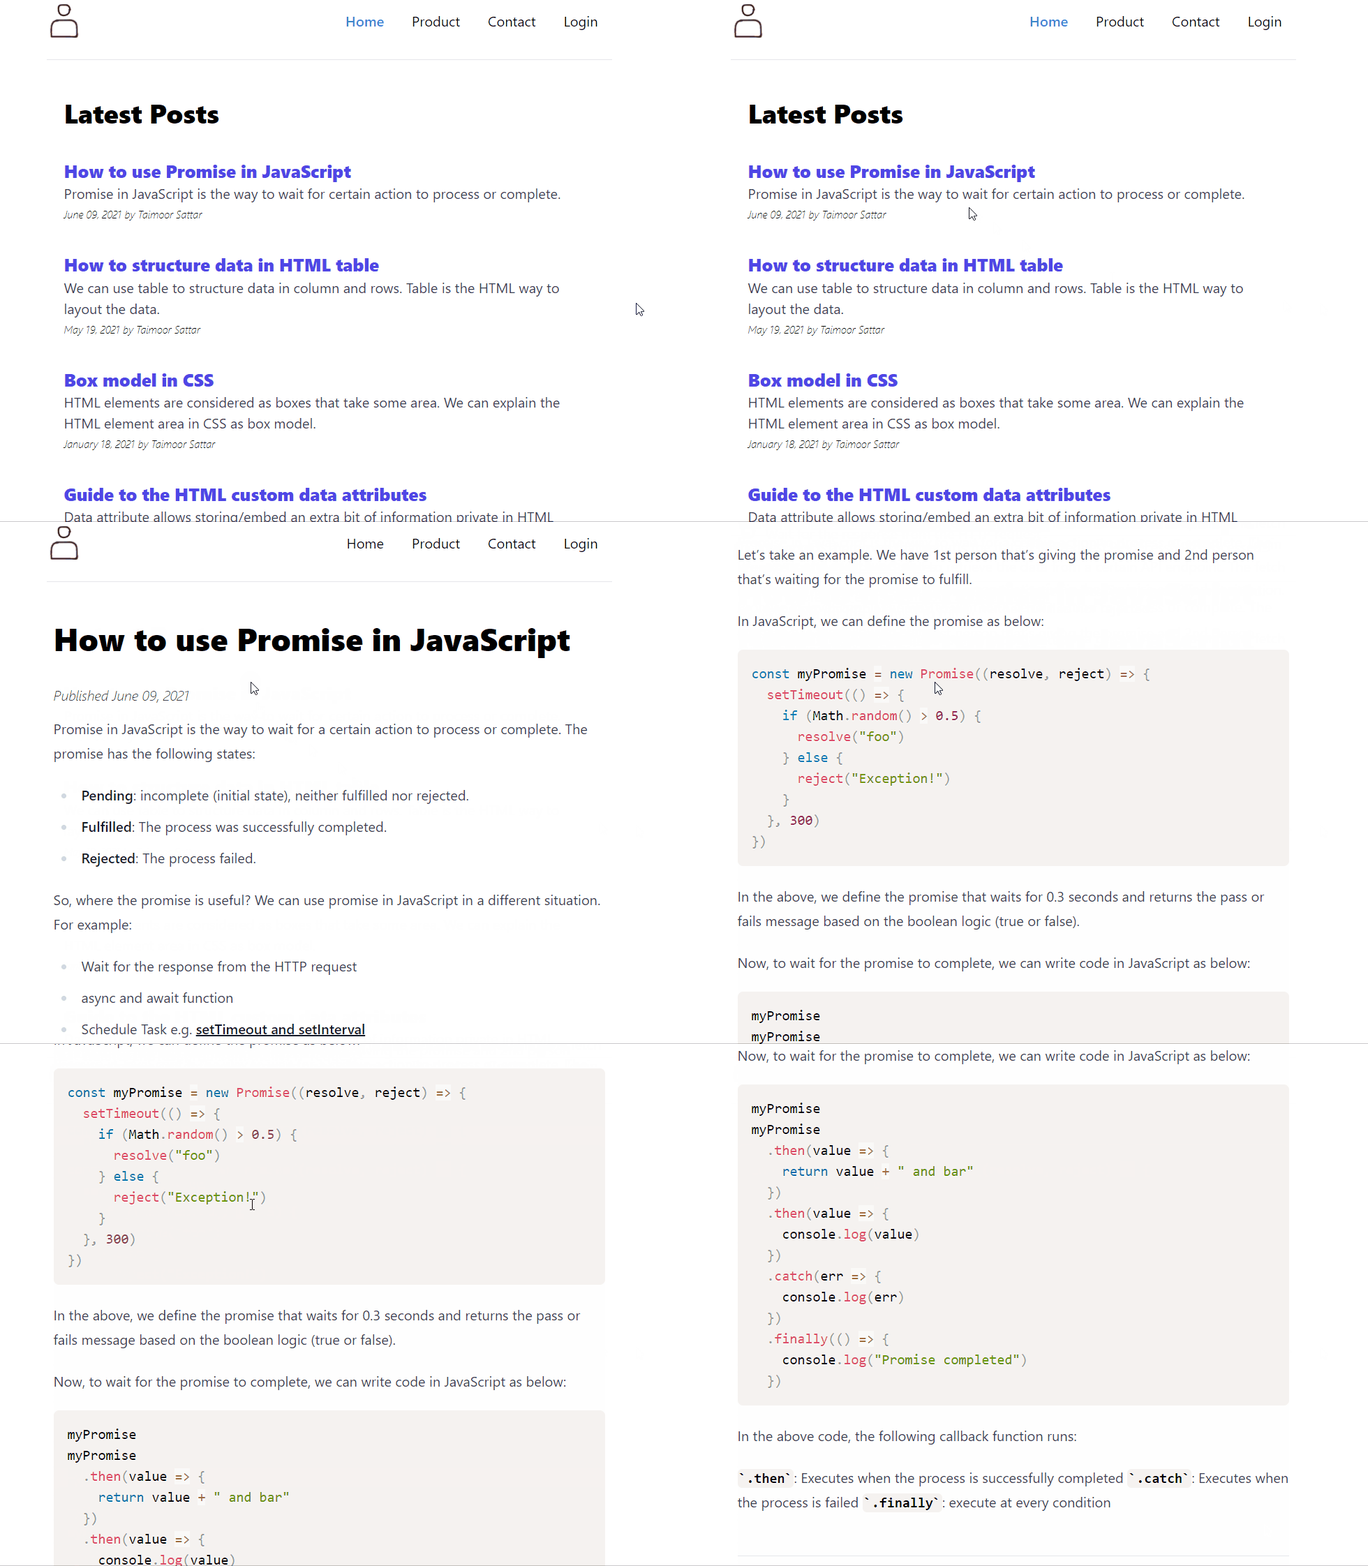
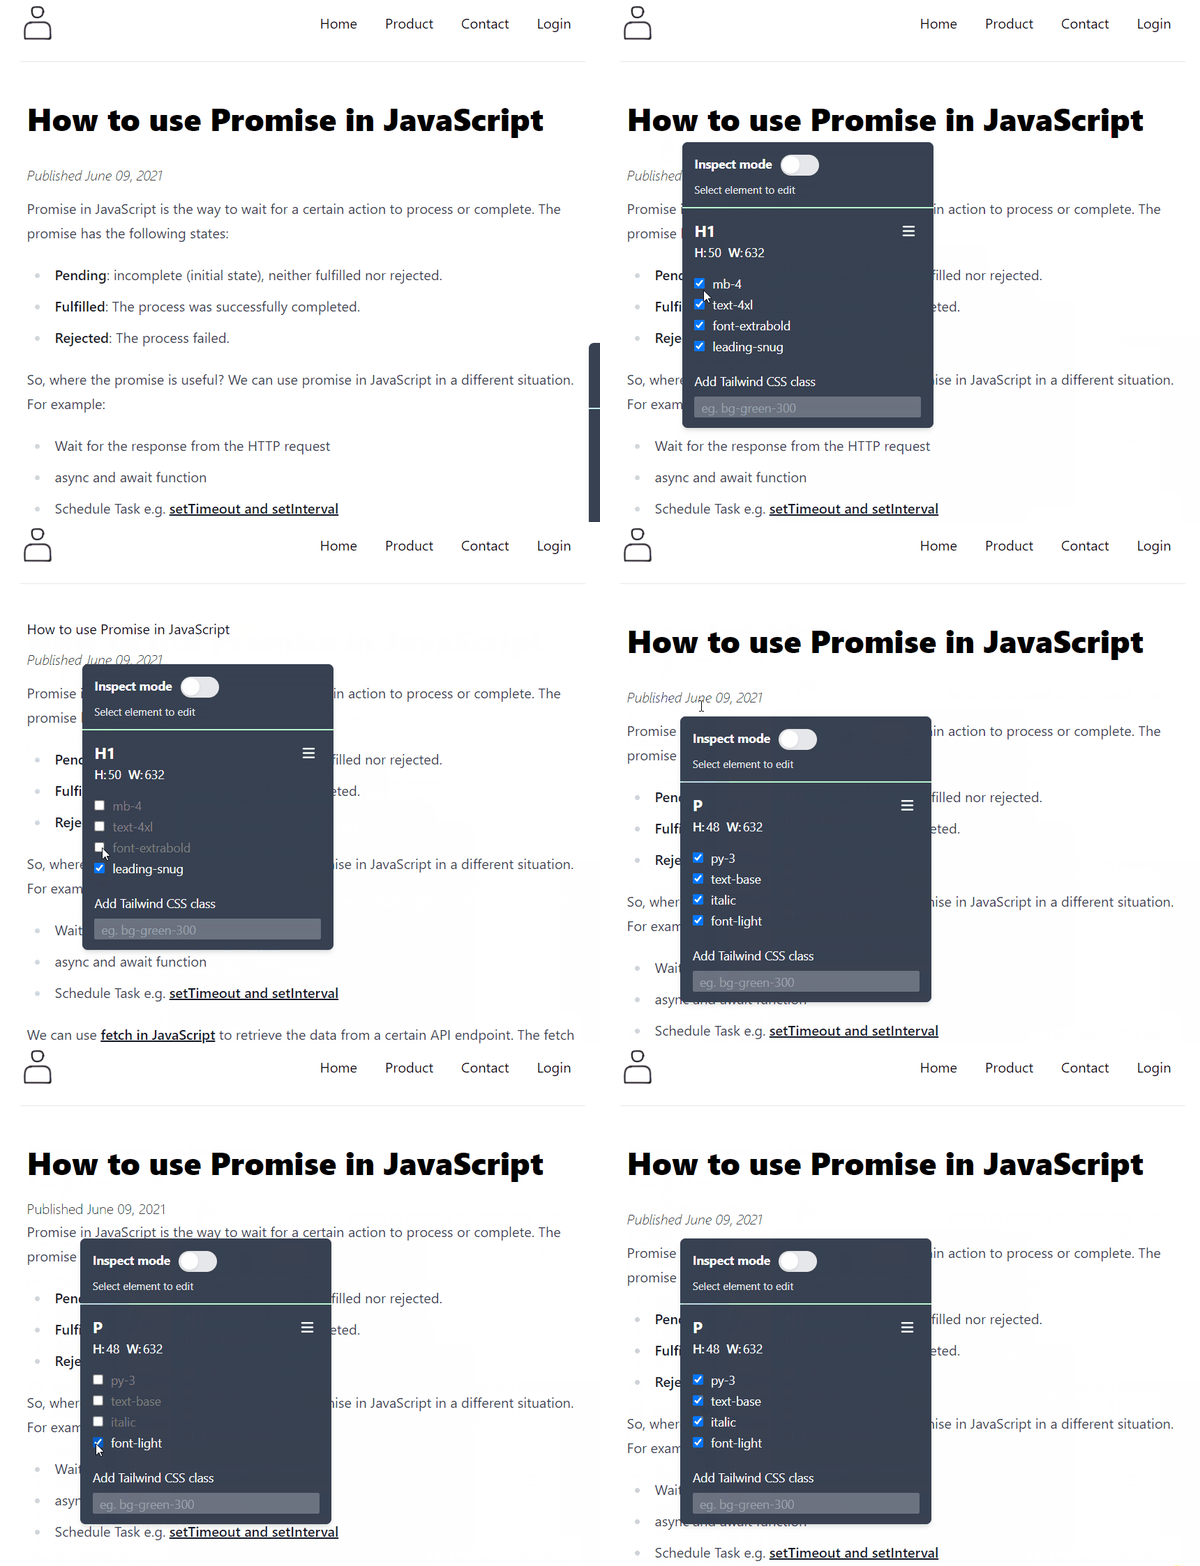
At last, the blogs post-render as below in the browser:
In the next section, we'll learn how to manage and publish the post content using the NetlifyCMS.