Push your code on GitHub 👥
Previously, we clone the Gatsby starter project from the GitHub repository and develop it locally. In this section, we'll update the code for the Gatsby project and push the changes on GitHub.
In the starter code, we'll navigate to the src/pages/index.js file and add the paragraph element in the react function as below.
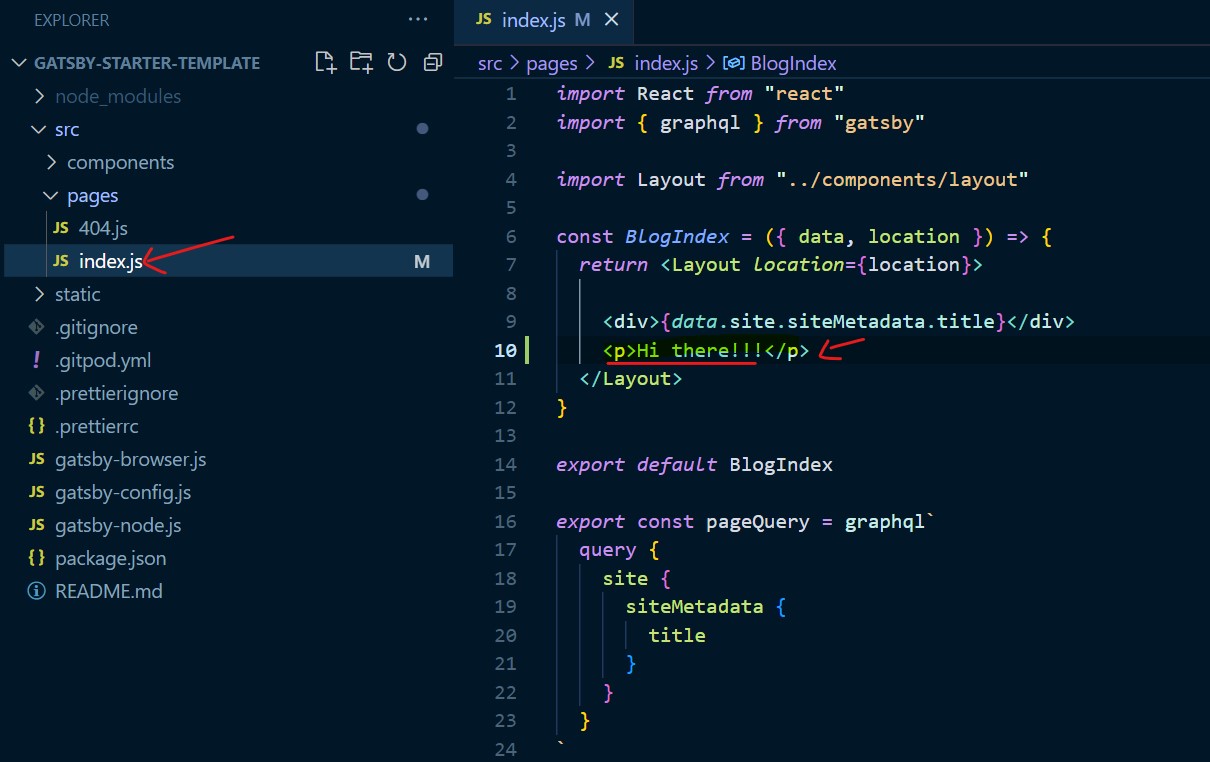
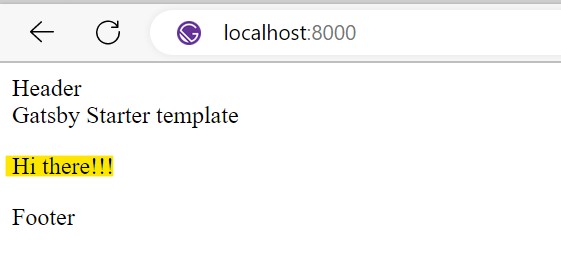
After updating the code, we can develop the project by executing the npm run develop code in the terminal. If we now visit the localhost:8000, the paragraph element is rendered in the browser as below:
The updated code is present in the local system. We also need to create a public GitHub repo and push the updated code in public.
GitHub Repository
GitHub is the public way for the version control system.
Let's say, the code resides on the local system. If for some reason, the computer blows up, the project will be completely lost and we can't track the project history. This is where we need Github to host the project code on its server.
The files with unnecessary and secret information should not be committed on GitHub.The .gitignore present at the root of the project folder is responsible to exclude folders and files from not being stage/committed to the git.
For example, in the project folder, we have thenode_modulesfolder where 3rd party packages are installed. We don't want to pushnode_modulesfolder to github. In our case, the hosting provider (e.g. Netlify) will install necessary packages at the build time.
In the starter template, the .gitignore file (by default) comes with pre-filled names of files and folders.
To Get started, You need to create an account on GitHub with your email. You can visit GitHub's official website on this page.
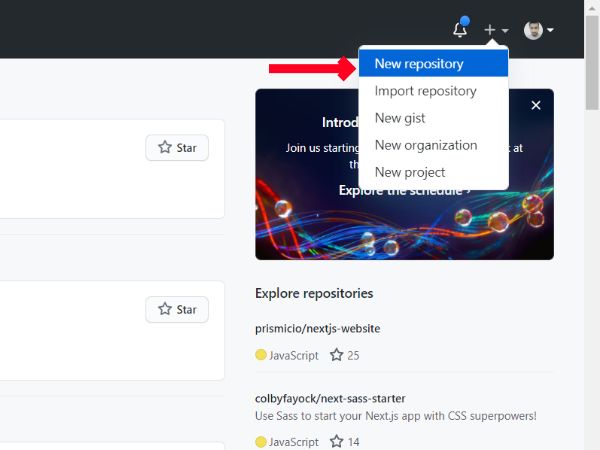
After you create your account on GitHub, you need to create a repository on GitHub to host your code. To create a new repository, you need to click New repository at the top right corner as in the below image.
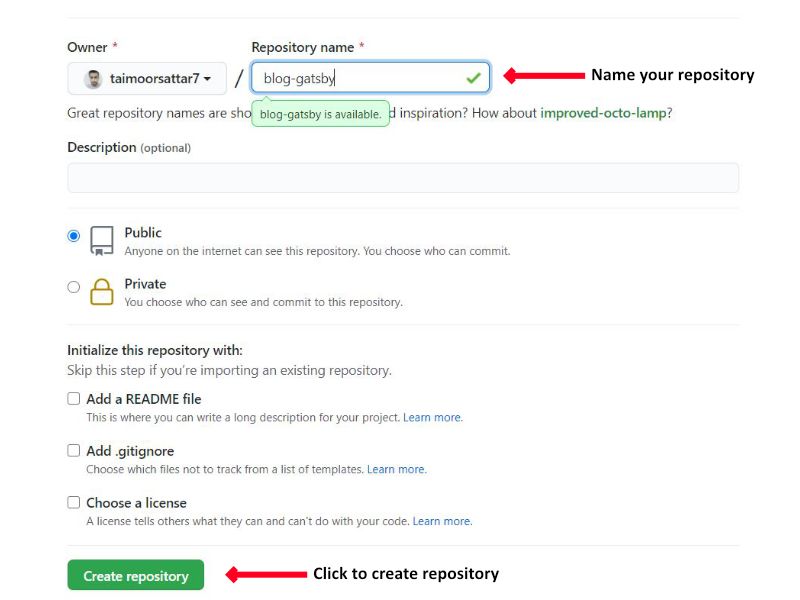
After, name your repository as you like and click Create repository button.
After the repository is created, an Information page appears that has an instruction guide on how you can push your local repo (project) up on GitHub.
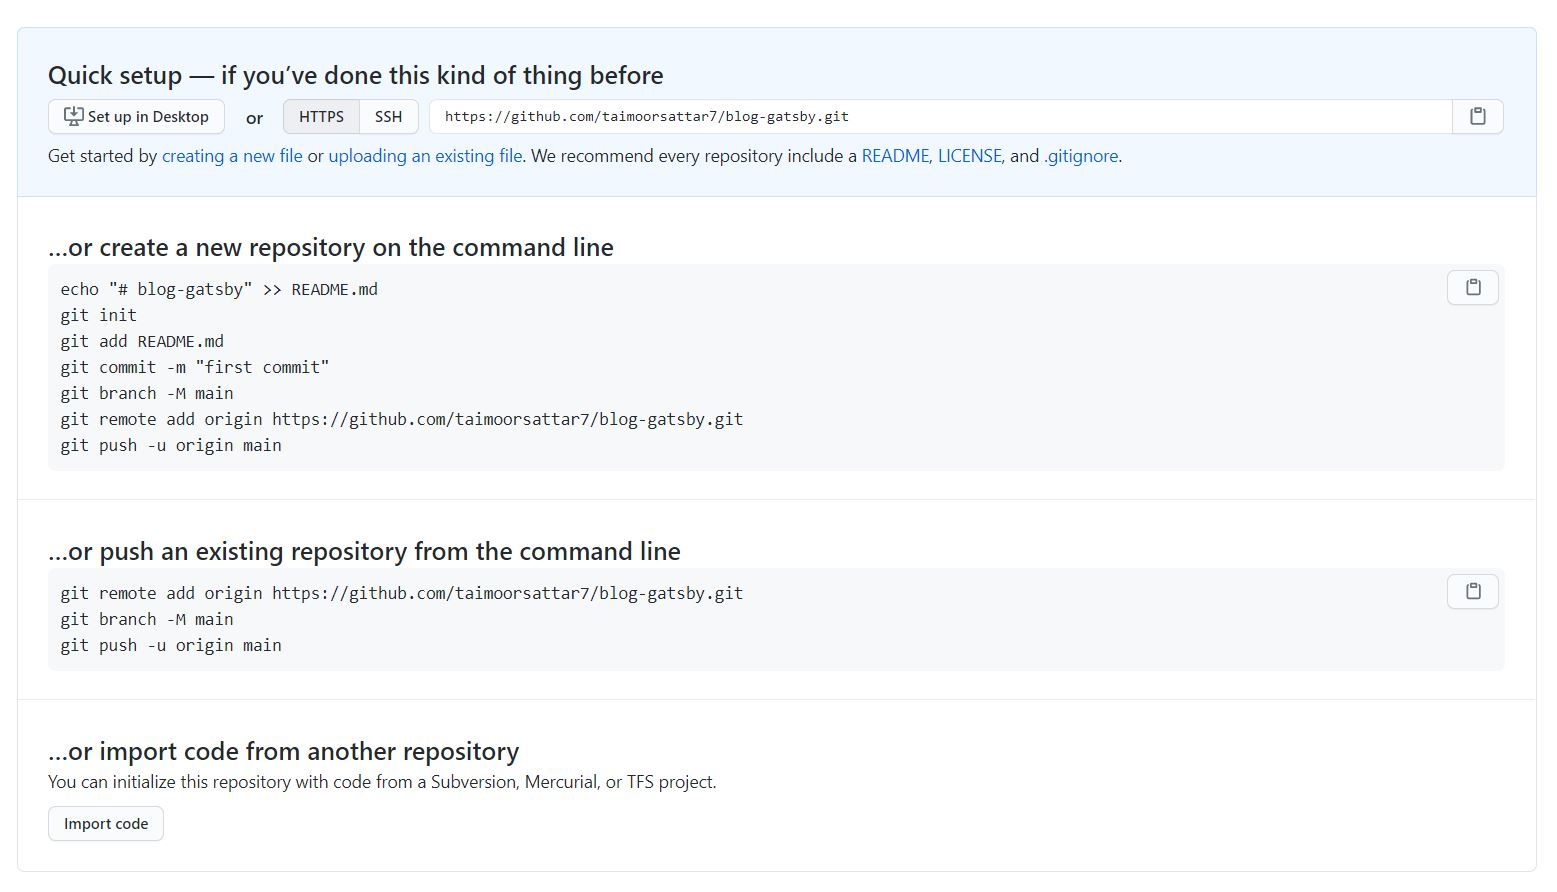
Copy the repository URL from the Github and go to the terminal.
In the terminal, we first need to set the email and username for git.
git config --global user.name "example"
git config --global user.email "example@gmail.com"
Remember to replace the username and email in the above command with your's
To initialization setup, execute the below command in the terminal
git initTo keep track of what files are changed, execute the git status command in the terminal as below.
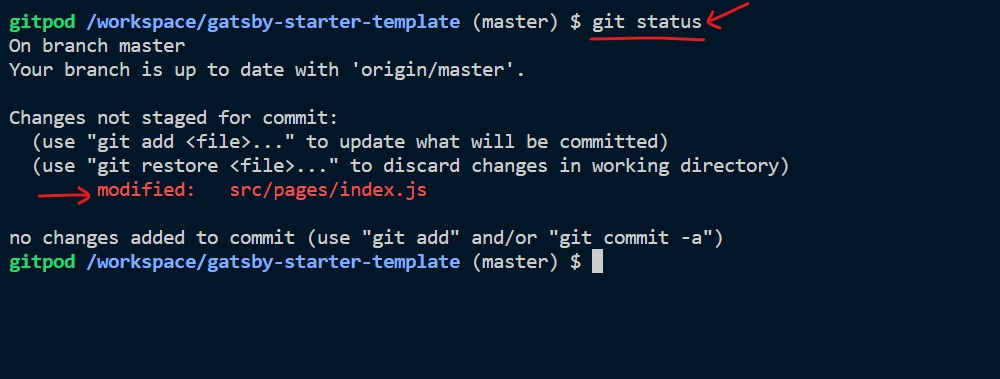
As we can see above, we only change one file, index.js.To add the latest changes to the staging area, execute the below command in the terminal.
git add -A
To commit the changes to the local git, we can execute the below command into the terminal.
git commit -m "update index"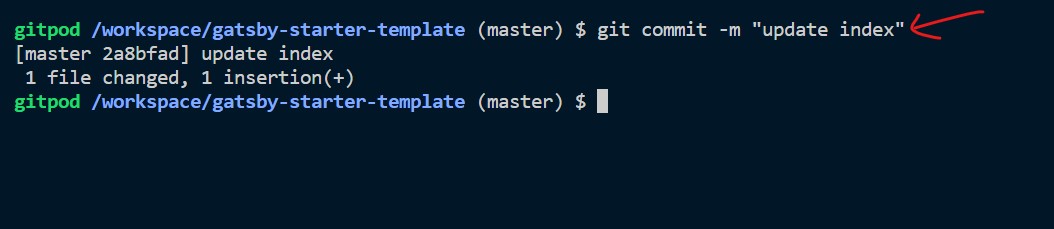
To push our latest commit on Github, we need to link our local project to the GitHub repo. For that, we can set remote origin by executing the below command into the terminal:
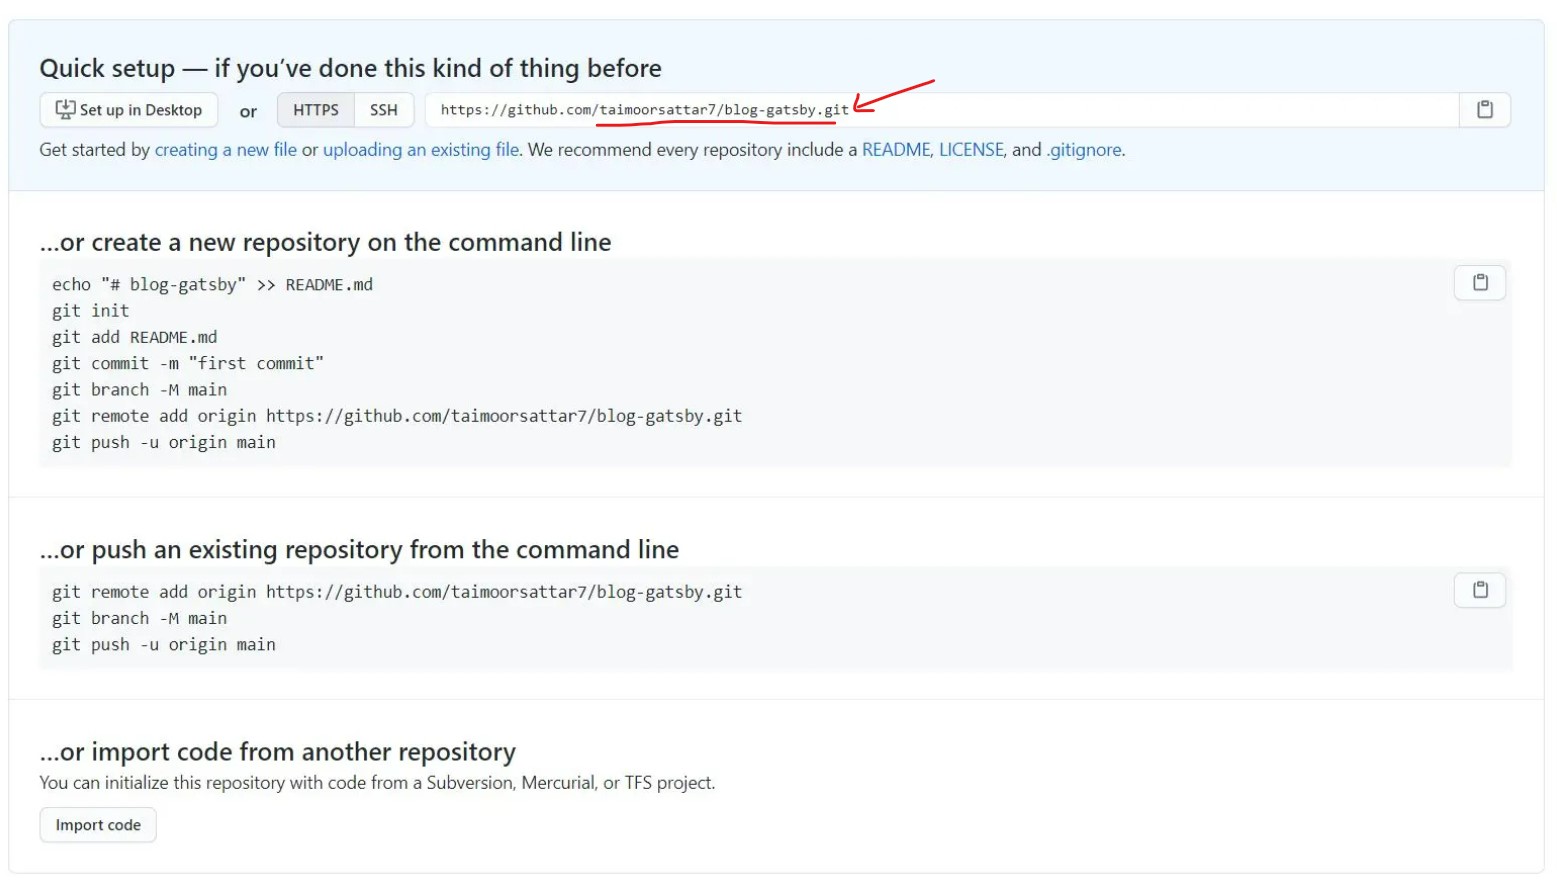
git remote set-url origin https://github.com/taimoorsattar7/blog-gatsby.gitPlease note to replace the GitHub repository URL with your repository URL. You can find the repository URL on Github as shown below.
To double-check that the remote URL is set, you can type the below command into the bash terminal:
git remote -vThe above command logs the remote URL into the terminal.
As for now, we have only one branch that's master. All of our commits are at the master branch. We can now push the code to the public repository by executing the below command into the bash terminal.
git push origin master
After you push your master branch on GitHub, refresh the repository page. If everything works fine, you can view your project files on the repository page.
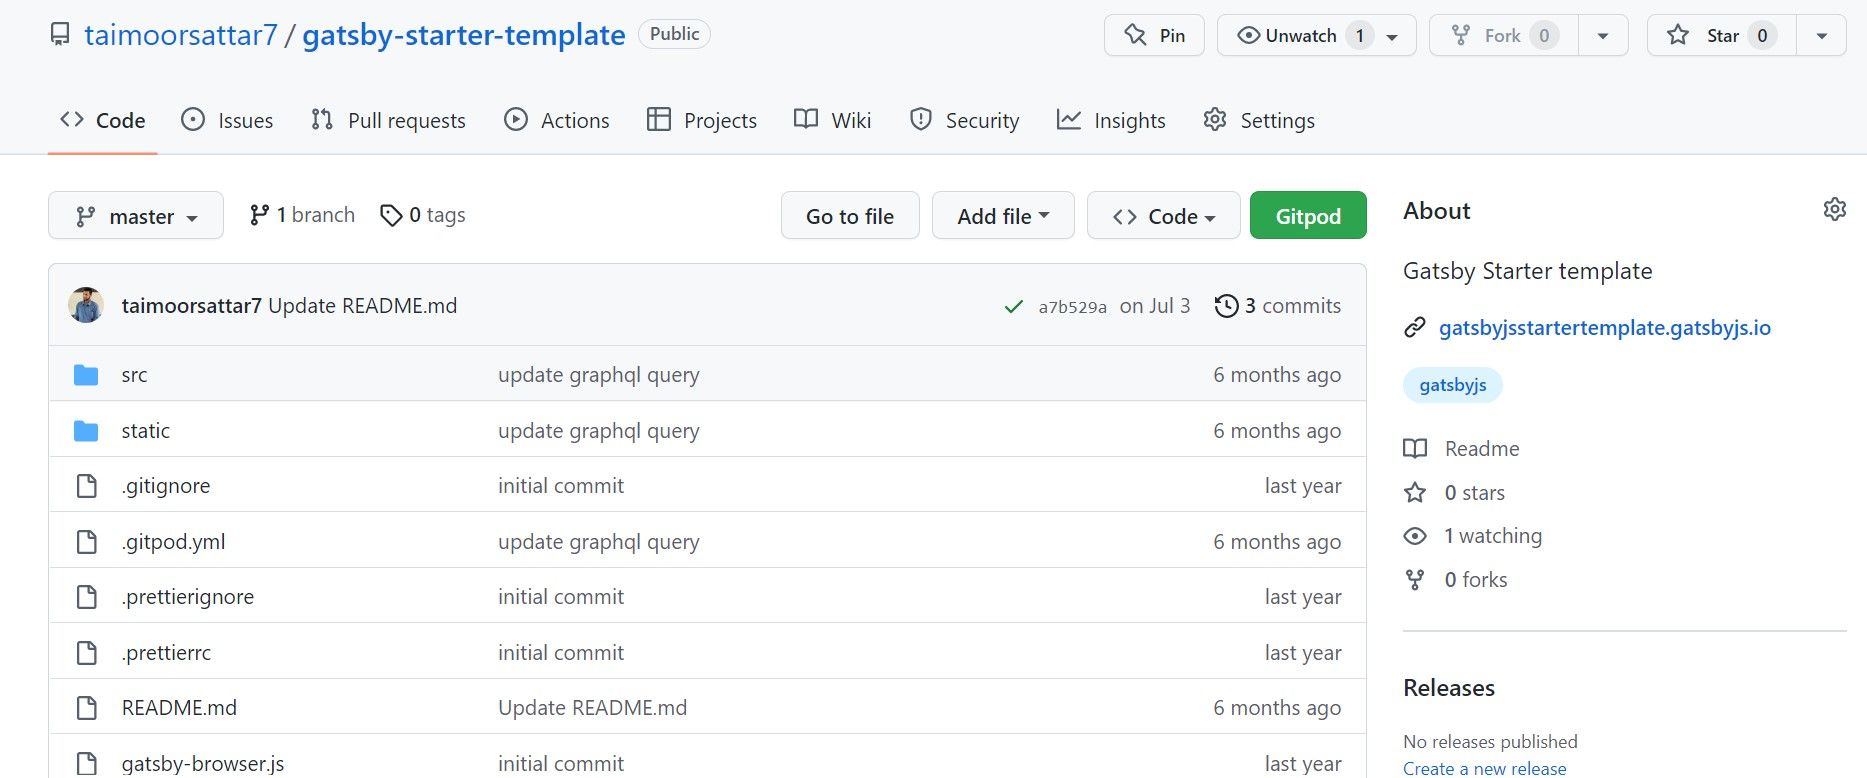
Great!!!
In the next section, we will deploy the project on the public web using the Netlify server.