Render Content in Gatsby using File system Route
In this section, we need to render the course content from the Product document in Sanity Studio. We can fetch the course data at build time using GraphQL and create the slug for each course.
Rather than creating a slug from the gatsby-node.js file (Just like we did for the blog post), we can create the slug directly in the filesystem route (shortcut way). To create the slug for each product document, we can create the filename as below:
src/pages/product/{SanityProduct.slug__current}.js
In the above filename, there are two main points that you might have to notice.
- curly bracket
- Filename pattern
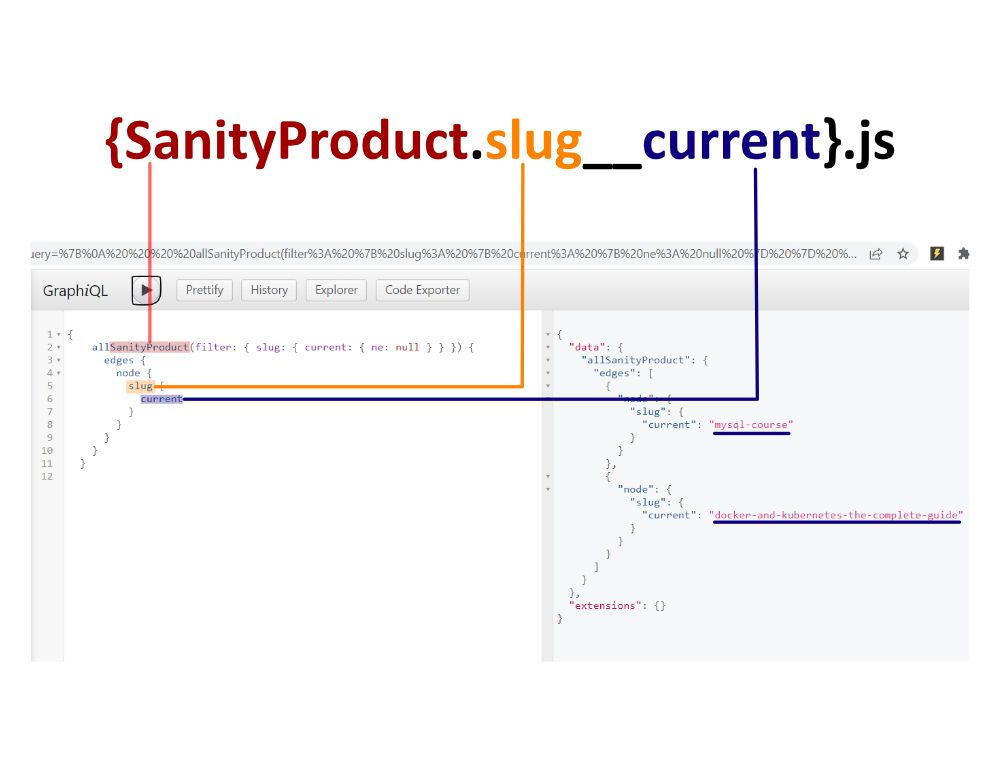
The curly bracket (in Gatsby) around the filename is meant to make slug dynamic. For the filename pattern, you can visualize it in the below image.

In the above image, we use the below Graphql query.
{
    allSanityProduct(filter: { slug: { current: { ne: null } } }) {
      edges {
        node {
          slug {
            current
          }
        }
      }
    }
  }
In the {SanityProduct.slug__current}.js, we can write the code as below:
import React from "react"
import { graphql } from "gatsby"

import Layout from "@components/layout"

export default function SingleProductPage({
  data: { sanityProduct },
  location,
}) {
  return (
    <>
      <Layout location={location}>{JSON.stringify(sanityProduct)}</Layout>
    </>
  )
}

export const query = graphql`
  query ($id: String) {
    sanityProduct(id: { eq: $id }) {
      _id
      title
      _rawBody
      _rawExerpt
      slug {
        current
      }
      productPrice {
        _id
        priceID
        content {
          _id
          slug {
            current
          }
        }
      }
      image {
        asset {
          id
          gatsbyImageData
        }
      }
    }
  }
`
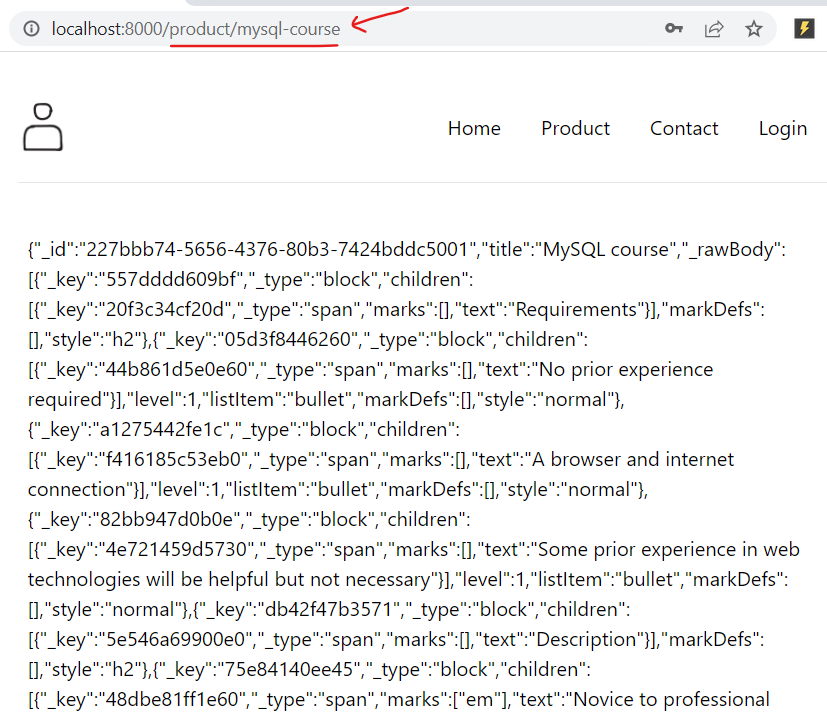
The above code renders in the browser as below:

We have rendered the product document data in the React component. Now, we need to style the data using Tailwind CSS. For that, we can create a component SingleProduct at the below location.
/src/components/singleProduct/singleProduct.js
📁 src
└──	📁 components
		└── 📁 singleProduct
				└── 📝 singleProduct.js
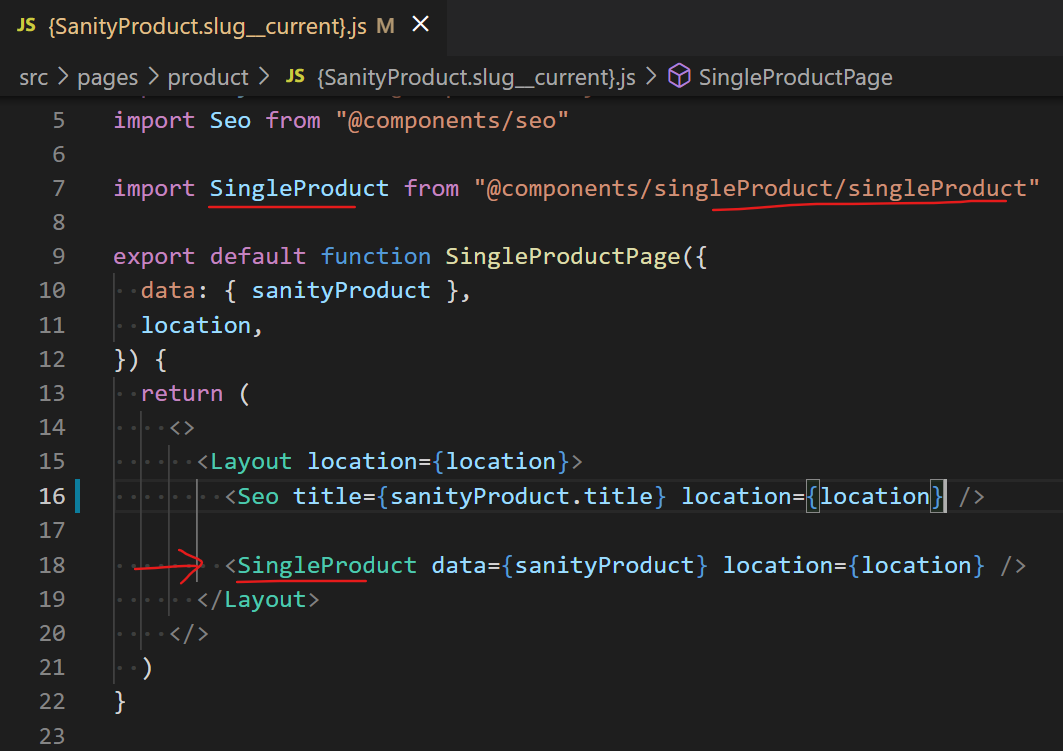
In the {SanityProduct.slug__current}.js, we can update the code as below:

In the singleProduct.js, to style the data, we can write the code as below.
import React from "react"
import { Link } from "gatsby"
import { GatsbyImage, getImage } from "gatsby-plugin-image"

const SingleProduct = ({
  data: { title, _rawExerpt, _rawBody, image, productPrice },
  location,
}) => {
  return (
    <main className="grid place-items-center">
      <section className="body-font">
        <span className="block mb-3 text-sm font-extrabold leading-snug text-center text-gray-400 md:text-left">
          COURSE
        </span>
        <div className="flex flex-col items-center pb-24 md:flex-row md:items-start">
          <div className="flex flex-col items-center mb-16 text-center lg:flex-grow md:w-1/2 lg:pr-14 md:pr-10 md:items-start md:text-left md:mb-0">
            <h1 className="mb-4 text-4xl font-extrabold leading-snug sm:text-4xl">
              {title}
            </h1>
            <p className="mb-8 leading-relaxed">{JSON.stringify(_rawExerpt)}</p>
            <div className="flex items-center justify-center">
              <button className="flex-shrink-0 px-6 py-2 mr-10 text-lg text-white bg-indigo-500 border-0 rounded focus:outline-none hover:bg-indigo-600">
                Buy the course
              </button>

              <p className="flex-shrink-0 text-2xl font-medium leading-snug text-gray-400">
                10 USD
              </p>
            </div>
          </div>
          <div className="w-5/6 lg:max-w-xs lg:w-full md:w-1/2">
            <GatsbyImage
              className="object-cover object-center rounded"
              image={getImage(image.asset)}
              alt={"heading"}
            />
          </div>
        </div>
      </section>

      <small className="prose max-w-fit">{JSON.stringify(_rawBody)}</small>
    </main>
  )
}

export default SingleProduct
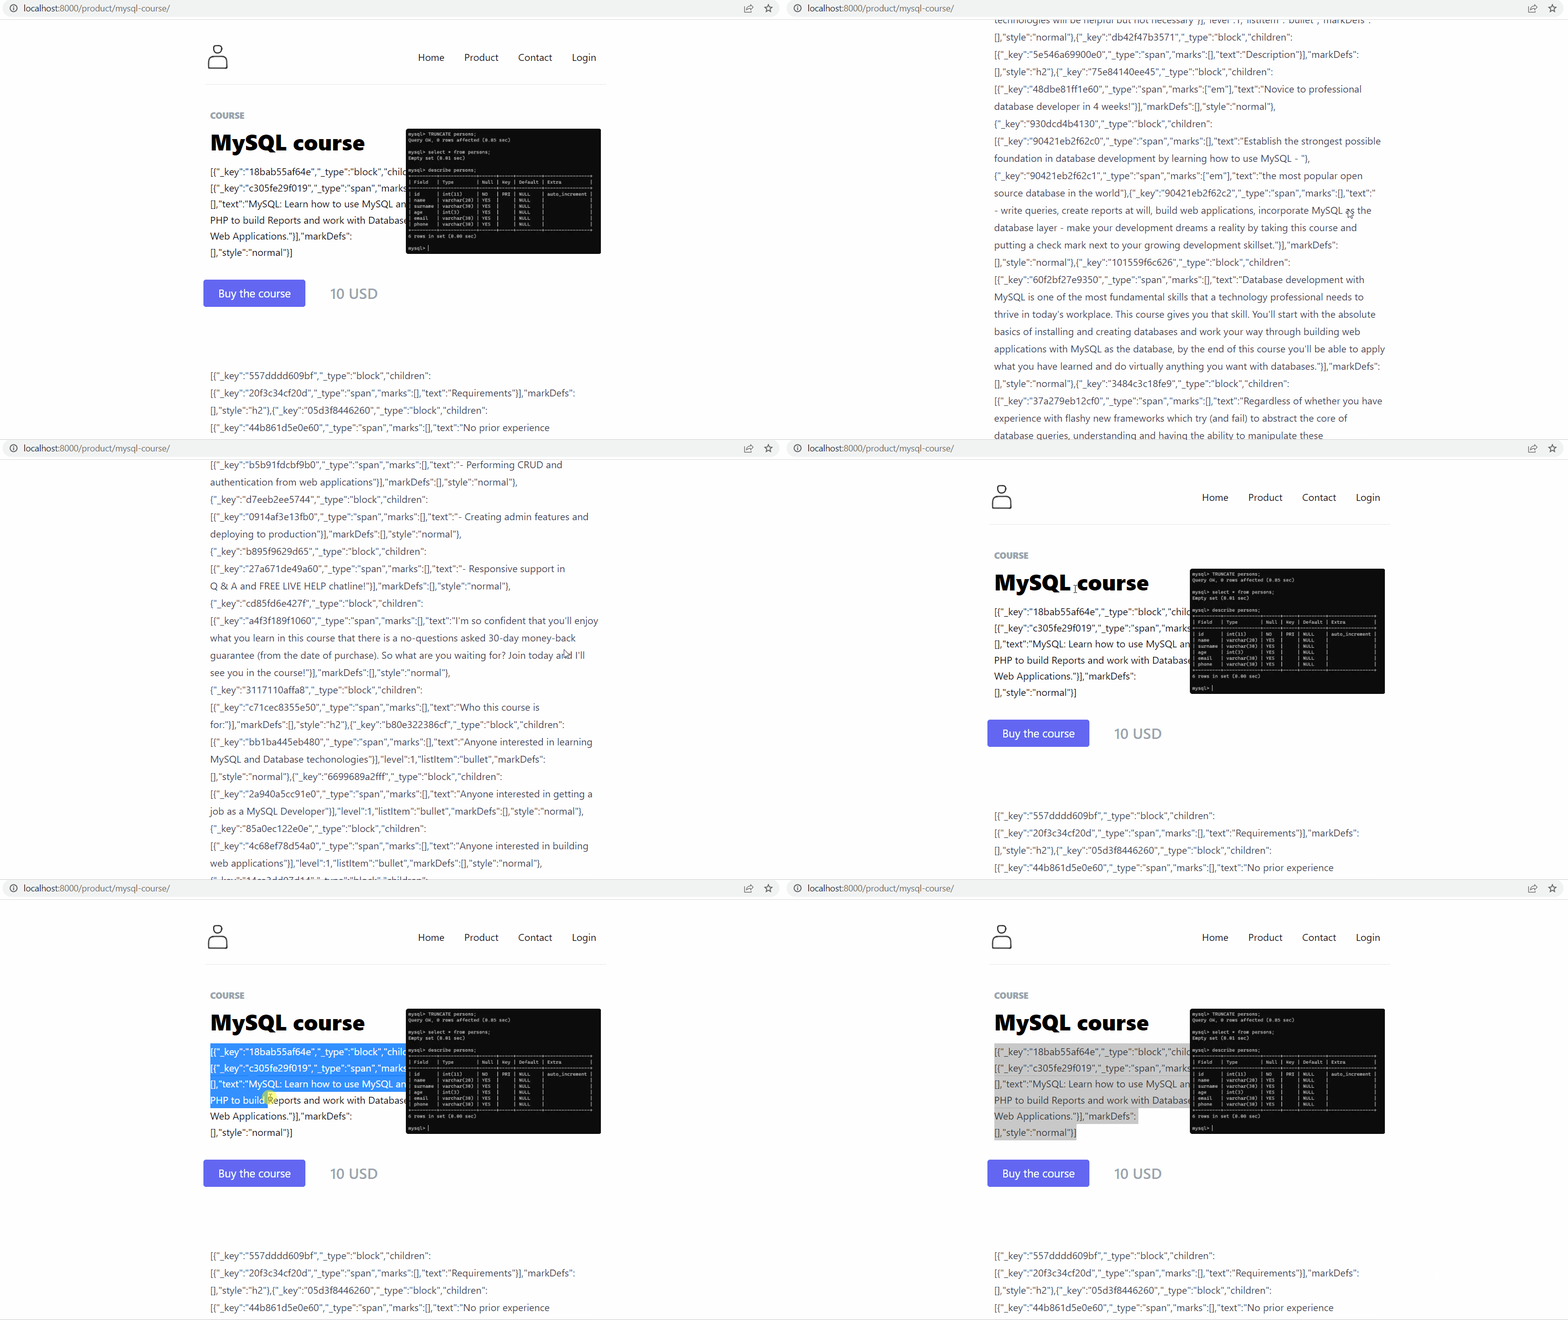
The above react component renders in the browser as below:

As shown in the above Gif, the text is rendered in the block text (JSON). We need to render the block text into the HTML in the browser so that the user can easily understand it. In the next section, we cover how to render the Sanity block text into HTML.