Get started with Gatsby js project
To get started with Gatsby js, we need to install Gatsby CLI by executing the below command in the terminal:
npm install -g gatsby-cli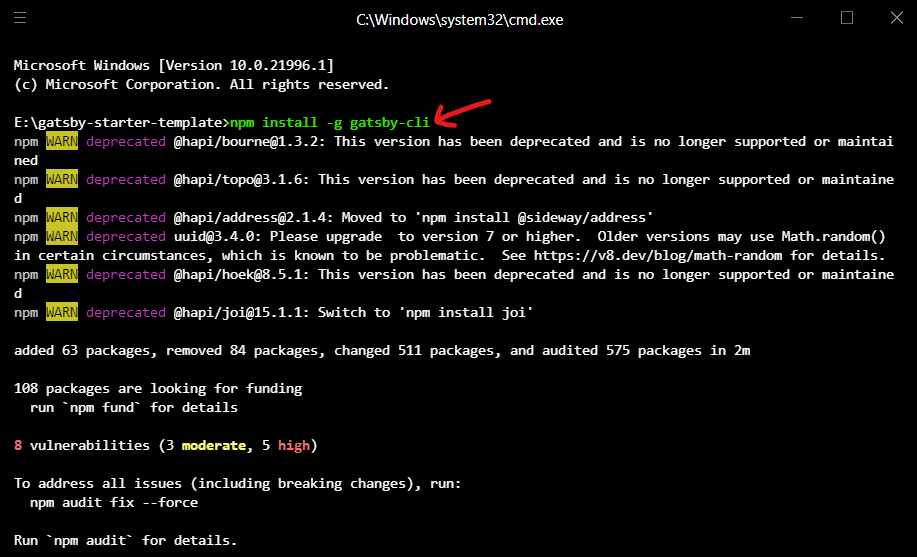
The Gatsby command-line tool (CLI) is the main entry point for getting up and running with a Gatsby application and for using functionality including running a development server and building out your Gatsby application for deployment.
After the gatsby-cli package is installed, we can now use gatsby commands in the terminal. For example, if we execute the below commands, we can view the list of commands that we can use.
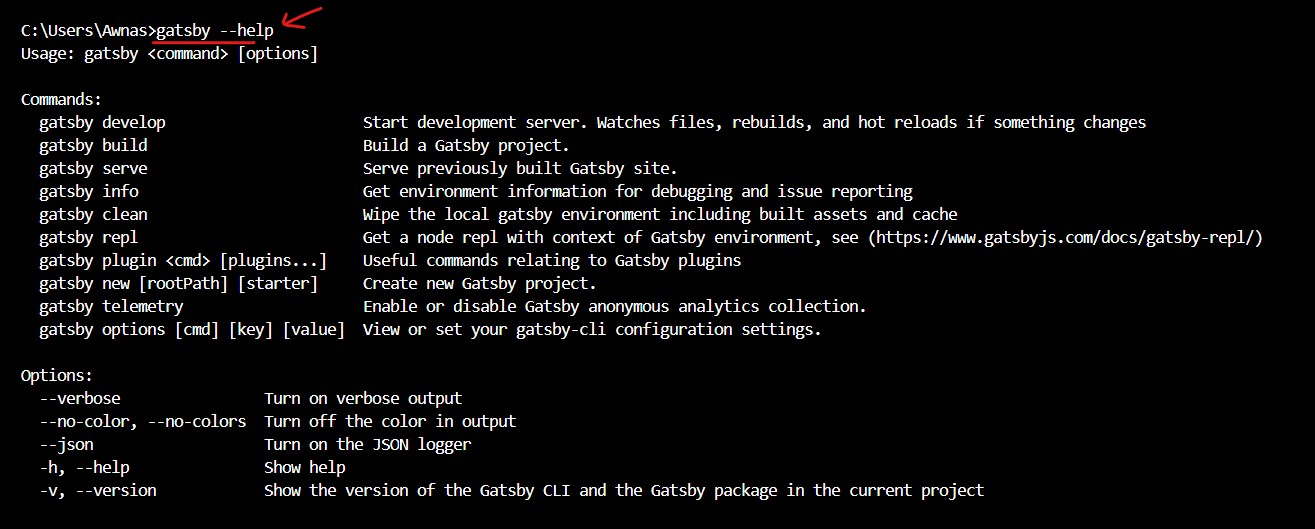
Later, we'll use the above commands to run the Gatsby project on the browser.
Gatsby Starter Template
Instead of building the basic structure (files/ folder) for Gatsby's site from scratch, we can use Gatsby's starter template as our initial point and from there we'll start building our concepts.
You can clone the below starter template from GitHub:
You can interact with the above repo project in the below code sandbox editor.
Please slide the above code editor to the shift between browser and code view.
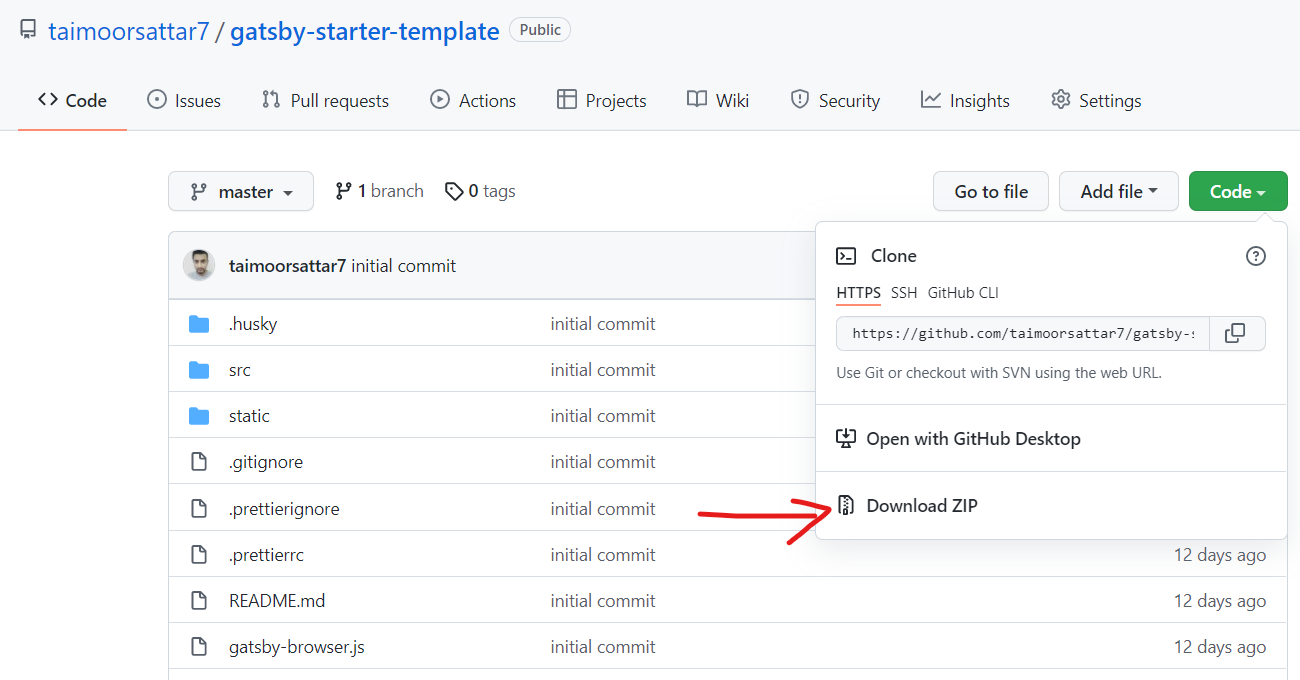
To run the Gatsby project locally, we can download the repo into the local system. For that, we can either download the Github repo or clone the repo using Git.
To download the starter template, Go to the Repo URL and download the Zip file as below.
The better option is to use GIT to clone the repo into your system. For that, you can open the command terminal and execute the below command.
git clone https://github.com/taimoorsattar7/gatsby-starter-templateThe above command downloads the repo into the gatsby-starter-template folder. You can navigate to the folder by executing the below command.
cd gatsby-starter-template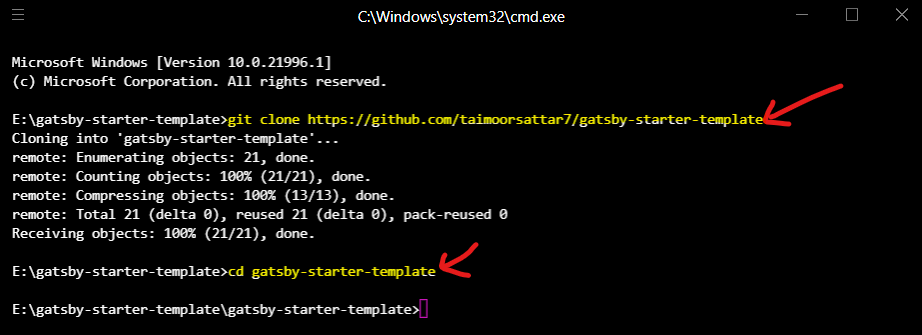
After that, we need to install the necessary npm packages that are required for the project. To install npm packages, we can execute the below command in the terminal.
npm install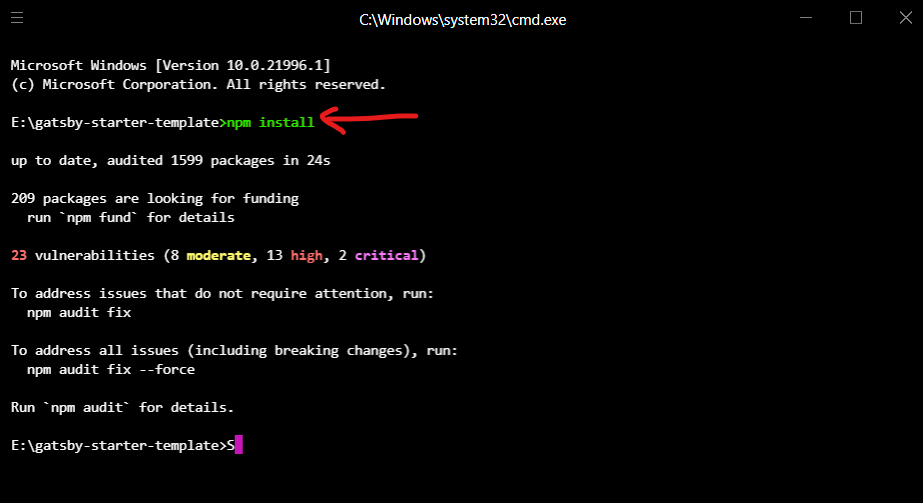
The above command downloads the necessary package in thenode_modulesfolder. Thepackage.jsonfile contains the information for the package used for the project.
In your working directory, there is a folder named .git that's hidden by default. To view the hidden .git folder, you need to check the hidden items options from the folder settings tab as below.
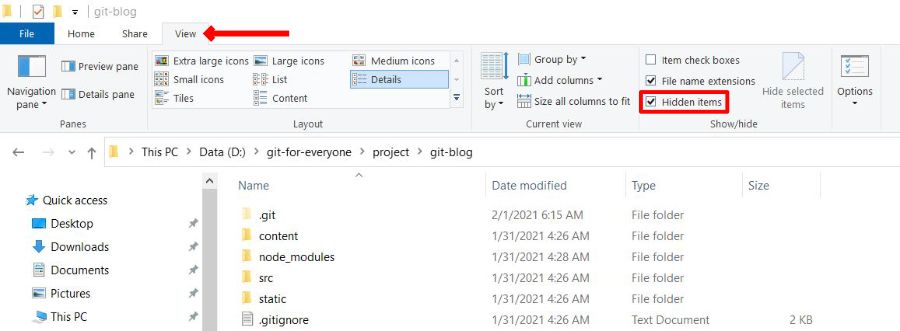
The .git folder keeps track of the history of your project. In case, if the .git folder is not available, you can execute git init command in the terminal.
Currently, our project folder hierarchy shows below:
├── .git
├── .vscode
├── node_modules
├── src
├── static
├── .editorconfig
├── .gitignore
├── .prettierignore
├── .prettierrc
├── gatsby-browser.js
├── gatsby-config.js
├── gatsby-node.js
├── package-lock.json
├── package.json
└── README.md
Each of the files/folders has its own reason to exist as mentioned below.
To run the project in the local system, we can execute the below command in the terminal:
npm run develop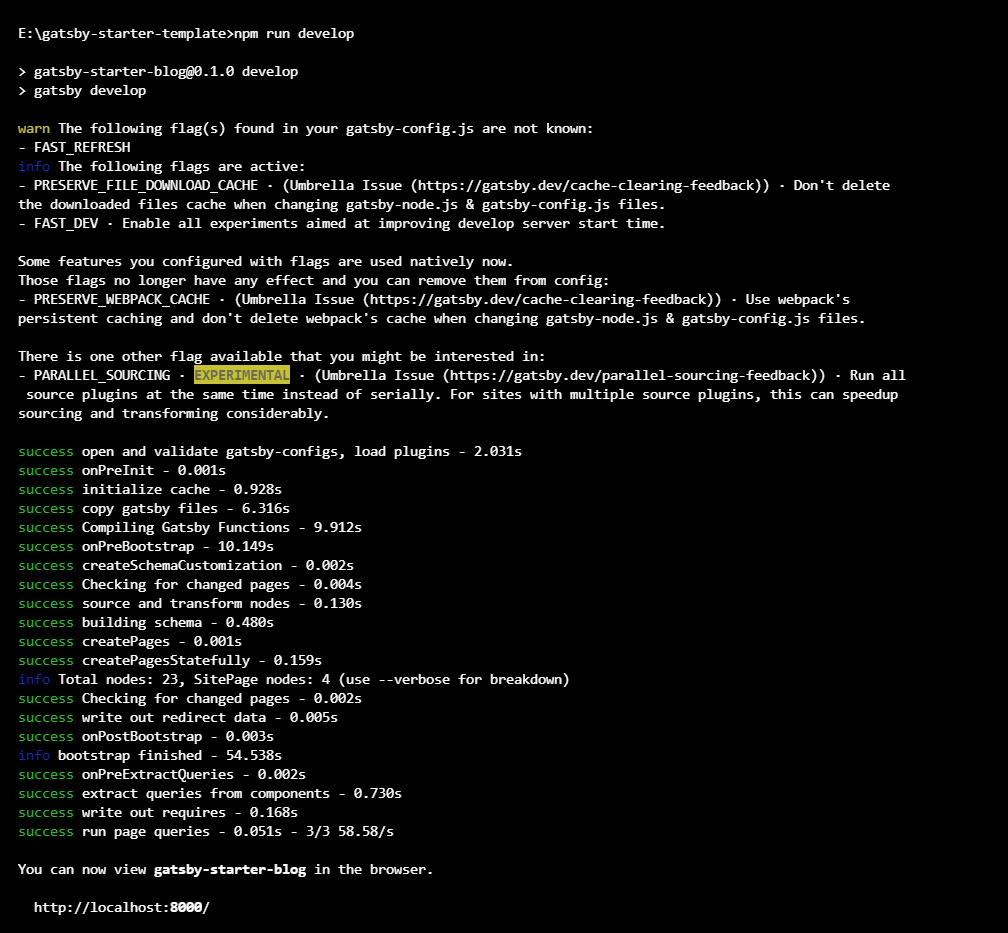
The above command actually runs gatsby develop in the terminal. In the package.json file, we can view the list of script commands that we can execute with npm run.

After the code is successfully compiled, we visit the URL http://localhost:8000 in the browser. The pages will render as below:
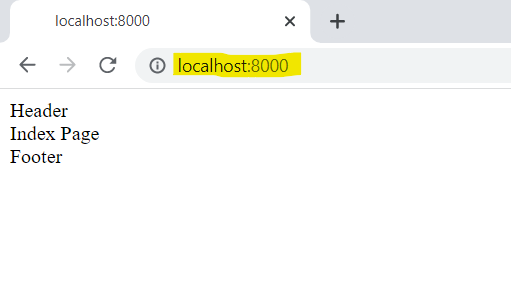
Great! The project code is successfully rendered on the browser. Next, we'll update the code to render the different pages on the browser and push the latest changes on Github.