Deploy Sanity Studio on netlify
You can access the complete Sanity project at the below Github repo.
At present, the Sanity Studio project is available on our local system. We can deploy the Sanity Studio on the netlify subdomain. For that, we need to create another Github repo.
In order to create a Github repo, we can visit the below website:
If you don't have a Github account, then create one.

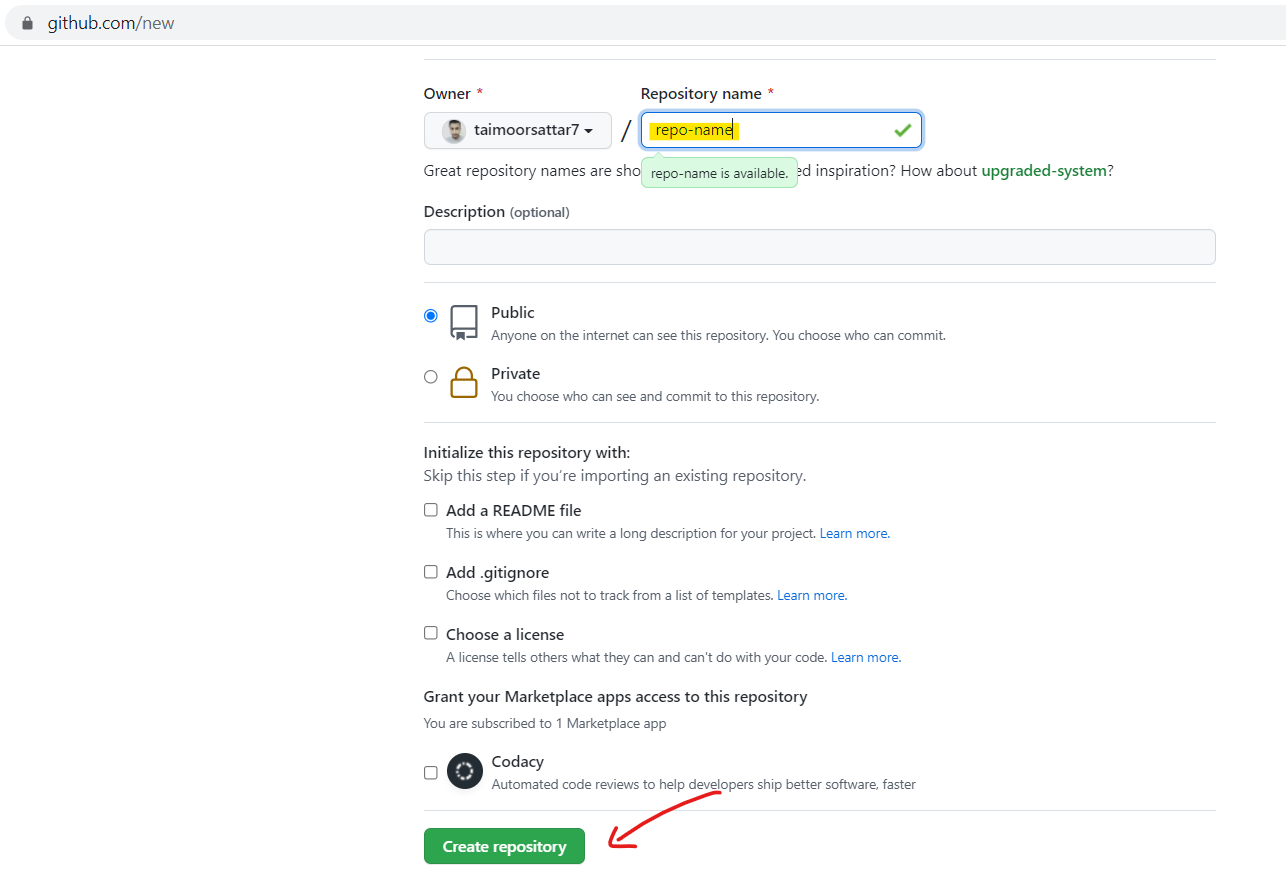
Once you register into GitHub, you create a new repository. To create a repo on the Github website, you can navigate to the below route.

After that name your repository and click the create button.
After you click the create button, a page appears with instructions on how you can push your local project on the Github repo as below.
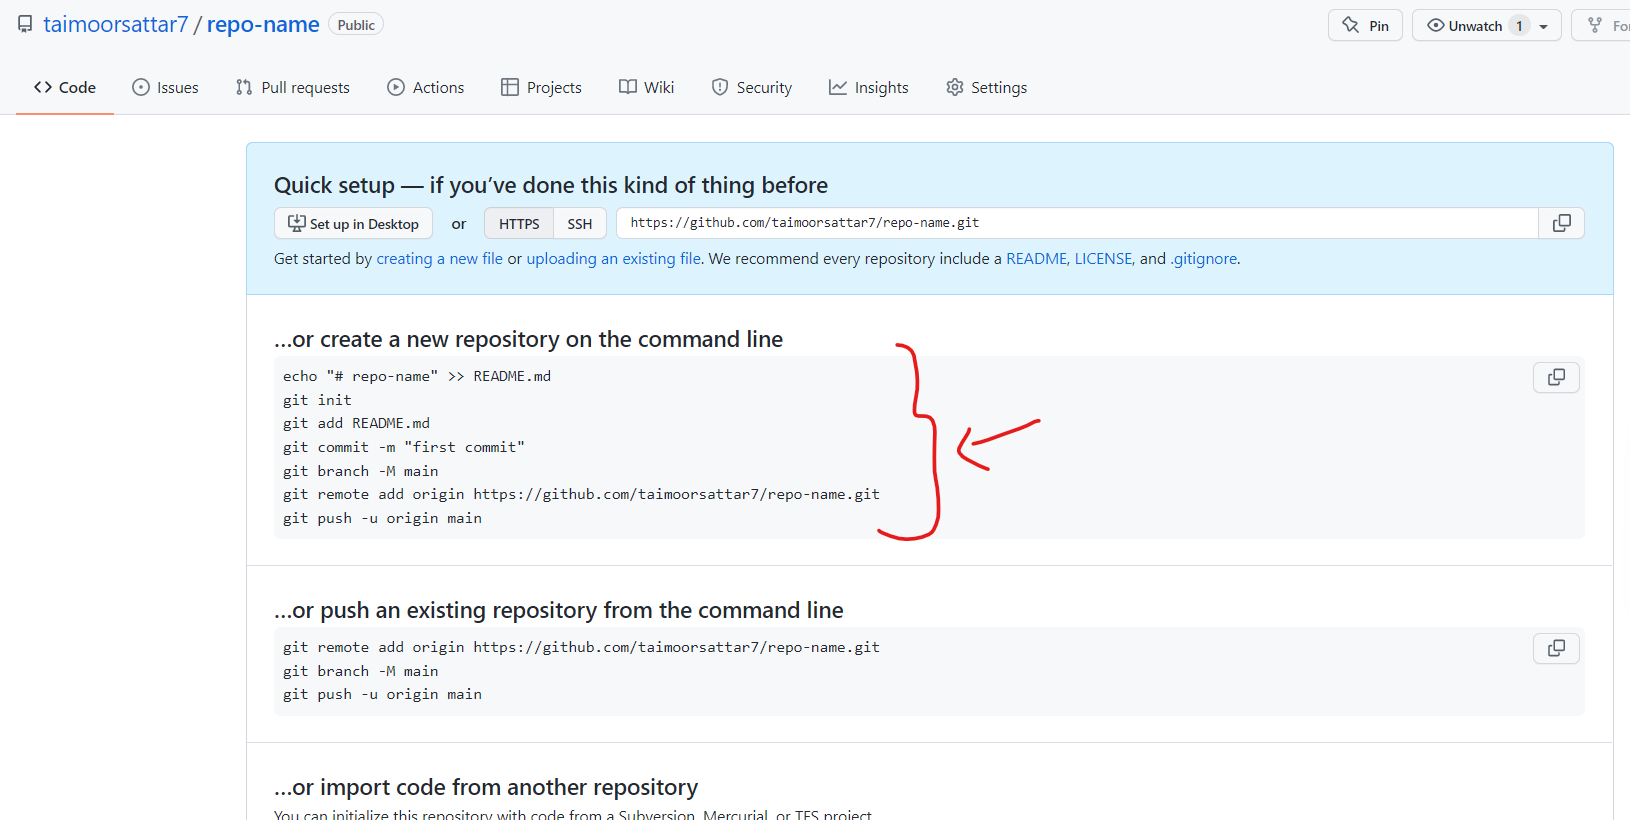
To push the project on the Github repo, head over to the local folder and open the command prompt. Next, execute the below command in the terminal.

In the above commands, you initialize the git repo in your local project and assign the repo URL to your local project. Make sure that you mention your respective repo name.
After that, you can execute the below (3) commands in the terminal to push your project file on the Github repo.
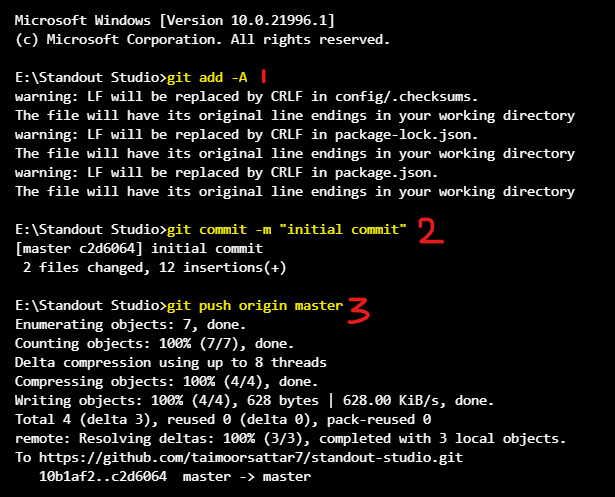
After executing the above command, refresh the Github repo page and you can view the project files available on the GitHub repo as below.
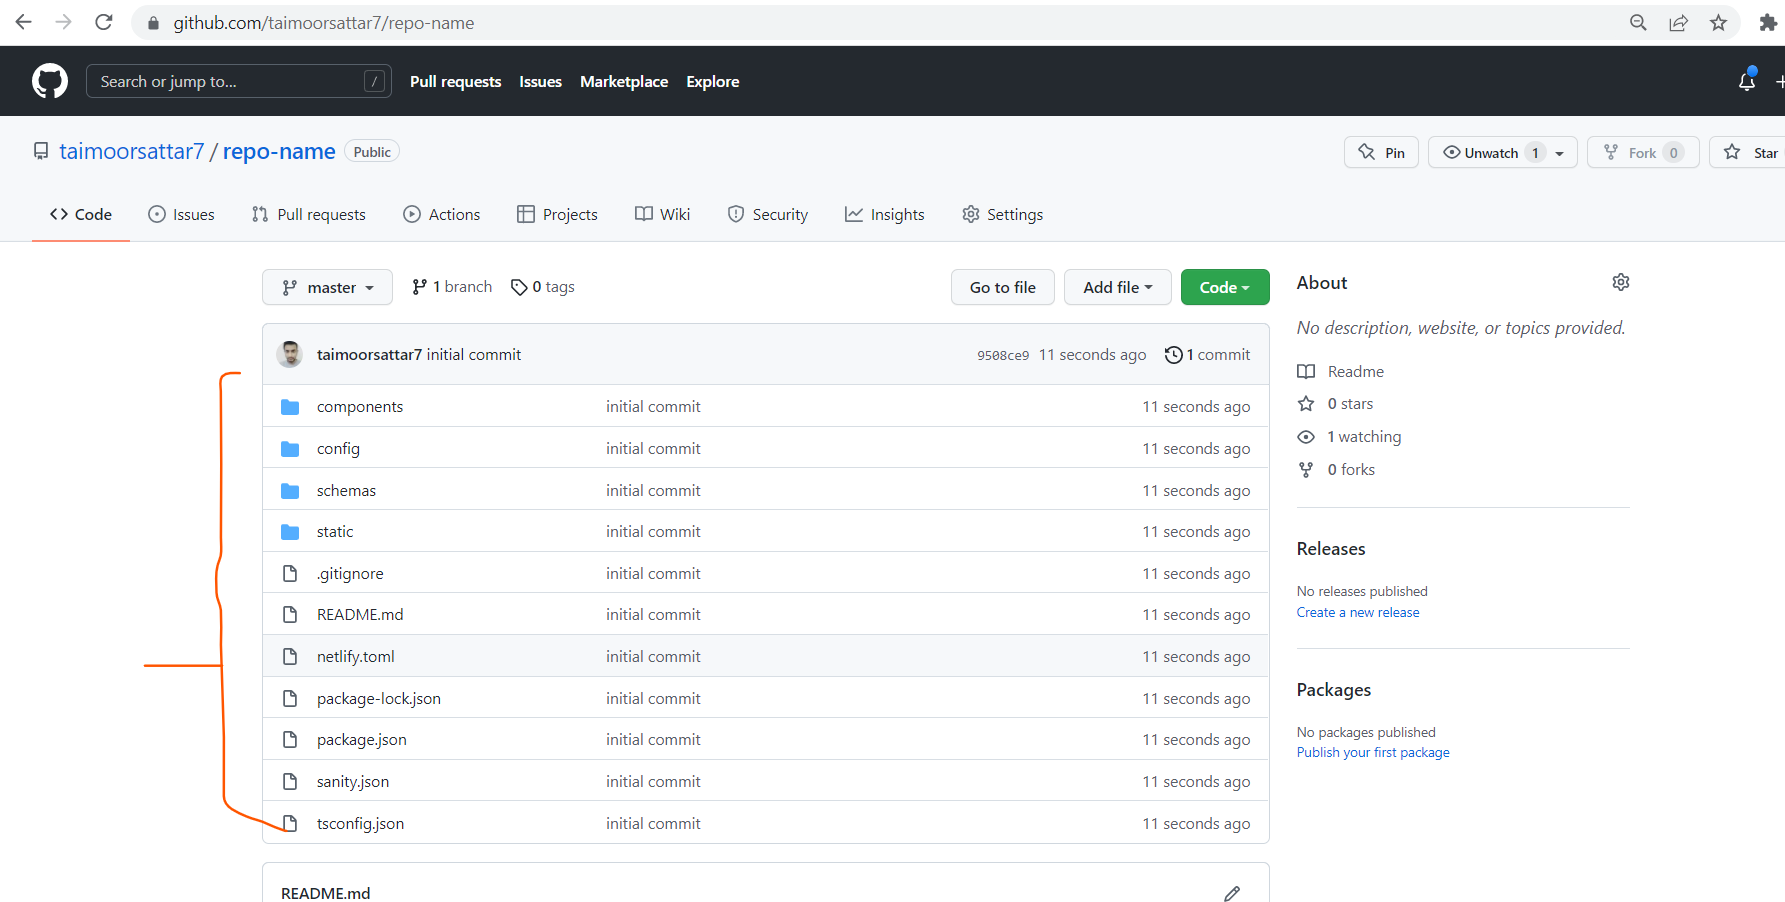
The project files are available on the Github repo. Now, we can now deploy the project on the netlify subdomain. For that, visit the below website and create an account.
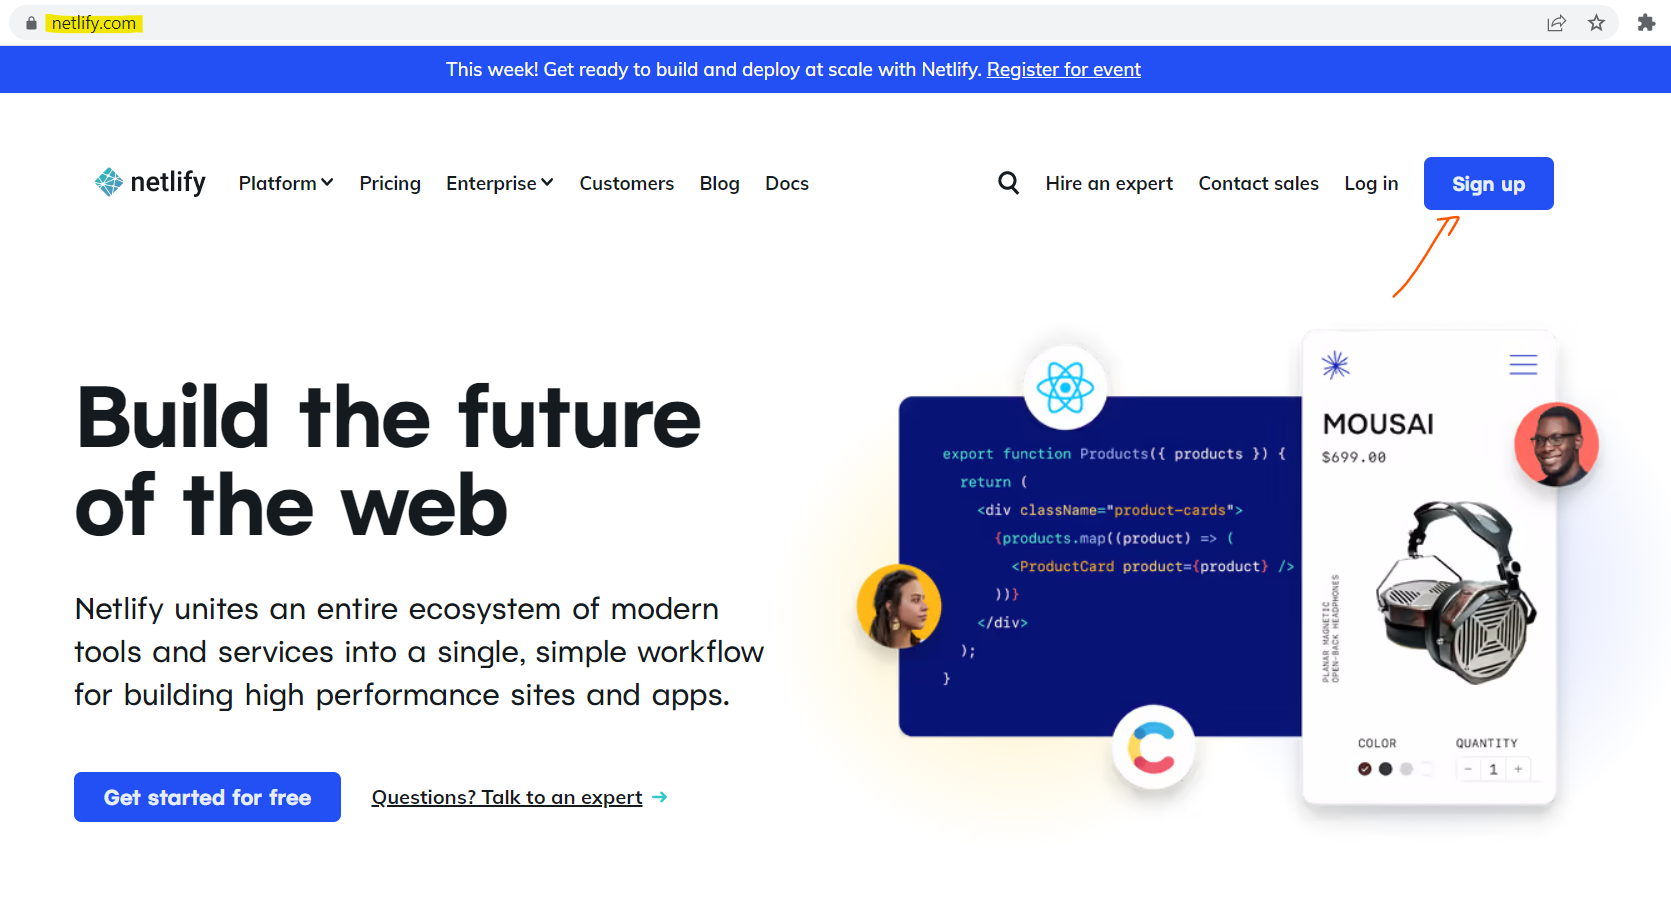
If you don't have a netlify account, create one.
After login, the Netlify dashboard preview is as below.
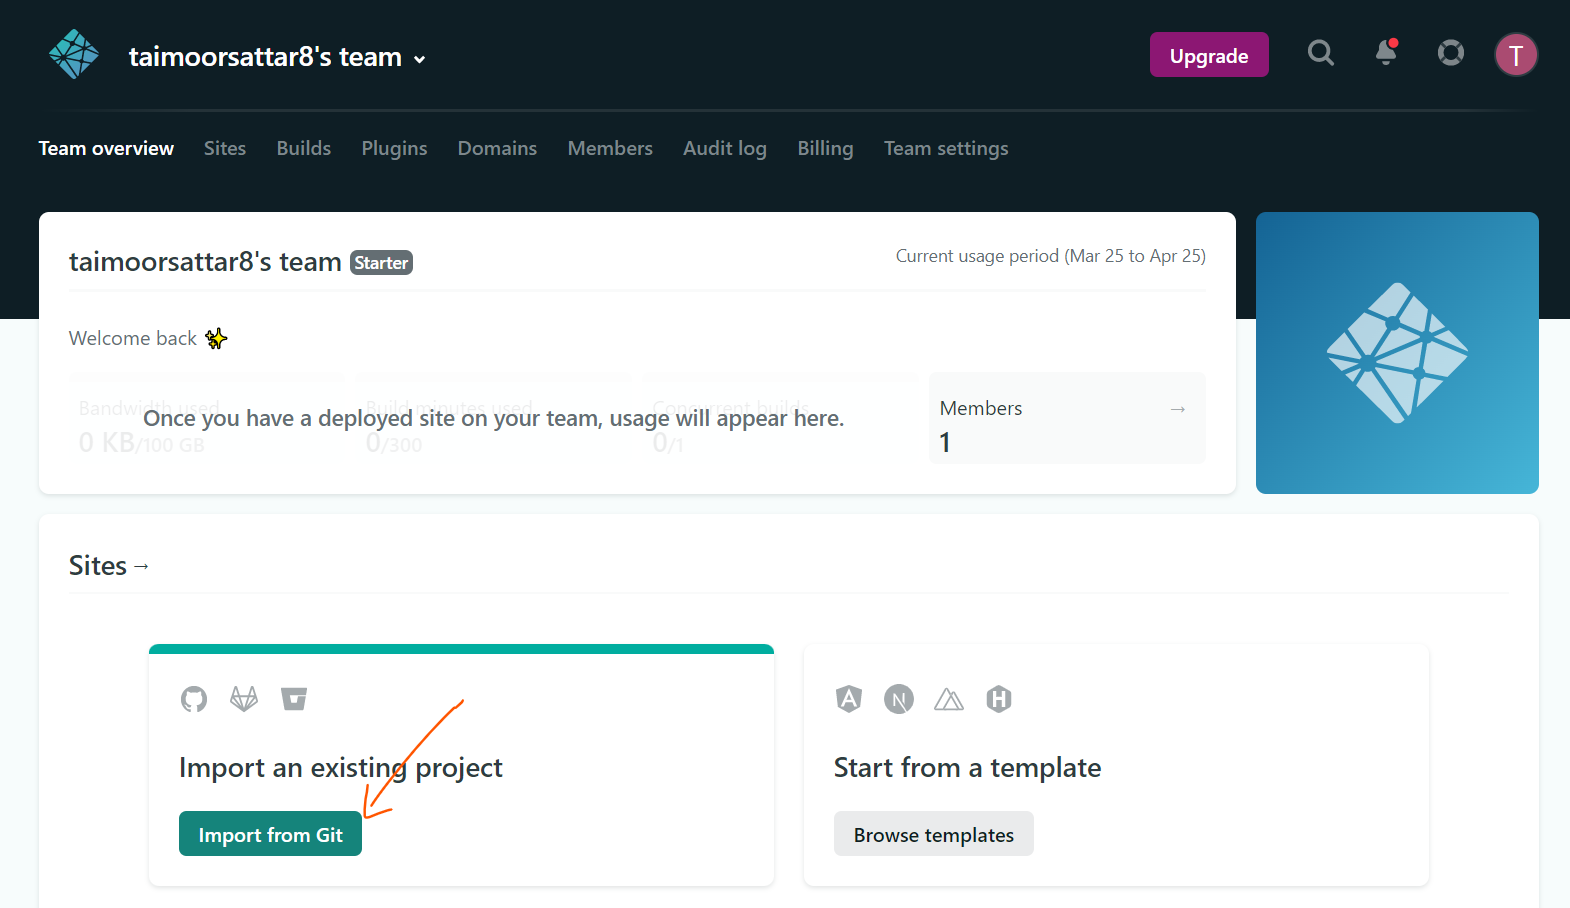
In the above image, click the "Import from Git" button.
After, a page loads from where we can connect the GitHub account as below:
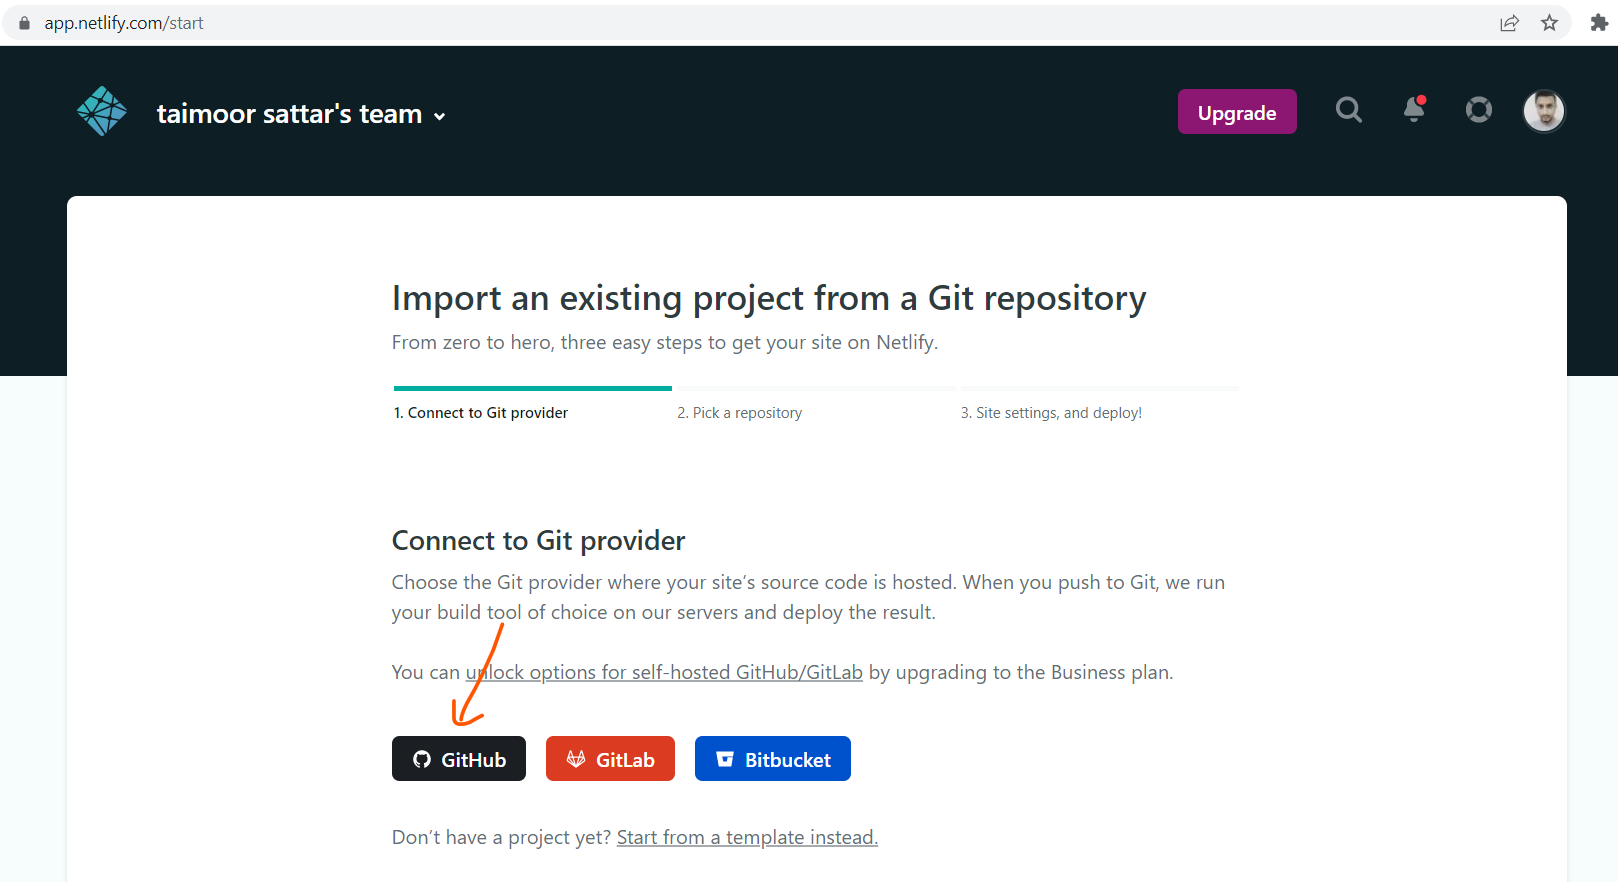
Next, a page loads from where we can select the Github repository to deploy on Netlify.
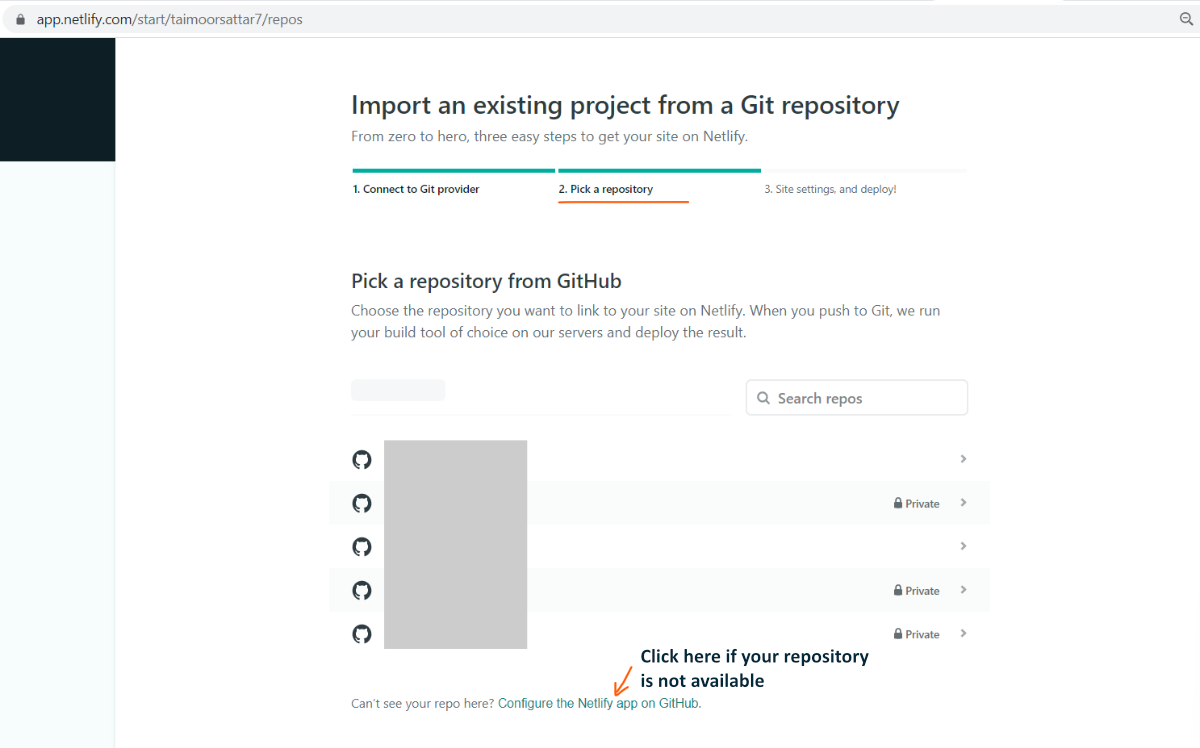
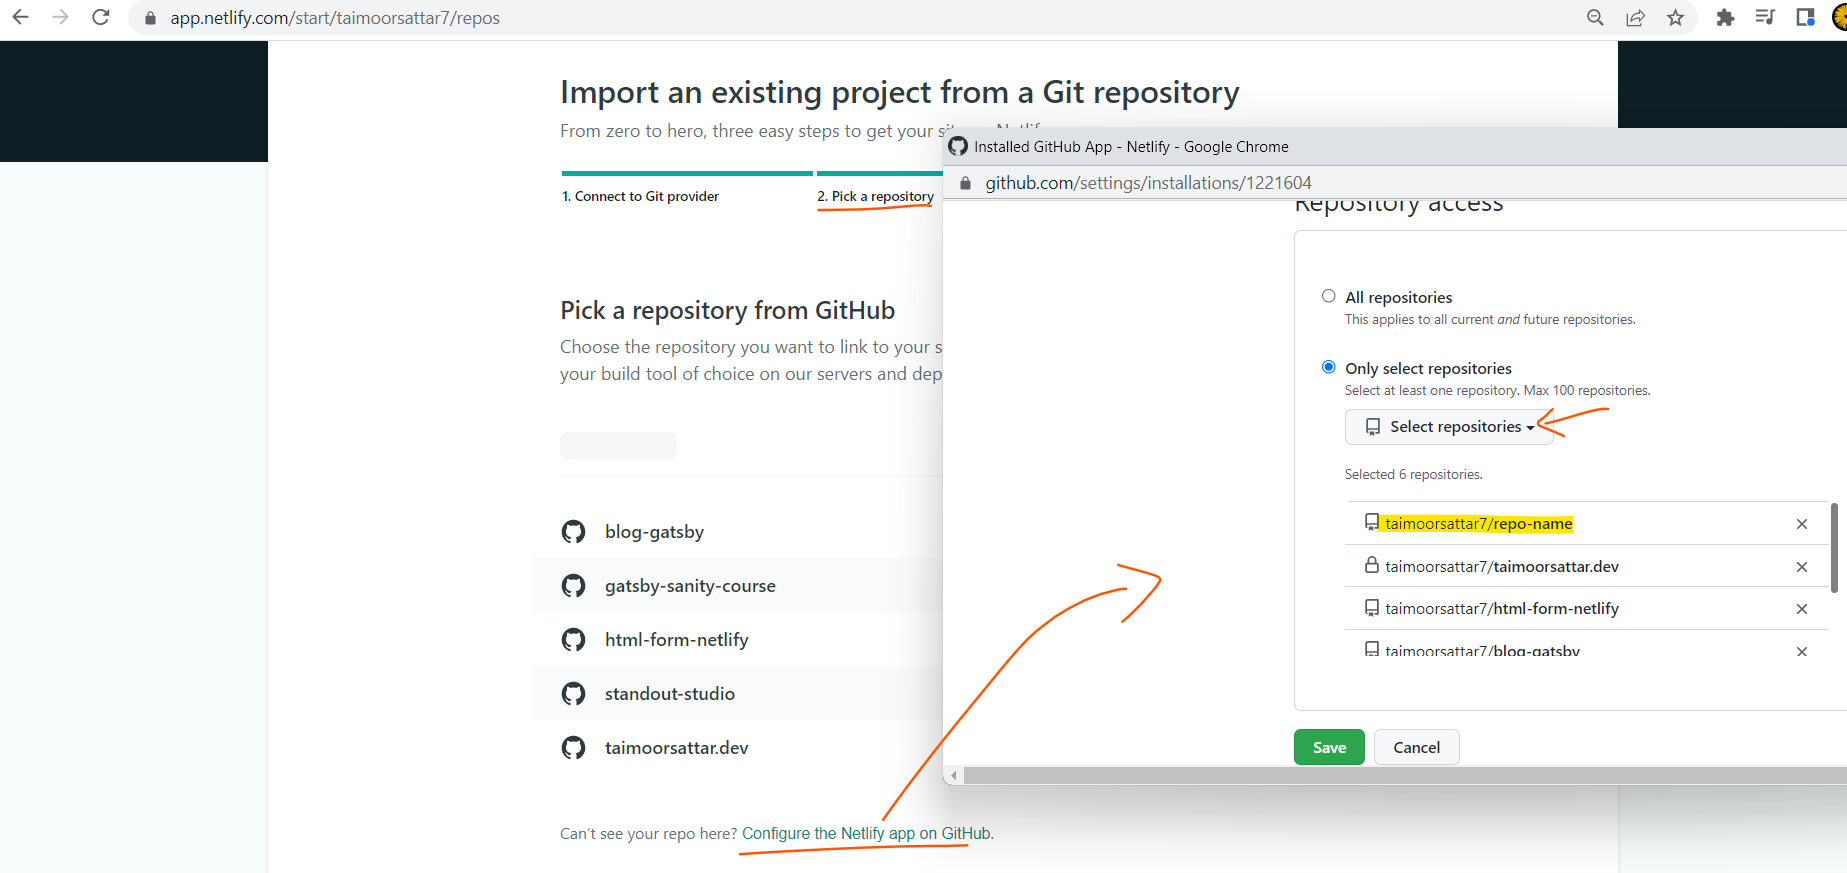
Initially, If the respective repository is not visible on the page, you can navigate as shown in the below image to add the repository.
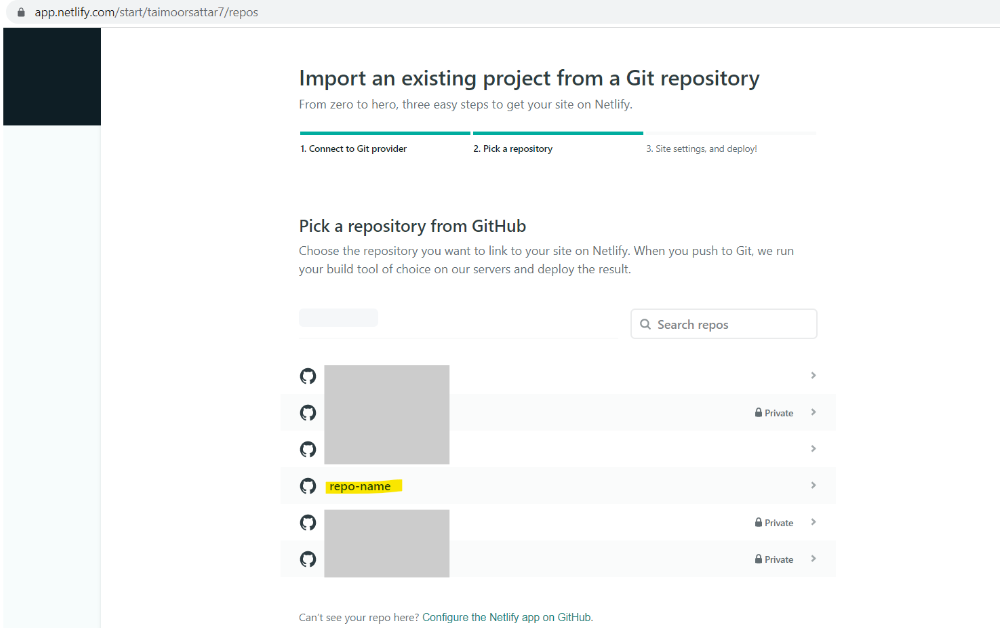
After we select the repository, we can view the repository on the page.
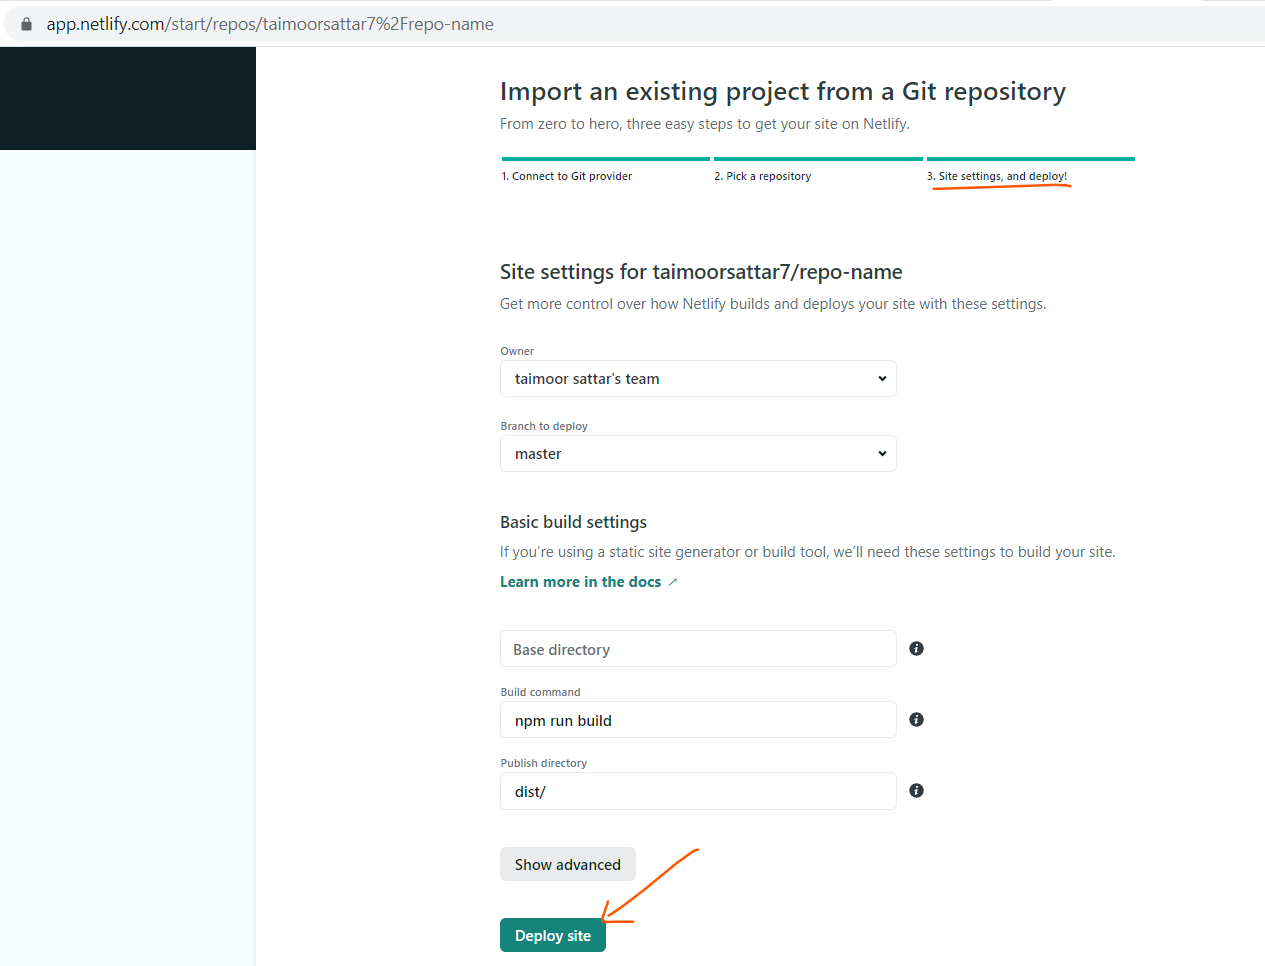
Next, click the "deploy site" button as shown in the below image.
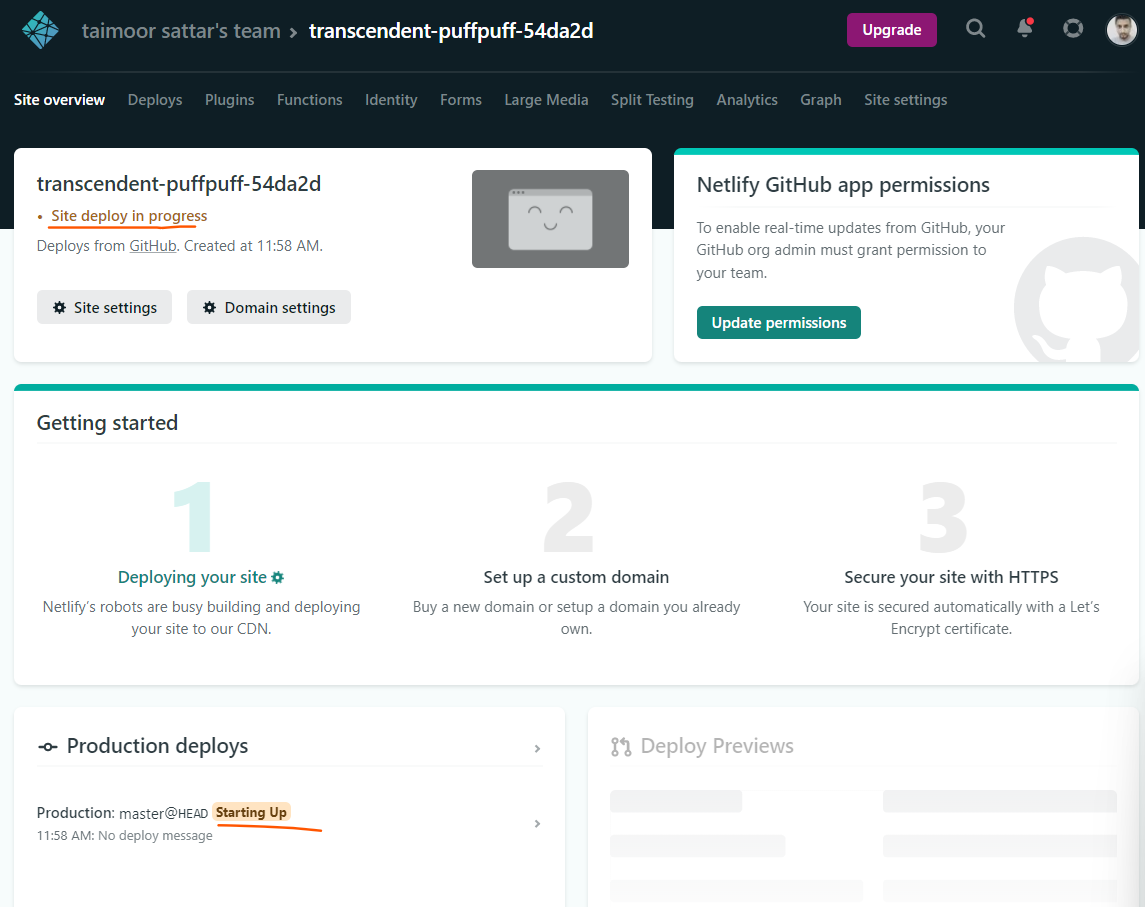
After clicking the "deploy site" button, Netlify takes some time to build the website and deploy the site on the internet. As shown in the below image, the site deployment is in progress.
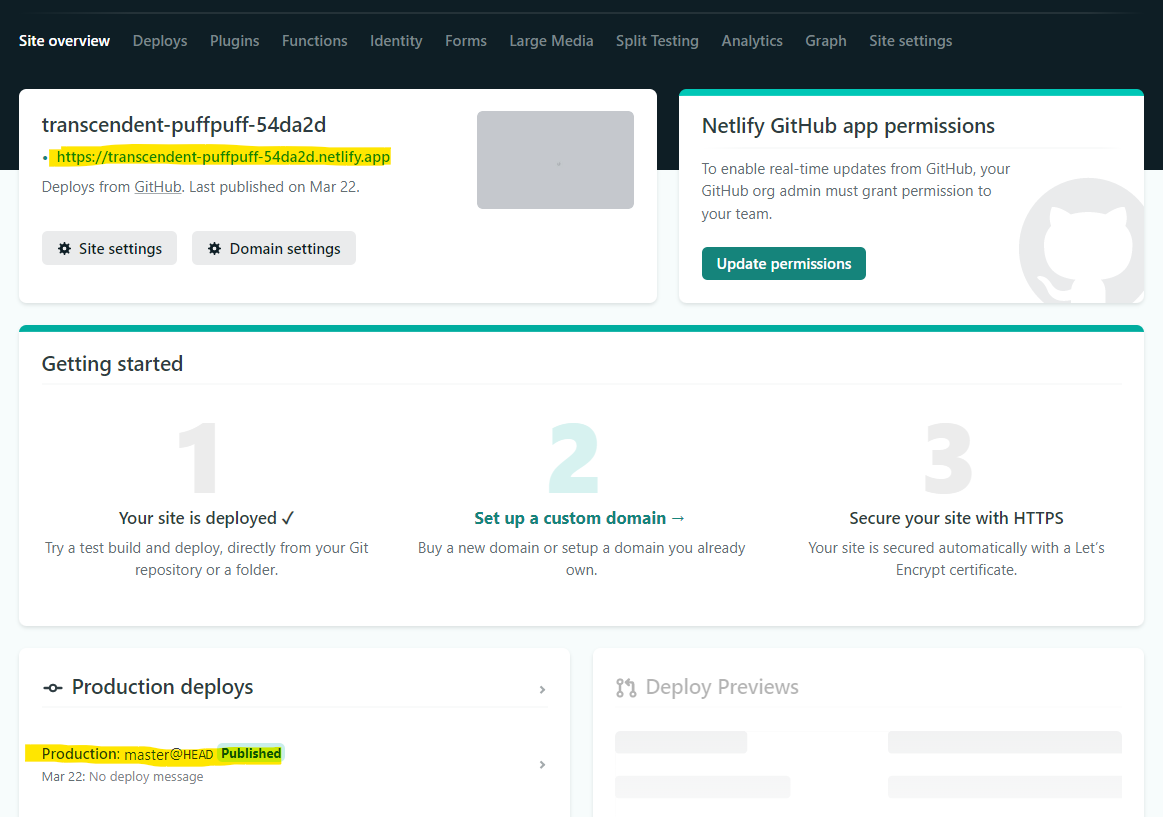
After the site is deployed on Netlify, you can view the deployed URL as shown in the below image.
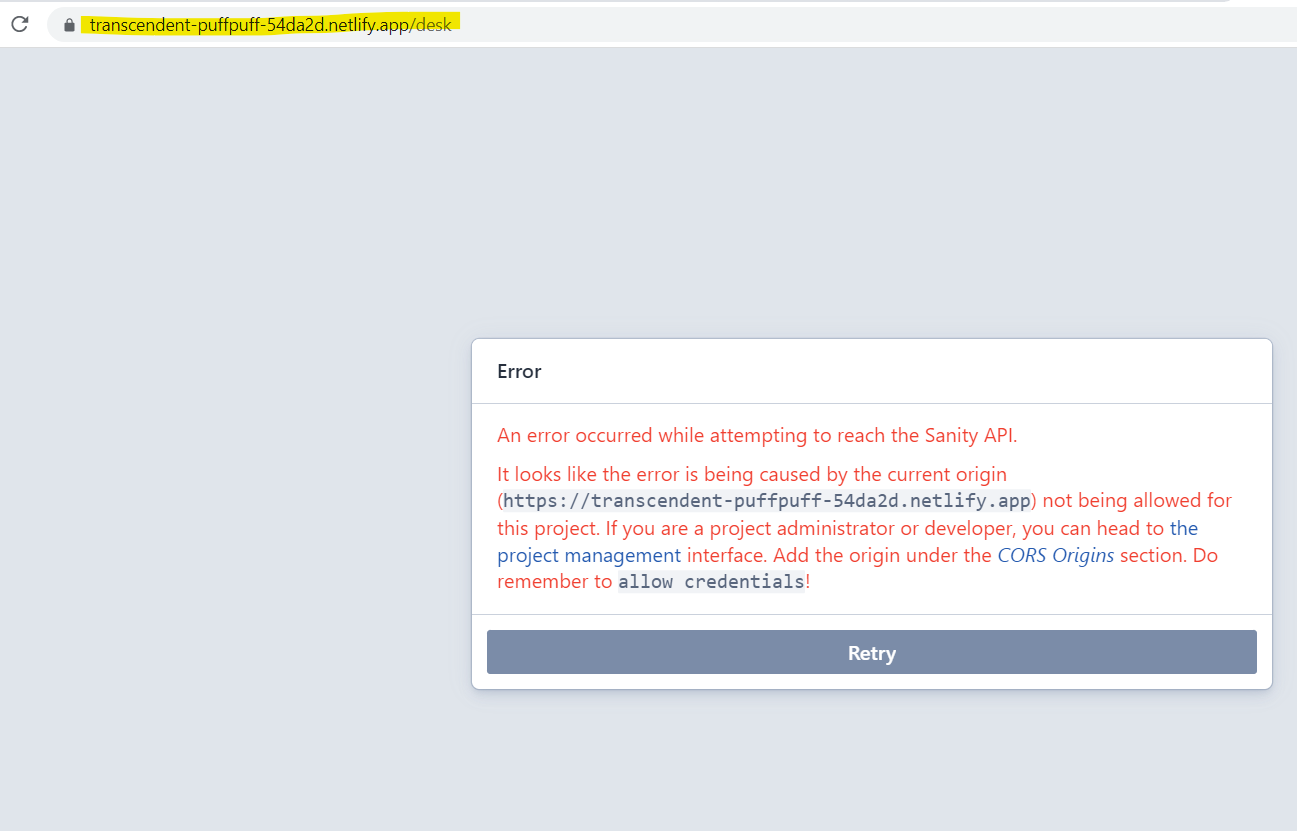
Now, if we visit the URL, we can view the CORS origin error as shown in the below image.
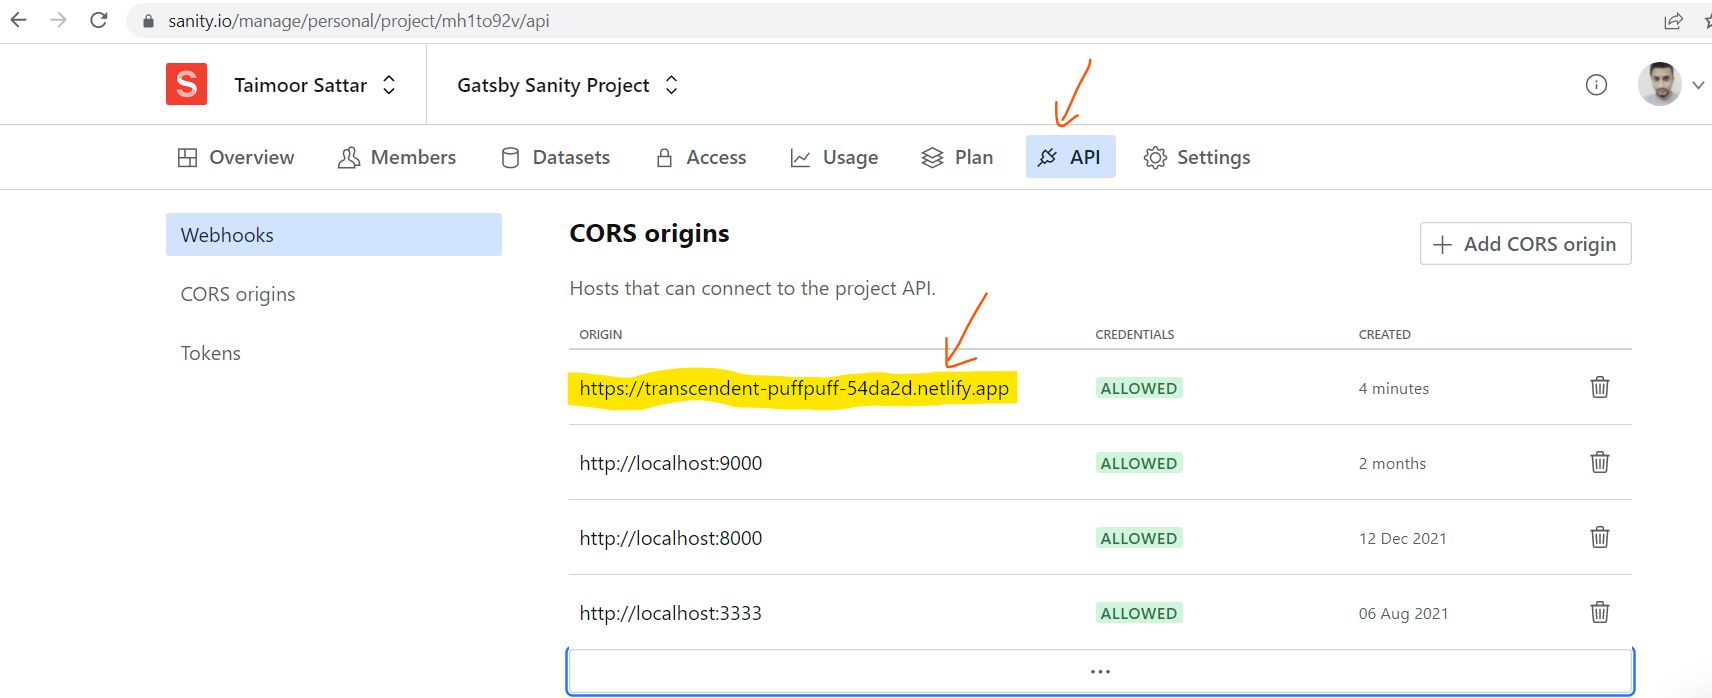
To resolve the CORS issue, we can add the domain URL in the Sanity dashboard as below:
Now, If we now visit the URL, the sanity studio preview is below.
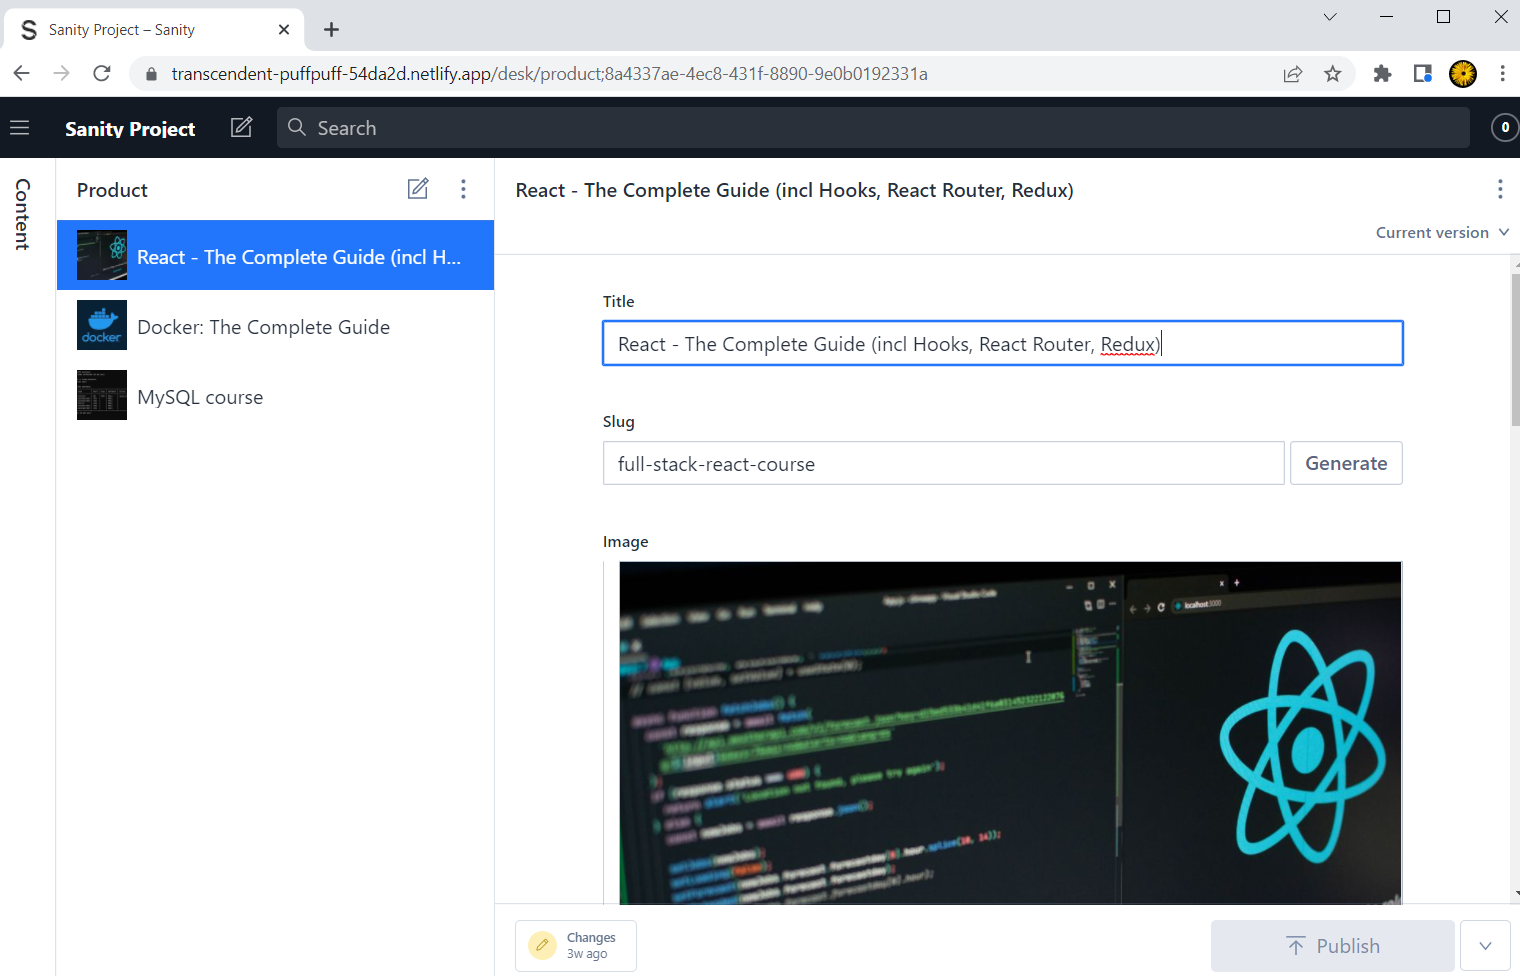
Congrats, we have deployed the Sanity Studio on Netlify.