Source the sanity data at build time
As for now, we have created the documents in the Sanity Studio. To fetch the latest data from the Sanity Server at build time, make sure to deploy your Sanity GraphQL layer.
You can execute the below command in the terminal at the root of the Sanity project to deploy the GraphQL layer.
sanity graphql deploy👉 Remember that you should execute the above command in the sanity project folder.
After the Sanity GraphQL layer is deployed, you can view the deployed URL in the terminal that is similar to the below URL.
https://<projectId>.api.sanity.io/v1/graphql/<dataset>/defaultTo fetch the data at build time, we can use the gatsby plugin, gatsby-source-sanity. This plugin source the data from the Sanity Server at build time to Gatsby's GraphQL layer.
To install the npm package gatsby-source-sanity in the gatsby project (web folder), we can execute the below command in the terminal.
npm install gatsby-source-sanityAlso, to work with a sanity image, we need to install the gatsby-plugin-image in the Gatsby project.
npm install gatsby-plugin-imageIn the gatsby-config.js file, we can use the gatsby-source-sanity plugin to import data from Sanity Server at build time.
module.exports = {
  plugins: [
		`gatsby-plugin-image`,
    {
      resolve: `gatsby-source-sanity`,
      options: {
        projectId: "7p4bxs1b",
        dataset: "production",
        // a token with read permissions is required
        // if you have a private dataset
        token: process.env.SANITY_TOKEN,

        // If the Sanity GraphQL API was deployed using `--tag <name>`,
        // use `graphqlTag` to specify the tag name. Defaults to `default`.
        graphqlTag: "default",
      },
    }
  ]
}
Remember to putprojectId,dataset, andtokenfor your respective project. TheprojectId,dataset, andtokenvalue is retrieved from the.envvariable files.
After that, you can re-develop the project by executing the below command in the terminal.
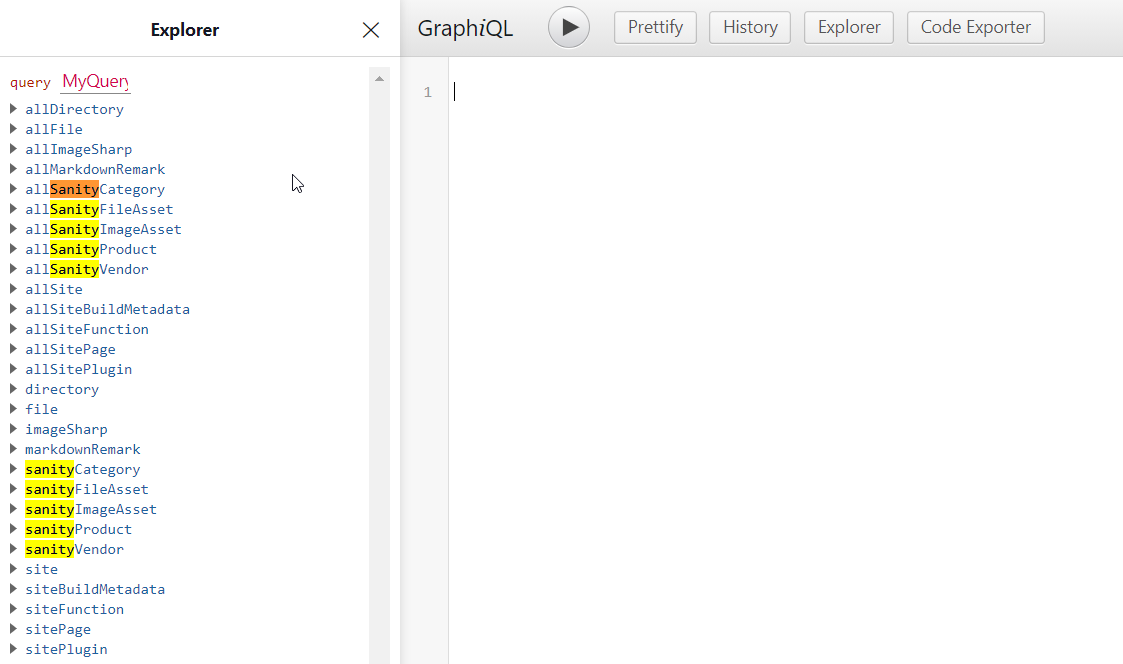
npm run devNow, If you visit http://localhost:8000/___graphql, you can query Sanity data using GraphQl.

Render the Sanity data
To fetch the list of course data at build time, we can write the GraphQL query as below:
query ModulesSpace {
  allSanityProduct {
    nodes {
      title
      _rawExerpt
      slug {
        current
      }
      tags
      id
      image {
        asset {
          id
          gatsbyImageData
        }
      }
    }
  }
}
In Gatsby's, we can create a slug to render the list of the product page at /product. For that we can create a file at the below location:
src/pages/product.js
In the product.js, we can write the code as below
import React from "react"

import Layout from "@components/layout"
import Seo from "@components/seo"

import { useStaticQuery, graphql } from "gatsby"
import ProductList from "@components/productList"

const Product = ({ location }) => {
  const {
    allSanityProduct: { nodes },
  } = useStaticQuery(graphql`
    query ModulesSpace {
      allSanityProduct {
        nodes {
          title
          _rawExerpt
          slug {
            current
          }
          tags
          id
          image {
            asset {
              id
              gatsbyImageData
            }
          }
        }
      }
    }
  `)
  return (
    <>
      <Layout location={location} title="Contact Me">
        <Seo title="All posts" />
        <section className="text-gray-700 body-font">
          <div className="flex flex-wrap -m-4">
            {nodes.map(product => {
              return <ProductList data={product} />
            })}
          </div>
        </section>
      </Layout>
    </>
  )
}

export default Product
In the above code, we render the GraphQL data in JSON format. We need to style the GraphQL data using TailwindCSS. For that, we can create the React component as below and pass the data to the React component.
src/components/productList.js
In the productList.js, we can write the code as below:
import React from "react"

import { GatsbyImage, getImage } from "gatsby-plugin-image"

import { Link, useStaticQuery, graphql } from "gatsby"

import PortableText from "@components/portabletext/portableText"

function truncate(str, no_words) {
  return str.split(" ").splice(0, no_words).join(" ")
}

export default function ProductList({ data }) {
  return (
    <div className="p-4 md:w-2/4">
      <section className="flex flex-col justify-center antialiased">
        <div className="h-full">
          <div className="max-w-xs mx-auto">
            <div className="flex flex-col h-full bg-white shadow-lg rounded-lg overflow-hidden">
              <Link
                className="block focus:outline-none focus-visible:ring-2"
                to={`/modules/${data.slug.current}`}
              >
                <figure className="relative h-0 pb-[56.25%] overflow-hidden">
                  <GatsbyImage
                    className="absolute inset-0 w-full h-full object-cover transform hover:scale-105 transition duration-700 ease-out"
                    image={getImage(data.image.asset)}
                    alt={"heading"}
                  />
                </figure>
              </Link>
              <div className="flex-grow flex flex-col p-5">
                <div className="flex-grow">
                  <header className="mb-3">
                    <a
                      className="block focus:outline-none focus-visible:ring-2"
                      href="#0"
                    >
                      <h3 className="text-xl text-gray-900 font-extrabold leading-snug">
                        {data.title}
                      </h3>
                    </a>
                  </header>

                  <div className="mb-8">
                    <p className="text-clip overflow-hidden">
                      {data._rawExerpt && (
                        <PortableText blocks={data._rawExerpt} />
                      )}
                    </p>
                  </div>
                </div>

                <div className="flex justify-end space-x-2">
                  <Link
                    className="font-semibold text-sm inline-flex items-center justify-center px-3 py-1.5 border border-transparent rounded leading-5 shadow-sm transition duration-150 ease-in-out bg-indigo-500 focus:outline-none focus-visible:ring-2 hover:bg-indigo-600 text-white"
                    to={`/product/${data.slug.current}`}
                  >
                    Go to the page »
                  </Link>
                </div>
              </div>
            </div>
          </div>
        </div>
      </section>
    </div>
  )
}
Summary:
- Always deploy the GraphQL layer of the Sanity
- Install
gatsby-plugin-imageandgatsby-source-sanityplugin to source the Sanity data at build-time.