Serverless function for contact form
In this section, we'll create a serverless function to send the email to the recipient using SendGrid.
The serverless function for the contact form accepts the below payload.
- Subject
- Text Body
To send an email, we'll use 3rd party email delivery provider, SendGrid. You can visit the official SendGrid page at the below website.
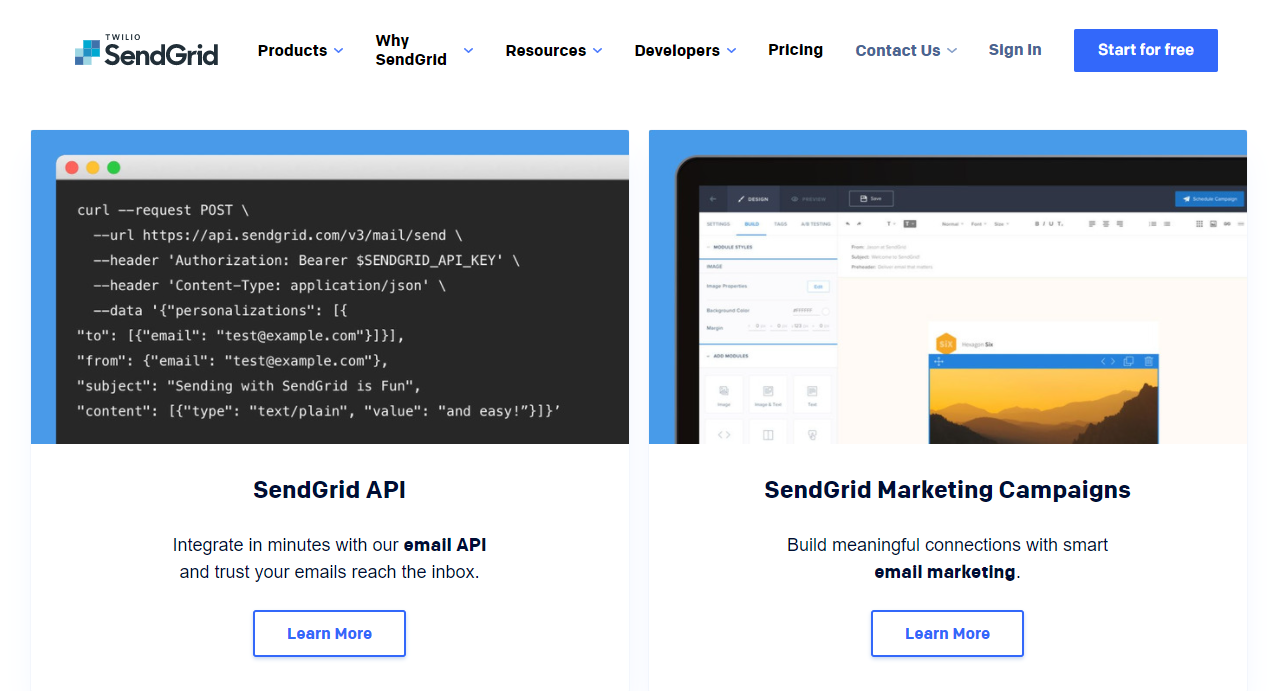
Setup from the SendGrid Dashboard
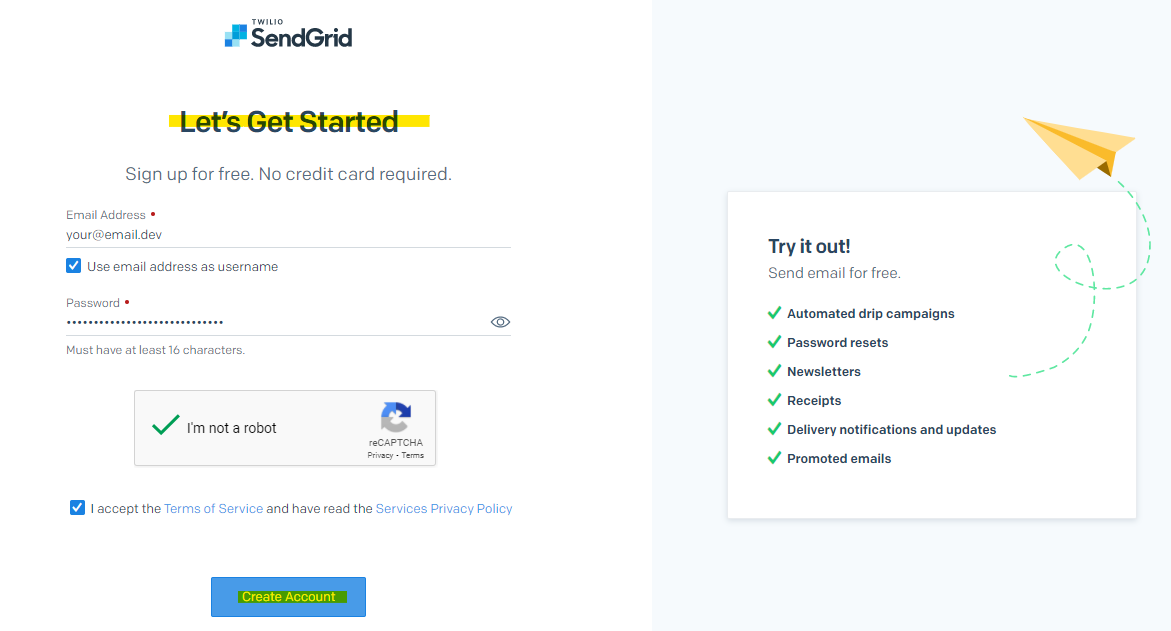
To get started with SendGrid, we first need to Sign up for the dashboard.
After completing the Signup, the SendGrid dashboard preview is as below:
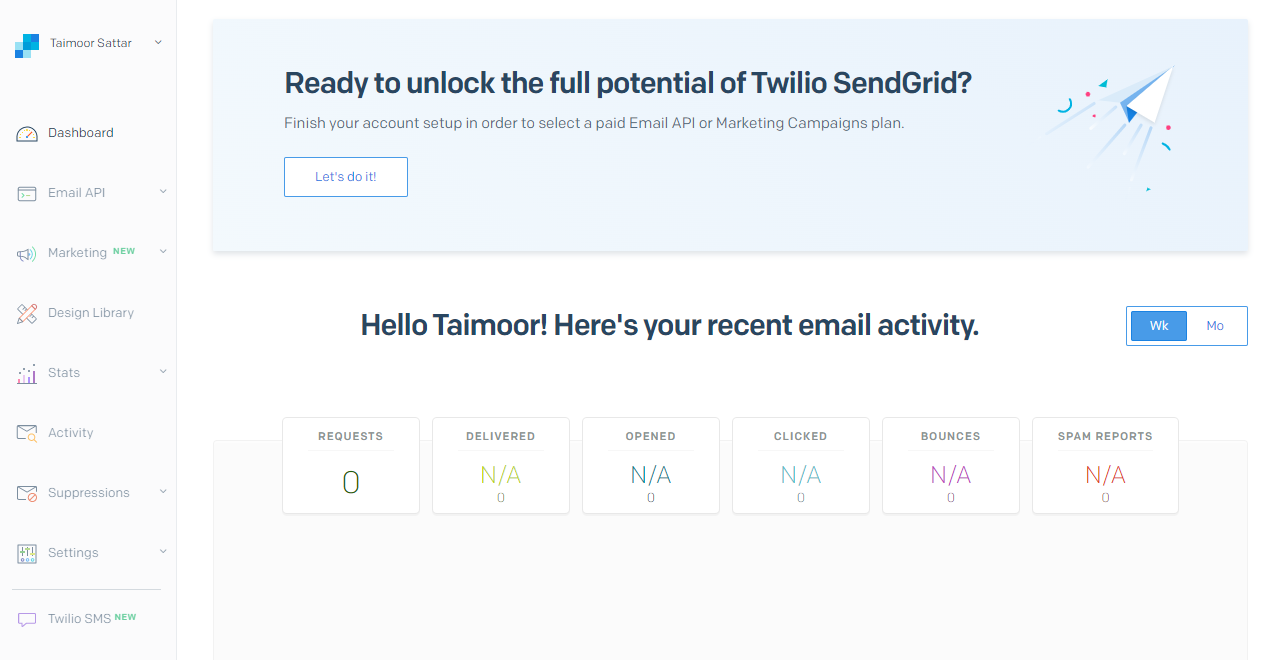
The free basic plan supports 100 emails/day that good for us.
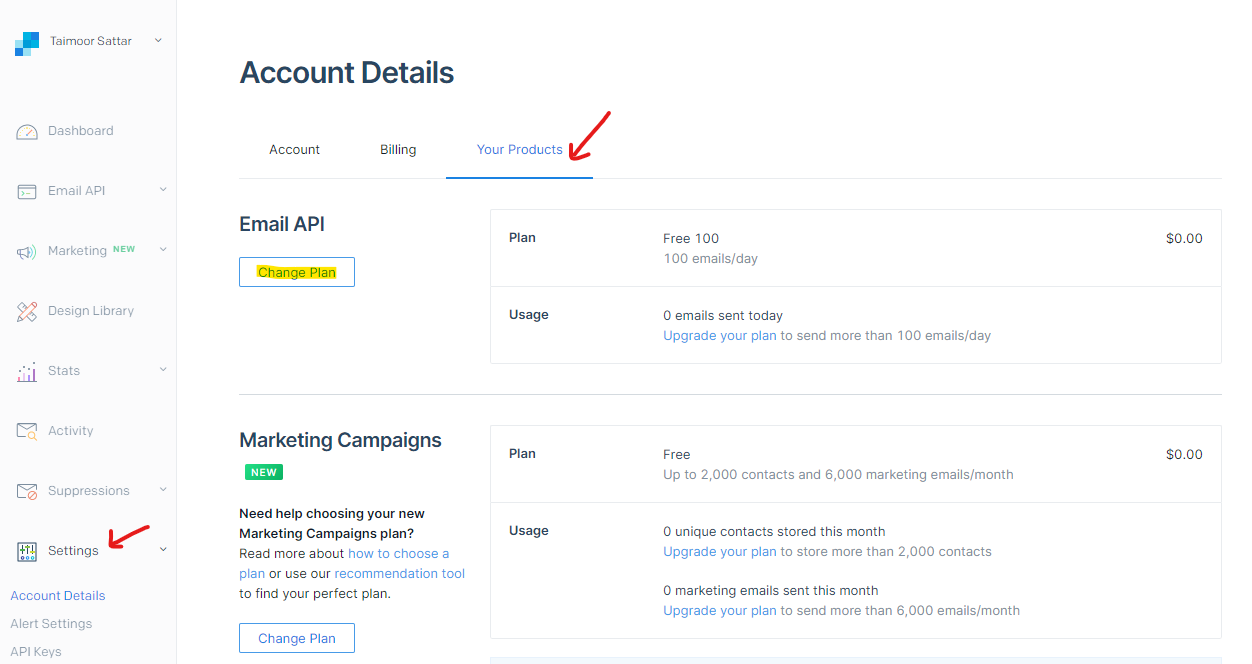
In the SendGrid dashboard, we first need to verify the sender's identity (e.g. email and domain). The sender identity is the verified email or domain that Sendgrid uses to send emails to other recipients.
To verify the Sender Authentication, we can navigate as below in the SendGrid and verify the domain and single sender.
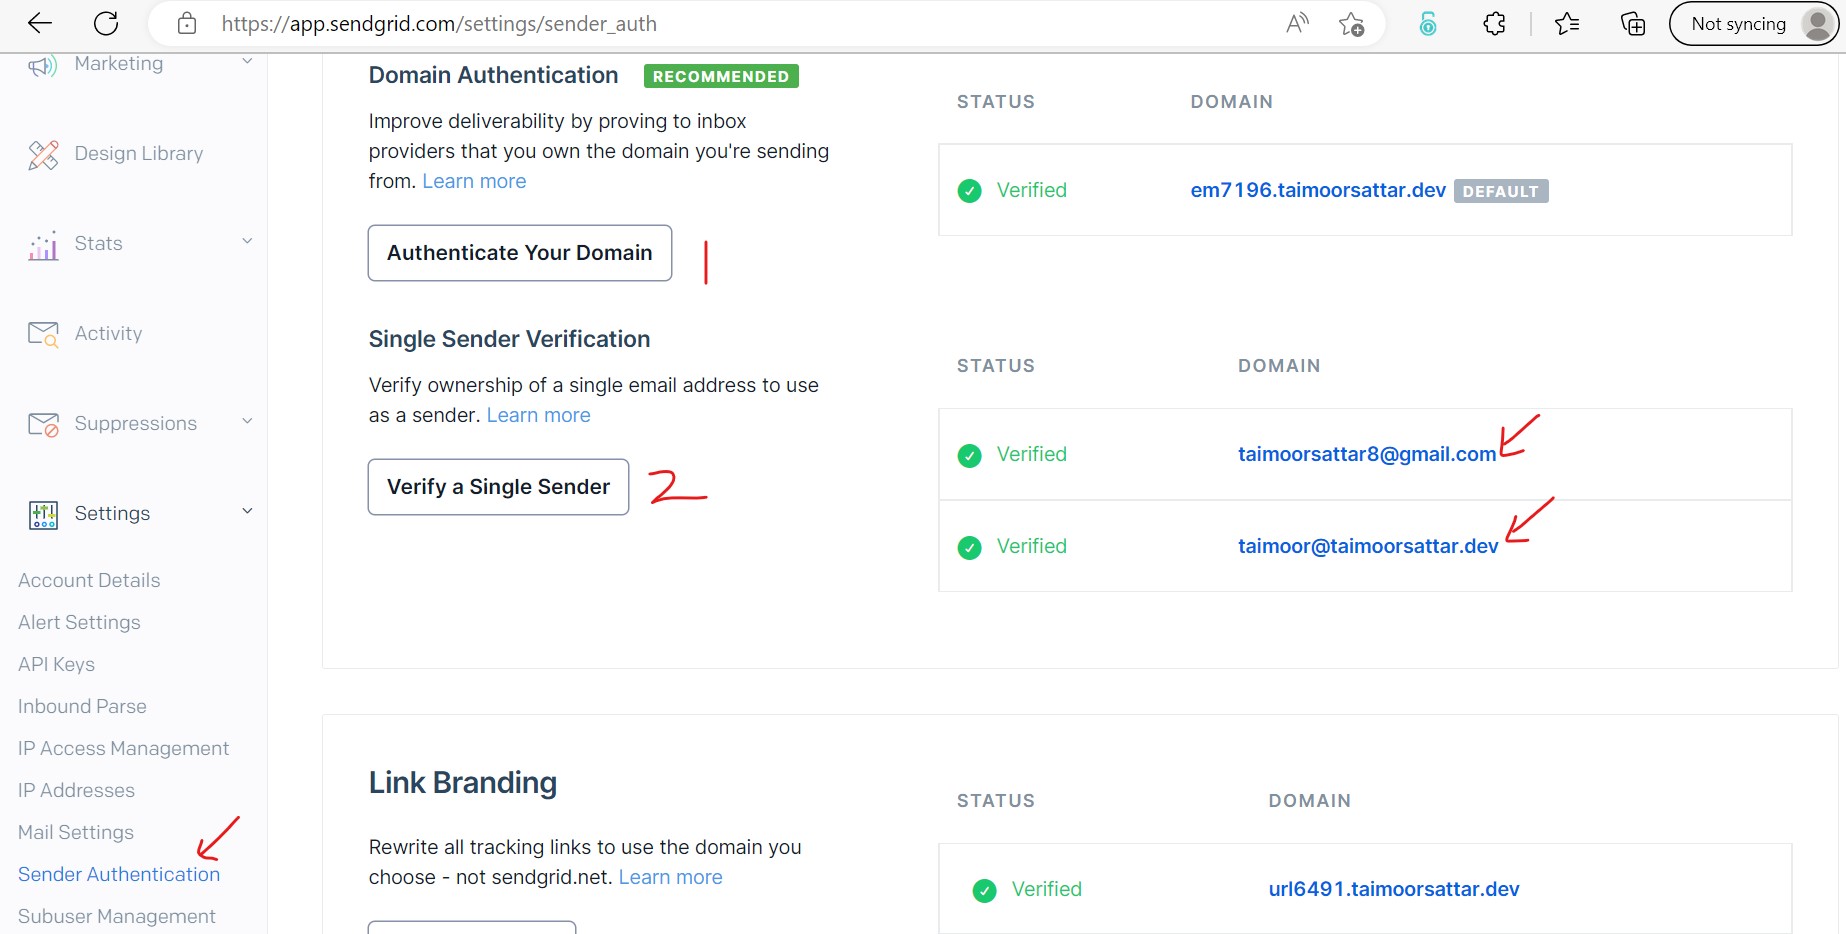
In the above image, two email are verified in my case and we can only use these verified emails to send emails to other recipient. If you don't have work email, then use your public email like Gmail for verification.
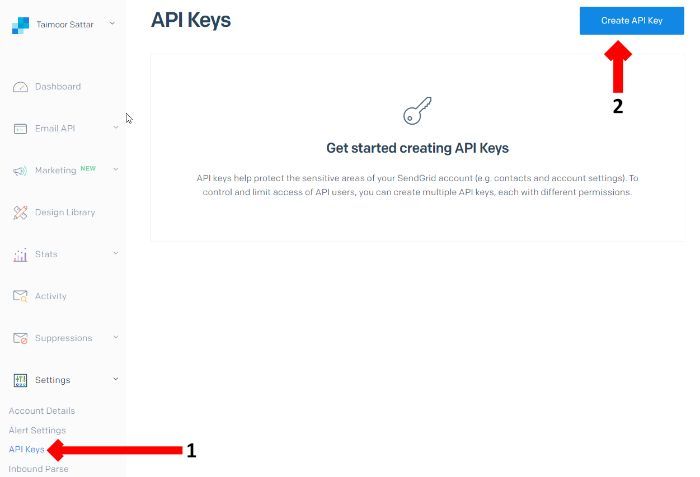
After verifying the Sender Identity, you can need to generate an API key in the SendGrid dashboard. This API key will be used to send emails programmatically. To create an API key from SendGrid, You can navigate to the link as below.
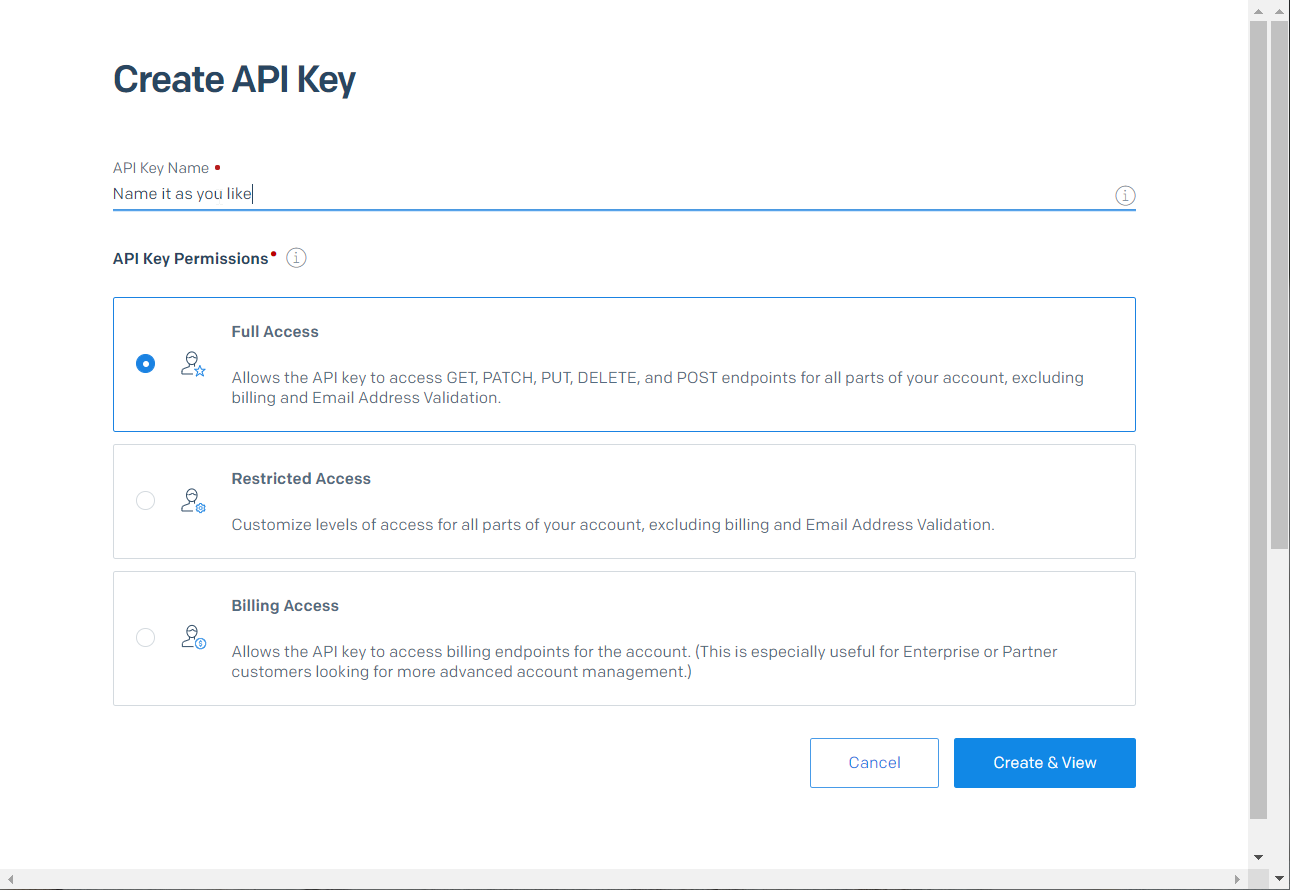
Create an API key with full access permission as in the below image.
After you create an API key, your API key will be created. Store this API key in secret and don't share it with someone. We store these secret keys in the .env file at the root of the project.
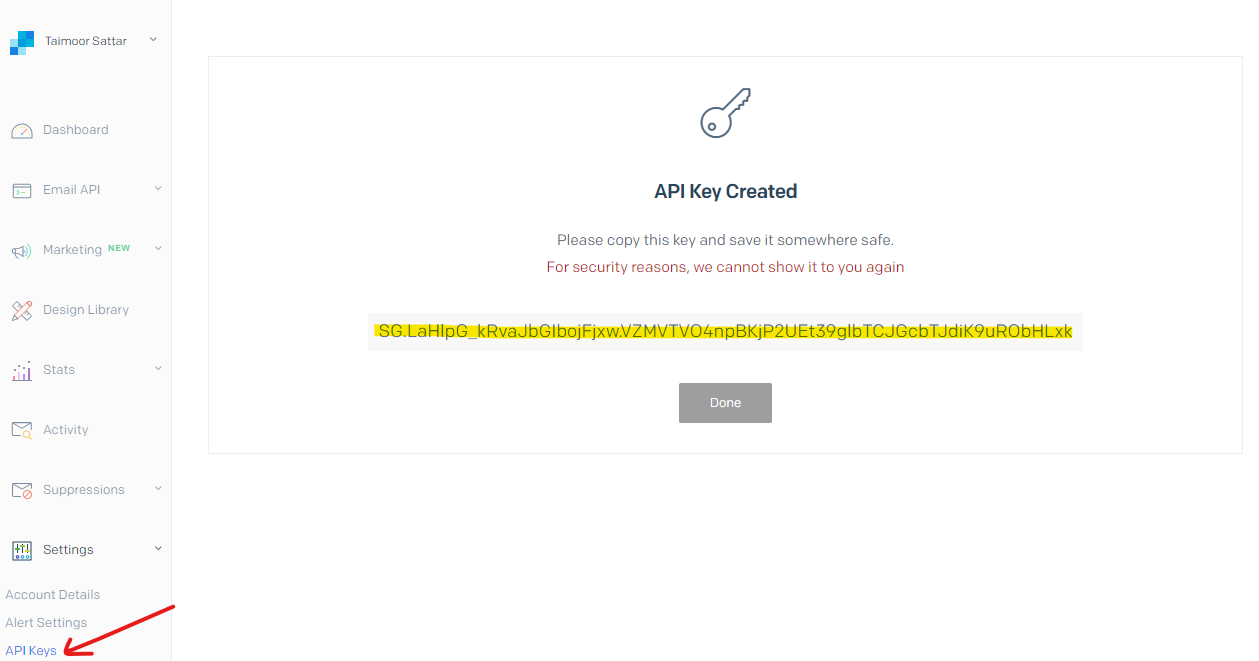
Your API key might be different from the above image.
From the SendGrid dashboard, we need two (2) secret variables that we can use in the project e.g. Sendgrid API key and verified email. To send an email programmatically, we need to use the respective secret keys in the code. For that, we can create a file at the below location:
/.env
In the .env, paste the secret environment variable as below:
SENDGRID_API_KEY=SG.XzfTlu5uRe-679yuhgUdJg._57FiHZ8tzeg9iw61G1IBqmah-vCZSQqoj7DOPSL_I

EMAIL_FROM='verified@email.com'
Your secret variables might be different from the above.
Serverless function
To send email programmatically using SendGrid, we need to install nodemailer npm package. And... postman tool to test the API route (for the serverless function).
To get started, we can install the nodemailer npm package by executing the below command in the terminal.
npm install nodemailer nodemailer-sendgridNodemailer is a module for Node.js applications to allow easy as cake email sending. You can read more about nodemailer from their official website as below:
We can create a function for sending an email in the /src/lib directory. Then we can import the email function into the serverless functions for sending emails. We have created a separate function for sending emails because later we can reuse the same function into a different serverless function
We can create an email function at the location below:
/src/lib/sendEmailSG.js
In the sendEmailSG.js, paste the code as below
import nodemailer from "nodemailer"
import nodemailerSendgrid from "nodemailer-sendgrid"

export const sendEmailSG = async ({ email, subject, html }) => {
  try {
    const transporter = nodemailer.createTransport(
      nodemailerSendgrid({
        apiKey: String(process.env.SENDGRID_API_KEY),
      })
    )

    const msg = {
      from: process.env.EMAIL_FROM, // Use the email address or domain you verified above,
      to: email,
      subject: subject,
      html: html,
    }

    try {
      await transporter.sendMail(msg)
      return { emailSend: true }
    } catch (err) {
      return { emailSend: false }
    }
  } catch (err) {
    return []
  }
}
The above function accepts three parameters as below.
email, subject, and html
If you ever use Gmail, we fill out three (3) fields to send the email. The three (3) fields are mentioned as below:
- to: To whom we should send the email
- subject: The subject of the email.
- body: The message of the email.
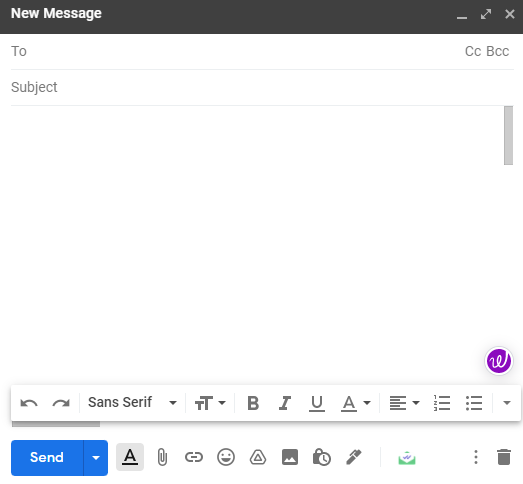
We don't mention from which email we're sending because it's your verified email. In our case, the programmatic email is sent from the verified email that we already verified from the SendGrid Dashboard. In our case, we save the verified email in the .env file, and in the function, we can access it through process.env.EMAIL_FROM variables.
To retrieve the SendGrid environment variable in the code (serverless function), we can write the below line of code.
process.env.SENDGRID_API_KEYprocess.env.EMAIL_FROM
To create a serverless function to send email in Gatsby, we can create a file at the below location:
/src/api/sendEmail.js
In the sendEmail.js, paste the code as below.
import { sendEmailSG } from "../lib/sendEmailSG"

export default async function handler(req, res) {
  const email = req?.body?.email || req?.query?.email
  const subject = req?.body?.subject || req?.query?.subject
  const message = req?.body?.message || req?.query?.message

  try {
    let responce = await sendEmailSG({
      email: email ? email : process.env.EMAIL_FROM,
      subject: subject,
      html: message,
    })

    res.status(200).json({
      emailSend: responce.emailSend ? true : false,
    })
  } catch (error) {
    const status = error.response?.status || error.statusCode || 500
    const message = error.response?.data?.message || error.message

    res.status(status).json({
      message: error.expose ? message : `Faulty ${req.baseUrl}: ${message}`,
    })
  }
}
To test the contact form serverless function, we can send a POST request to the respective API route using Postman as below.

Please note that in the above request, we do not send the email as a payload. The serverless function send the email to the admin email if the email is not in the payload.
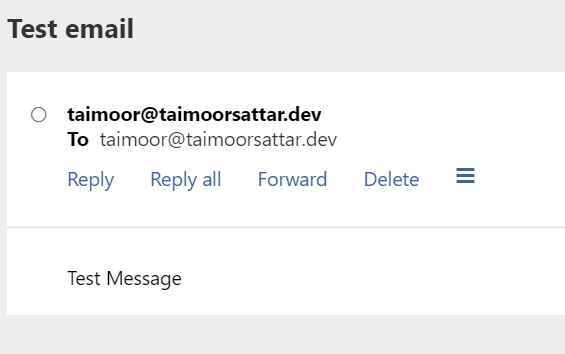
We can view the sent emails by opening the email provider as shown below.
