Create a contact Form
In this section, we need to create a contact form page so that the user can interact with the form to send an email. Before getting started, make sure that the tailwind CSS is installed in the Gatsby project. For that, you can follow the below post.
Install Tailwind CSS in GatsbyYou can access the complete code for this section at the below Github repo.
Also, you can interact with the above repo code at the below editor.
To get started, we need to create a contact form using Tailwind CSS. Firstly, we need to define the route for the contact form. To create a contact form route in Gatsbyjs, we can create a file at the location below:
src/pages/contact.js
In the contact.js, we can paste the code as below:
import React from "react"
import Layout from "@components/layout"
import Seo from "@components/seo"
import Contact from "@components/contact"

const ContactUs = ({ location }) => (
  <>
    <Layout location={location} title="Contact">
      <Seo
        title="Contact"
        location={location}
        description="Fill the contact form."
      />
      <Contact />
    </Layout>
  </>
)

export default ContactUs
In the above Page component, we import a React component (@components/contact) where defines the UI/logic for the contact form.

The react component (contact form) is located at the below location.
src/components/contact.js
In the contact.js, we can define the logic as below:
import React, { useState } from "react"
import { navigate } from "gatsby-link"

import toast, { Toaster } from "react-hot-toast"

import axios from "axios"

export default function Contact() {
  const [state, setState] = React.useState({
    email: "",
    subject: "",
    message: "",
  })
  const [disable, setDisable] = useState(false)

  const handleChange = e => {
    setState({ ...state, [e.target.name]: e.target.value })
  }

  const handleSubmit = async e => {
    e.preventDefault()
    setDisable(true)

    try {
      const { data } = await axios.post("/api/sendEmail", {
        subject: state?.subject,
        message: `
          <p>From Email: ${state?.email}</p>
          <p>${state?.message}</p>
        `,
      })

      if (data?.emailSend) {
        toast.success("Email sent 🎉")
        setState({
          email: "",
          subject: "",
          message: "",
        })
      }
      setDisable(false)
    } catch (error) {
      setDisable(false)
    }
  }

  return (
    <div className="container mx-auto">
      <h1 className="my-3 text-3xl text-gray-700 font-semibod">Contact Me</h1>
      <p className="text-gray-400">Fill in this form to send me a message.</p>
      <Toaster position="top-center" />
      <form
        className="pt-8 mb-8 space-y-4 text-base leading-6 text-gray-700 sm:text-lg sm:leading-7"
        name="contact"
        onSubmit={handleSubmit}
      >
        <div className="mb-6">
          <label htmlFor="subject" className="block mb-2 text-sm text-gray-600">
            Subject
          </label>
          <input
            type="text"
            name="subject"
            id="subject"
            onChange={handleChange}
            placeholder="Your Subject"
            className="w-full px-3 py-2 placeholder-gray-300 border border-gray-300 rounded-md focus:outline-none focus:ring focus:ring-indigo-100 focus:border-indigo-300"
            value={state?.subject}
          />
        </div>
        <div className="mb-6">
          <label htmlFor="email" className="block mb-2 text-sm text-gray-600">
            Email Address

          </label>
          <input
            type="email"
            name="email"
            id="email"
            onChange={handleChange}
            placeholder="you@email.com"
            className="w-full px-3 py-2 placeholder-gray-300 border border-gray-300 rounded-md focus:outline-none focus:ring focus:ring-indigo-100 focus:border-indigo-300"
            value={state?.email}
          />
        </div>
        <div className="mb-6">
          <label htmlFor="message" className="block mb-2 text-sm text-gray-600">
            Your Message
          </label>
          <textarea
            type="text"
            rows="5"
            name="message"
            id="message"
            onChange={handleChange}
            placeholder="Your Message"
            className="w-full px-3 py-2 placeholder-gray-300 border border-gray-300 rounded-md focus:outline-none focus:ring focus:ring-indigo-100 focus:border-indigo-300"
            value={state?.message}
          ></textarea>
        </div>

        <div className="mb-6">
          <button
            type="submit"
            className="relative flex justify-center px-6 py-3 text-sm font-medium text-white bg-indigo-600 border border-transparent rounded-md cursor-pointer group max-w-fit hover:bg-indigo-700 focus:outline-none focus:ring-2 focus:ring-offset-2 focus:ring-indigo-500 disabled:bg-gray-50 disabled:text-gray-500 disabled:border-gray-200 disabled:shadow-none disabled:pointer-events-none"
            disabled={disable ? true : false}
          >
            Send Message
          </button>
        </div>
      </form>
    </div>
  )
}
In the above code, we use Tailwind CSS to style the HTML elements. We use inspect tool to toggle utility classes of Tailwind to make sense of what each utility class is doing.
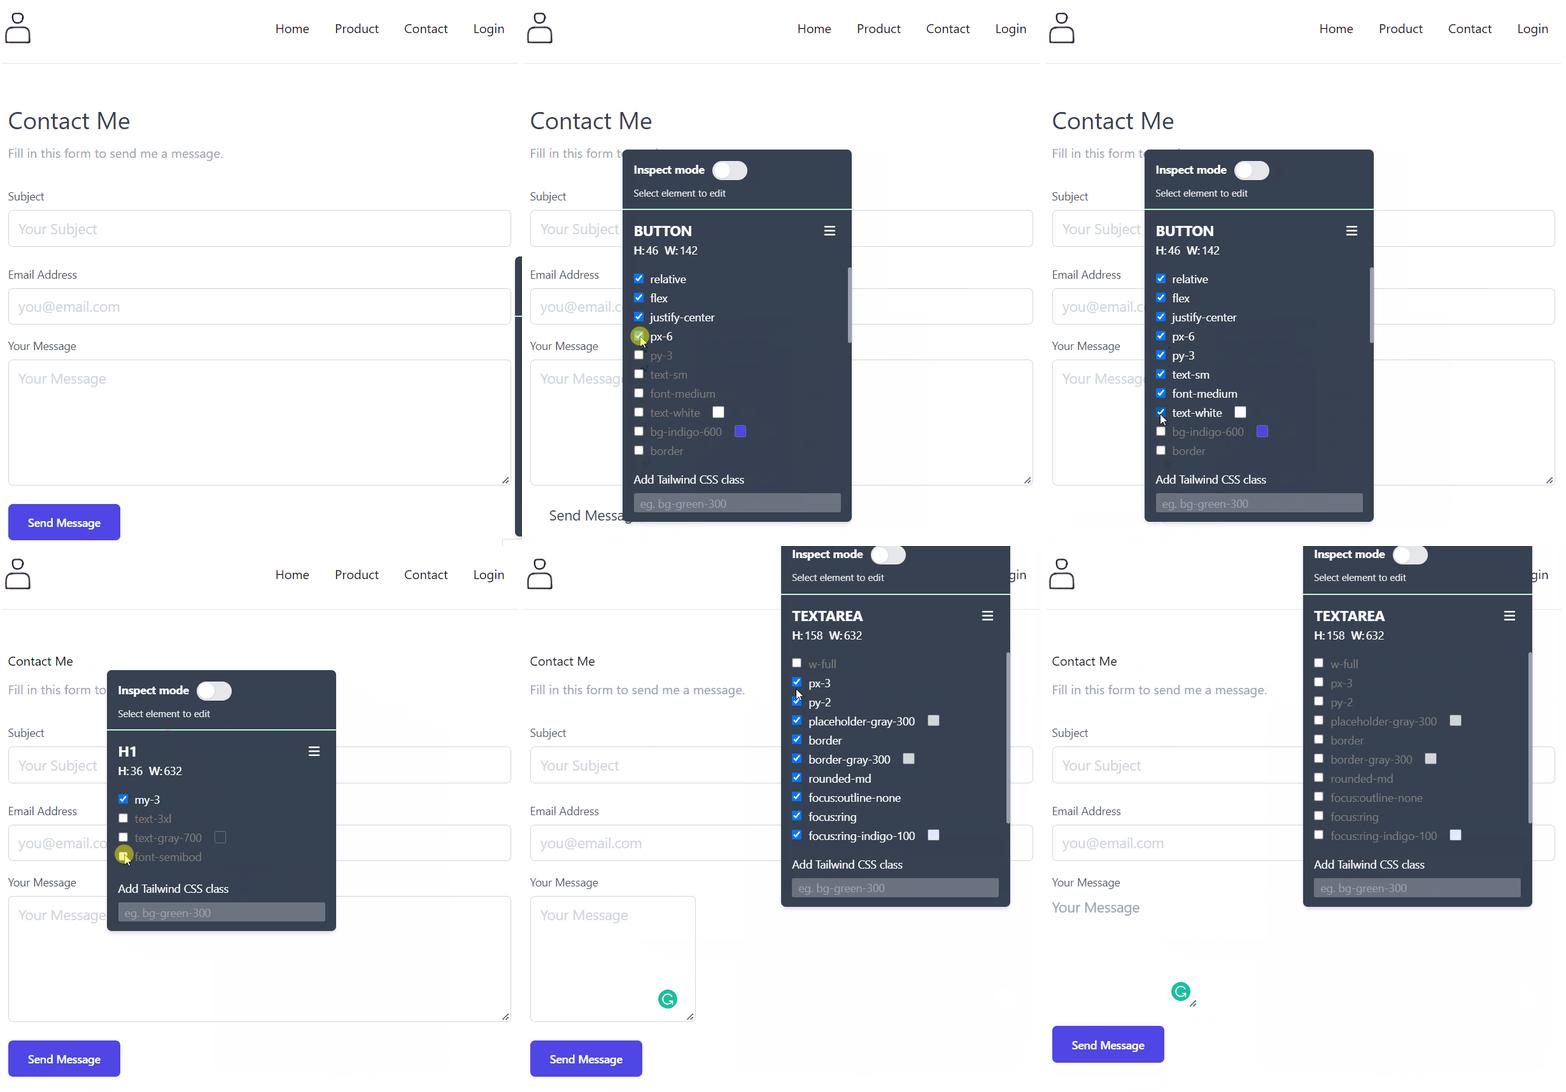
Let's breakdown the code of components/contact.js. In the contact.js component, we have defined three (3) inputs as below:
email, subject, and message
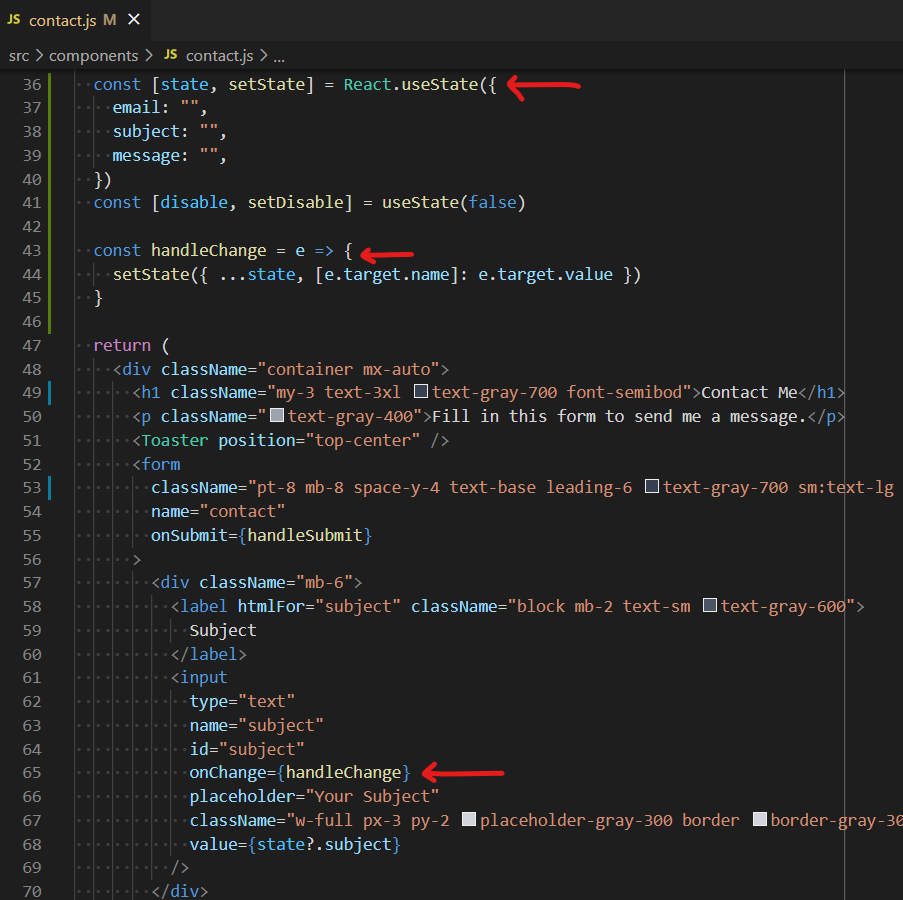
The above input value is bound to the React state. In the below code, the handleChange function is executed whenever the input is changed.
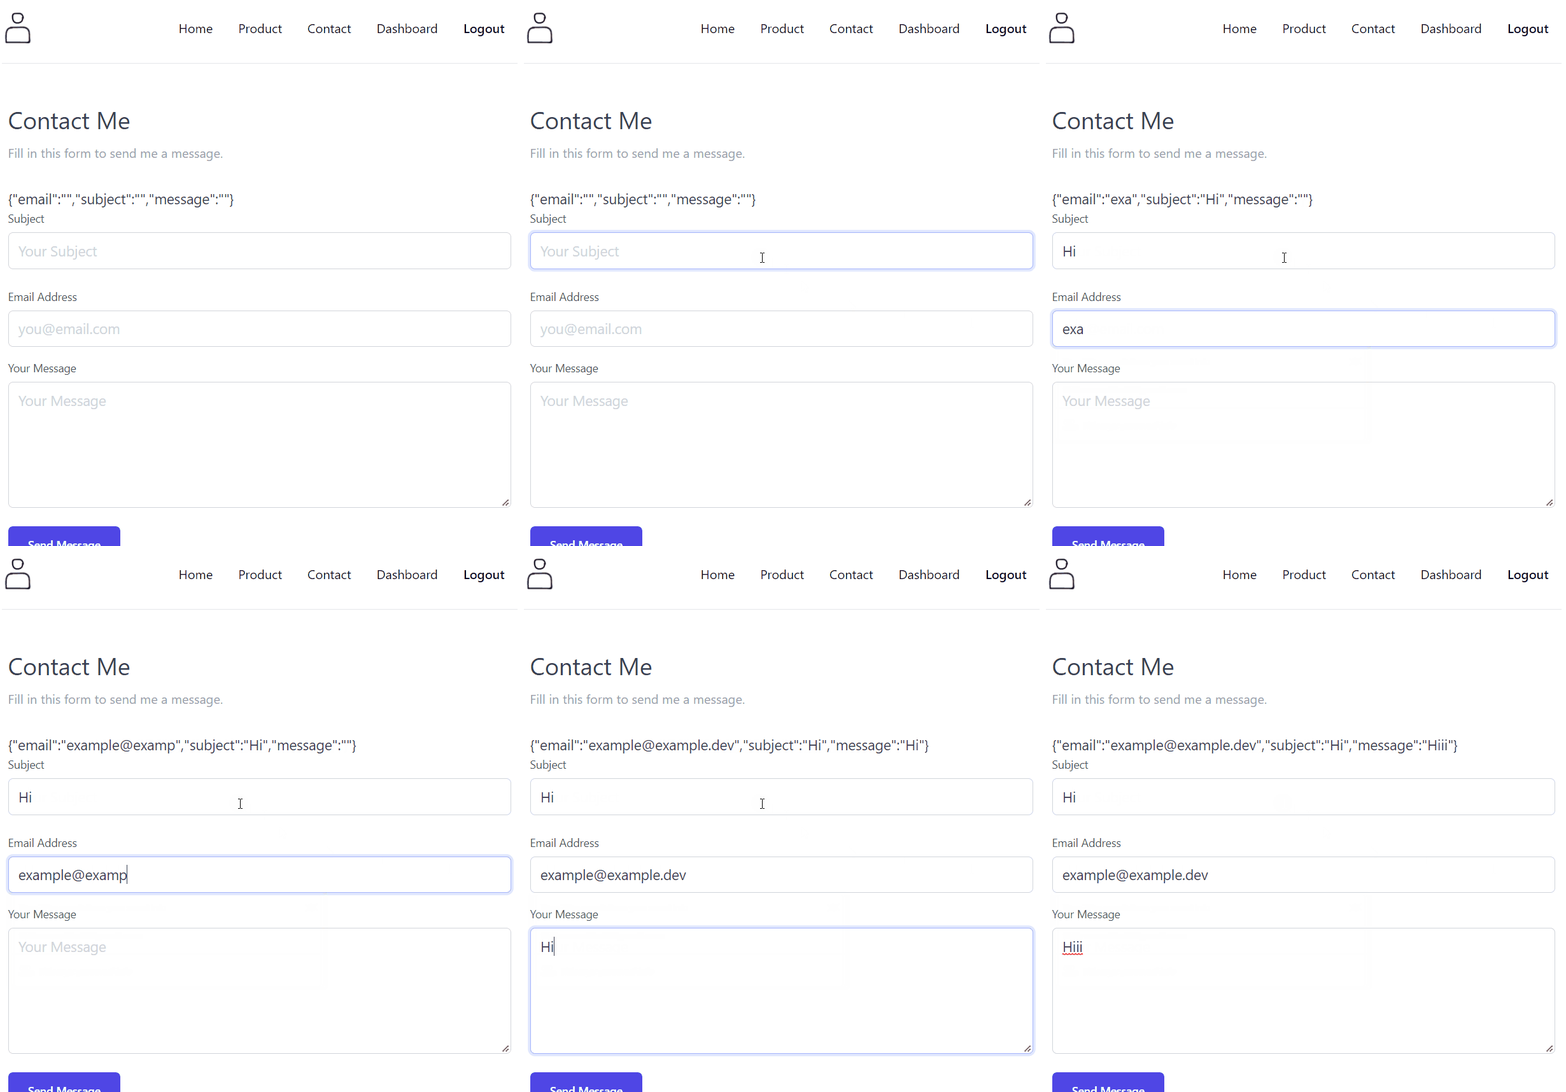
In the below gif, you can preview how the React state changes with the change of the input.
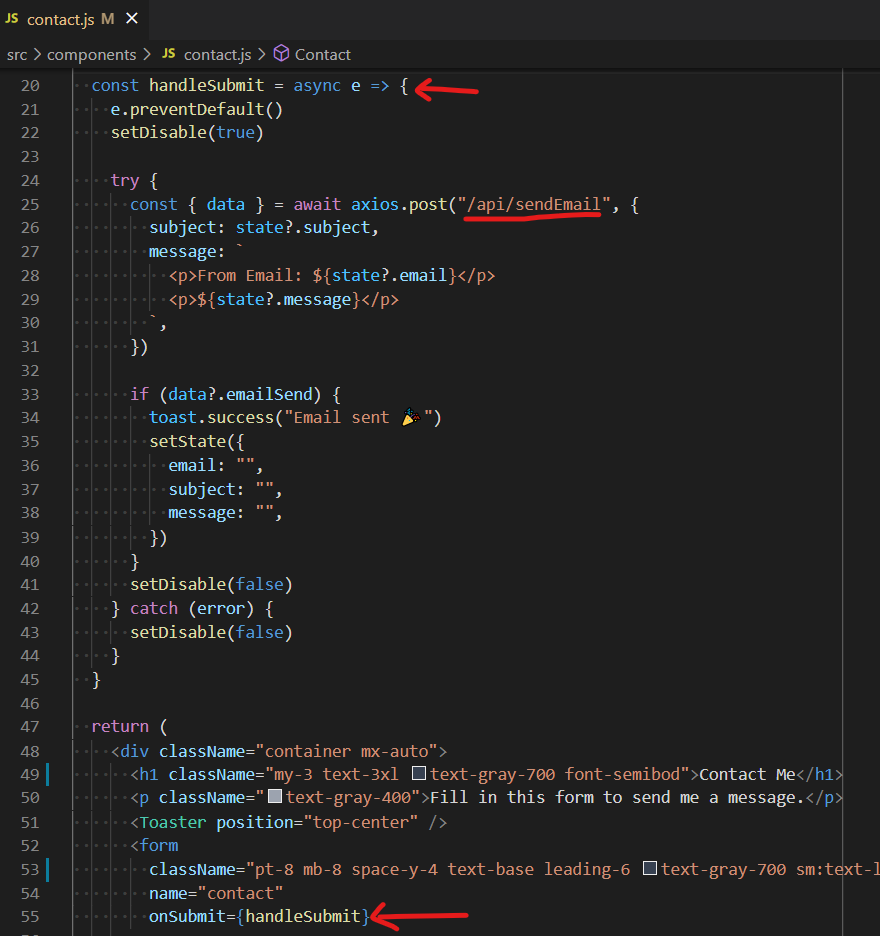
When the form is submitted by clicking the submit button, we can execute the handleSubmit function and the submit button should be disabled. For that, we use onSubmit={handleSubmit} in the form tag. You can view the below image for your reference.
Now if the form is successfully submitted, we need to notify the user about the update. For that, we can use the npm package react-hot-toast.
In the handleSubmit function, we execute sendEmail serverless function that we previously defined. In the serverless function, we don't pass the email value in the request body of the serverless function because we want the email should be sent to the admin email.
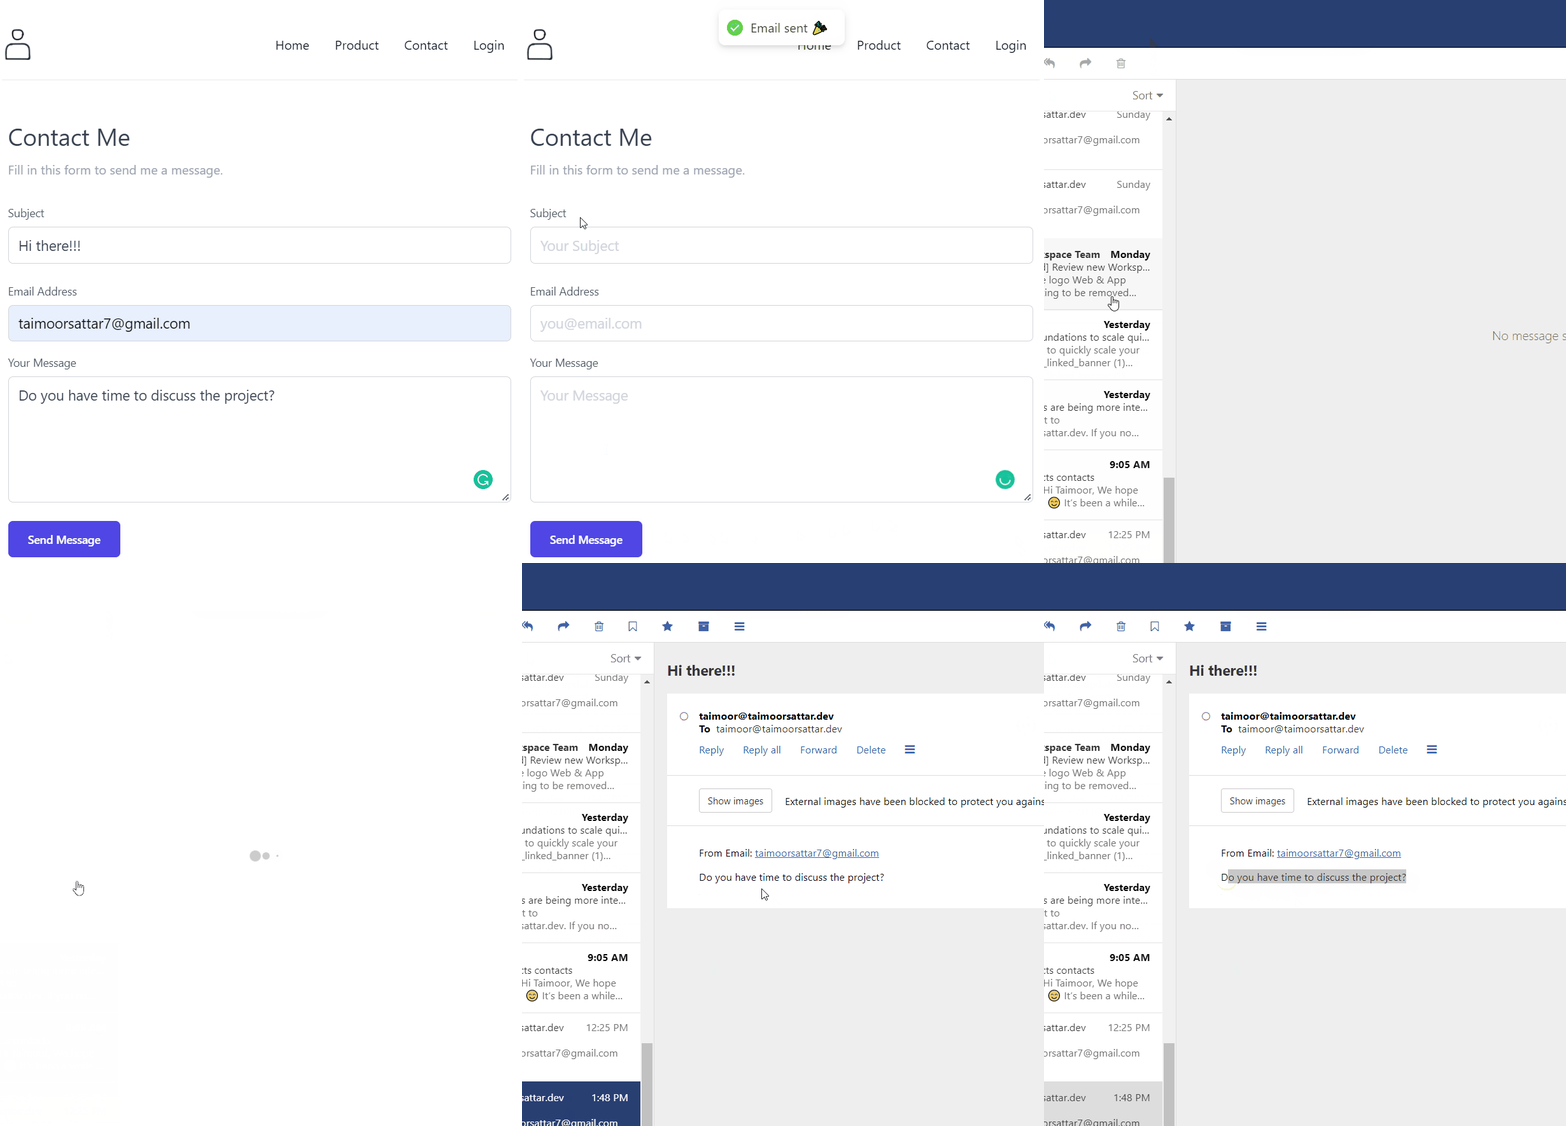
To test the contact form, we can submit the form by typing the message. When the form is initially submitted, the button is disabled to avoid multiple submissions. After the email is sent successfully, we clear the React state value that is bound to the input value. As in the gif, we have the successful submission of the contact form.
