Install Tailwind CSS in Gatsby
In this section, we learn how to install and use Tailwind CSS in Gatsby Project. You can download the complete code at the below repo.
To Get Started, we need to install the necessary Tailwind npm packages by executing the below command in the terminal.
npm install -D gatsby-plugin-postcss tailwindcss@latest postcss@latest autoprefixer@latestPlease note that if the above packages fail to install, please add the --force tag after the above command.The above command downloads the four (4) packages for the project.
gatsby-plugin-postcsstailwindcss@latestpostcss@latestautoprefixer@latest
In the next step, we need to create tailwind.config.js file at the root of the project folder and paste the code below.
module.exports = {
  purge: ['./src/**/*.{js,jsx,ts,tsx}'],
   darkMode: false, // or 'media' or 'class'
   theme: {
     extend: {},
   },
   variants: {
     extend: {},
   },
   plugins: [],
 }
tailwind.config.js is the configuration file for Tailwind CSS In the gatsby-config.js, we can import the tailwind.config.js config file and use it in the gatsby-plugin-postcss. For that, we can write the code as below.
const tailwindConfig = require("./tailwind.config.js");

module.exports = {
  plugins: [
    {
      resolve: `gatsby-plugin-postcss`,
      options: {
        postCssPlugins: [
          require(`tailwindcss`)(tailwindConfig),
          require(`autoprefixer`)
        ],
      },
    }
  ],
}
Next, create the file in gatsby's project at the below location
src/css/index.css
In the index.css, paste the code as below.
@tailwind base;
@tailwind components;
@tailwind utilities;
Next, In the gatsby-browser.js, we can import the index.css file as below:
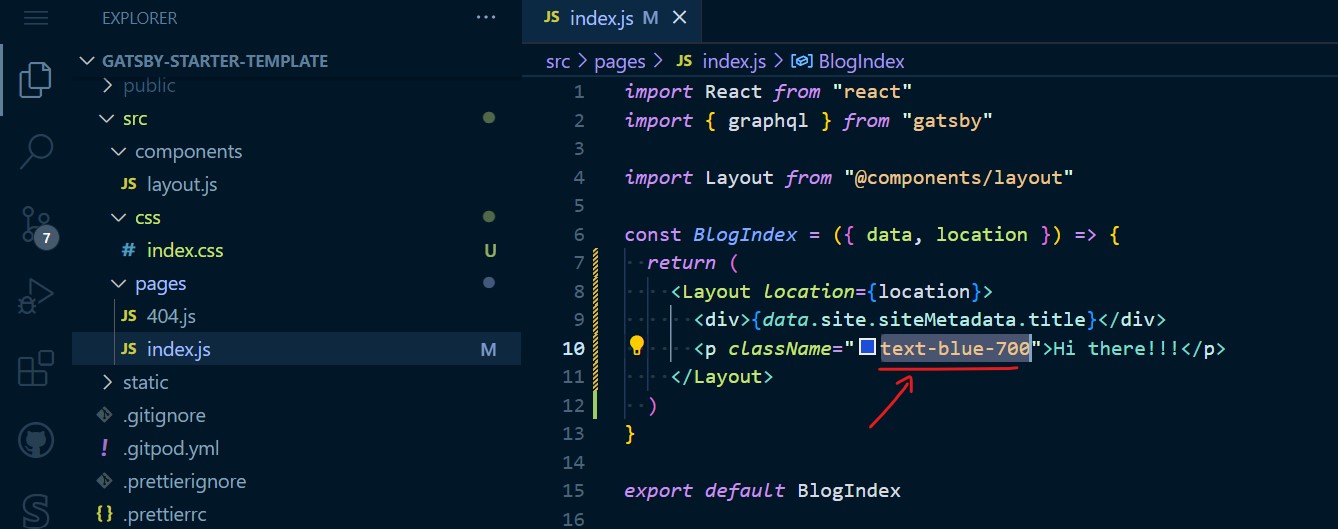
import "./src/css/index.css"We have now set up the Tailwind CSS in Gatsby. Now, we need to use Tailwind CSS in the code. For that, we can update the code in the src/pages/index.js as below.

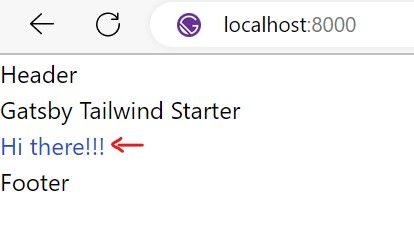
In the above code, we use the Tailwind CSS utility class to style the paragraph element. The above code renders in the browser as below.

Great!