Deploy code on Netlify 🌐
Netlify is the hosting platform to host your assert/code live on the web. Following benefits, you can get while choosing Netlify hosting.
- Simple push to deploy
- Free automatic HTTPS
- Provides Plugins for build
- Manage forms and submissions without any server-side code or javascript
- Large community support
If you are looking for an alternative, you can take a look at vercel.com, and Gatsby Cloud. But for this course, we'll stick to Netlify.
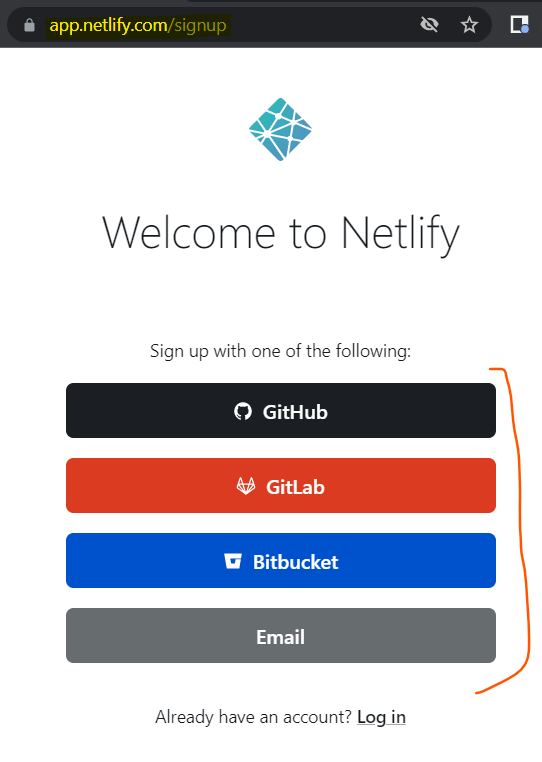
To get started, you need to Sign Up for the Netlify dashboard. On the sign-up page, you need to fill in your credentials e.g. email, passwords, etc.

As for now, we have our repository on GitHub. We can add our GitHub repository to the Netlify dashboard in order to build the project.

When we push our latest changes on GitHub, Netlify listens to the push event on GitHub via webhooks. Whenever Netlify listens to the push event, it starts the build trigger. But before all this, you need to configure some settings in the Netlify dashboard.
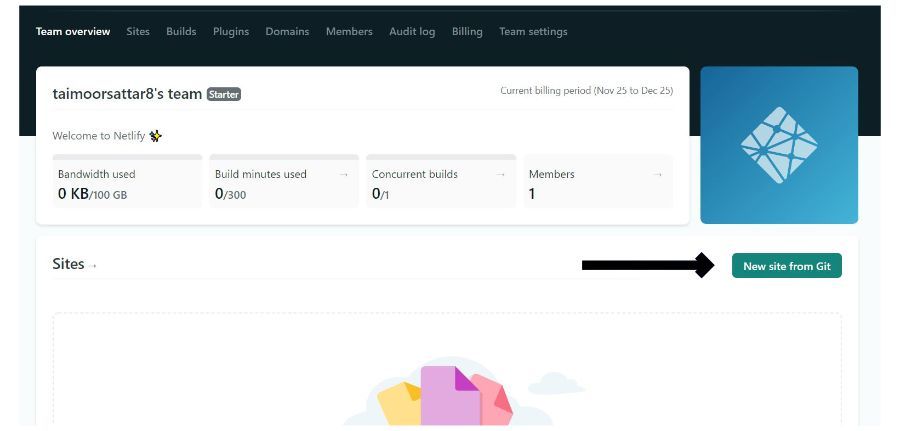
After you signup, Click the new site from the git button on the Netlify dashboard as demonstrated in the below image.

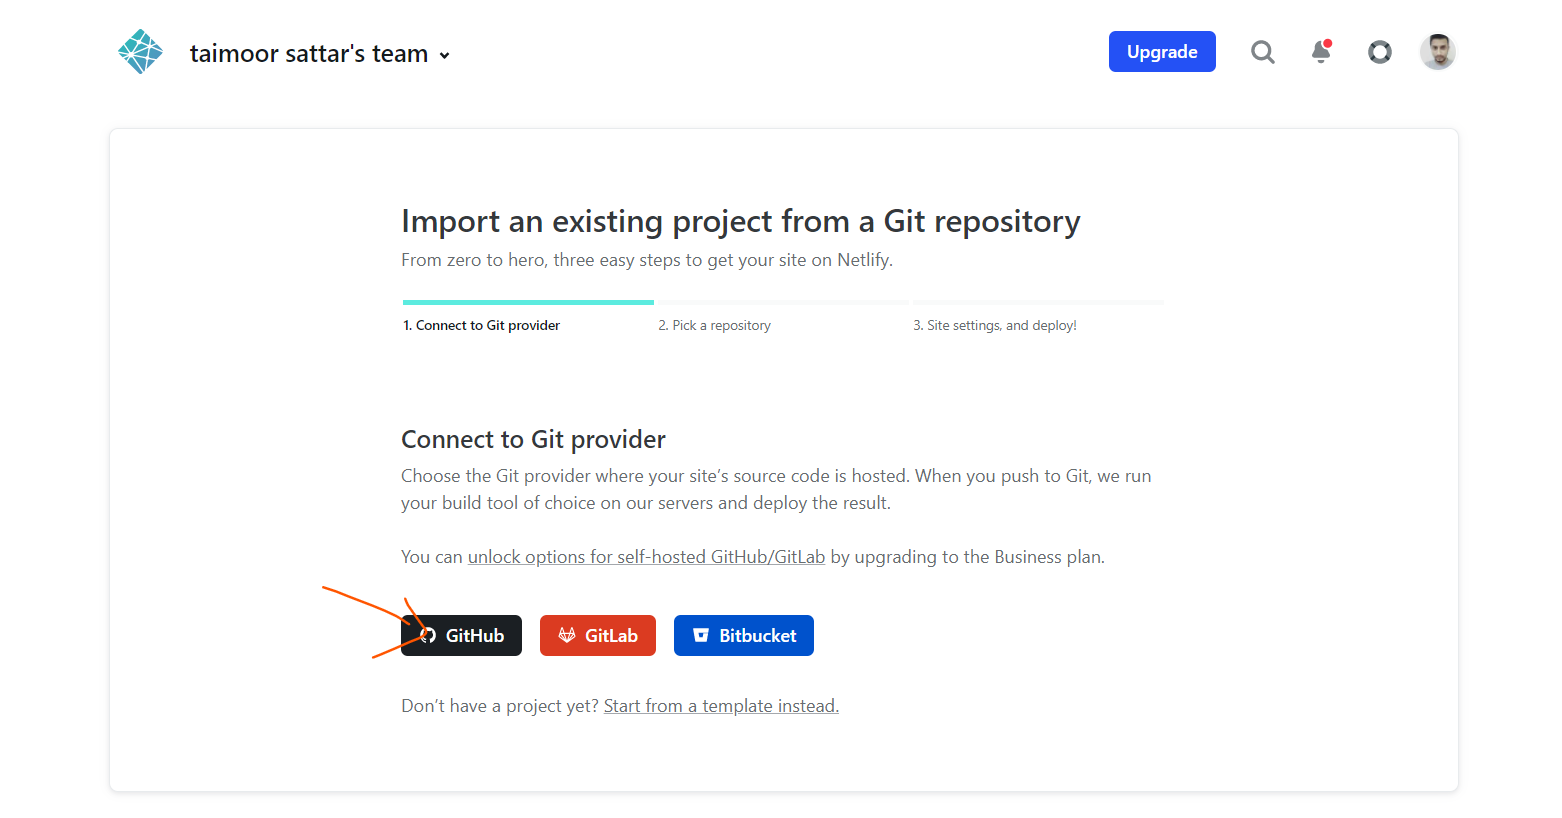
After that, you need to follow the below step to build your project on Netlify:
- Connect to Git provider
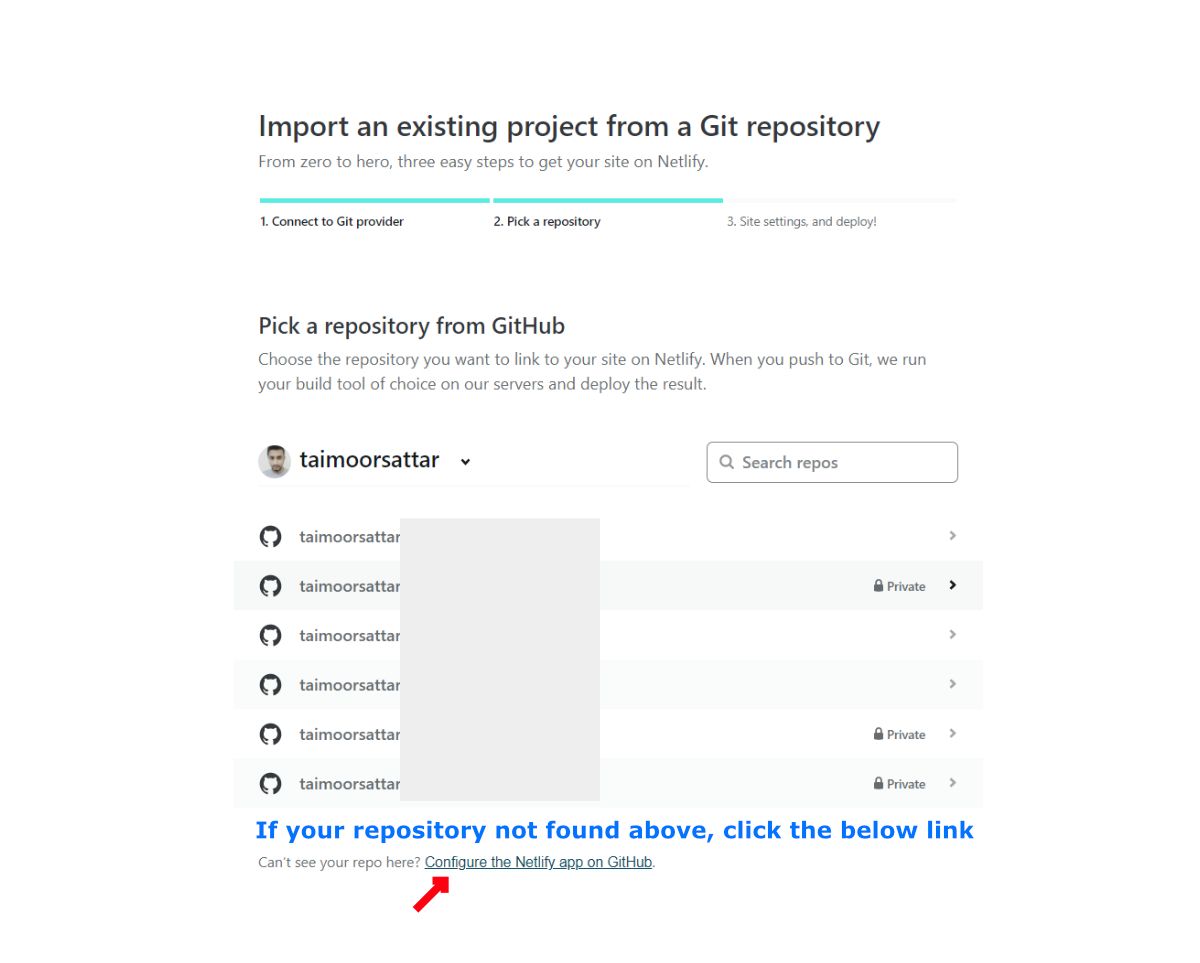
- Pick the repository
- Build option and deploy.
You need to select Github as a Git provider as we are using their service.

After connecting your repository with Netlify, we need to select the repository from Github as below.

After selecting the repo, Netlify will start the deploy the code. If no error is found, your website will be live on the web after the build process and the domain URL page will preview in the site overview tab.

Your domain URL in Netlify after your site has deployed will be displayed as below:
https://<domain-name>.netlify.appCongrats 🎉, you have finally deployed our website on Netlify. In the coming chapter, we need to add more features to our website to make it more robust.