Get started with Html
Html stands for hypertext markup language. It is used to define the foundation, skeleton and structure of the website e.g. text, images and videos.
Get started
To Get started, we can create a index.html file. Inside of index.html, we can paste the below basic template for HTML template code.
<!DOCTYPE html>
<html>
  <head>
    <title>Page Title</title>
  </head>
  <body>
    <h1>This is a Heading 1.</h1>
    <p>This is a paragraph.</p>
  </body>
</html>
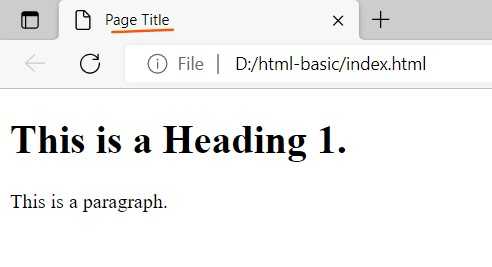
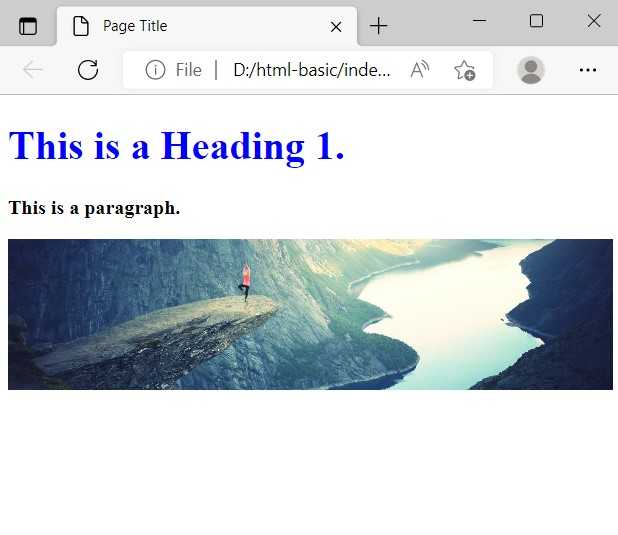
Open the index.html file in the browser by double clicking or drag/drop the file in the browser. The above code render in the browser as below.
In the HTML, the text/content is wrap within the HTML “elements”. HTML markup includes “elements” such as <head>, <title>, <body>, <header>, <footer>, <article>, <section>, <p>, <div>, <span>, <img>, <aside>, <canvas>, <nav>, <video>, <ul>, <ol>, <li> and many others.
You can check for HTML element at the this page.
Style HTML elements
Previously, We use HTML to display the text on the browser with no styling applied. To add the styling to the text, we can create a file style.css at the root. To link the style.css file to the html, we can write the below line of code in the <head> of the html.
<head>
  <link rel="stylesheet" type="text/css" href="./style.css" />
</head>
In the style.css, we can write the code as below:
h1{
  color: blue;
}
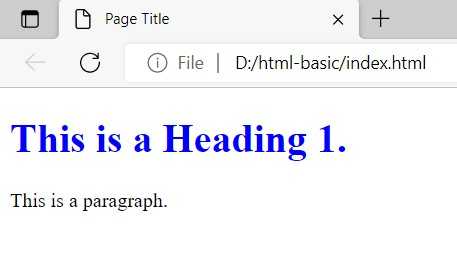
Refresh the browser page, the below HTML is displayed in the browser.
In CSS, we’ve different types of selector. Using CSS selectors, a set of CSS rules can be applied to certain elements. Few CSS selector are mentioned below:
- Universal selector e.g.
* - id selector e.g.
id="image" - class selector e.g.
class="image" - element selector e.g.
<h1>,<p>,<img> - attribute selector e.g.
a[target="_blank"],input[type="text"]
You can learn more about CSS selectors at this page.
To explain about class selector, we can update the HTML code as below:
<p class="text-bold">This is a paragraph.</p>In the style.css, we can write the CSS code as below to bold the paragraph text.
.text-bold{
  font-weight: bold;
}
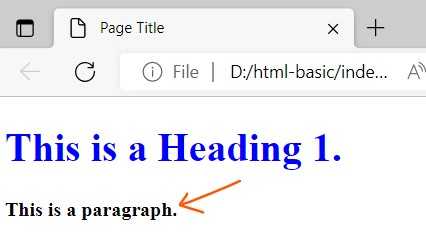
Refresh the browser, the below HTML is displayed in the browser.
Images in HTML
In HTML, We can use the images (<img> element) to display the visuals on the browser. To define the images, we can write the below code in HTML.
<img
  id="image"
  src="https://i.picsum.photos/id/773/1200/300.jpg?hmac=Q2kemIpt3jXjLGYxOi592IzUIPeOswNLbcVFbtFl__s"
  alt="Nature"
/>
If you want to download example images, you can visit this page.
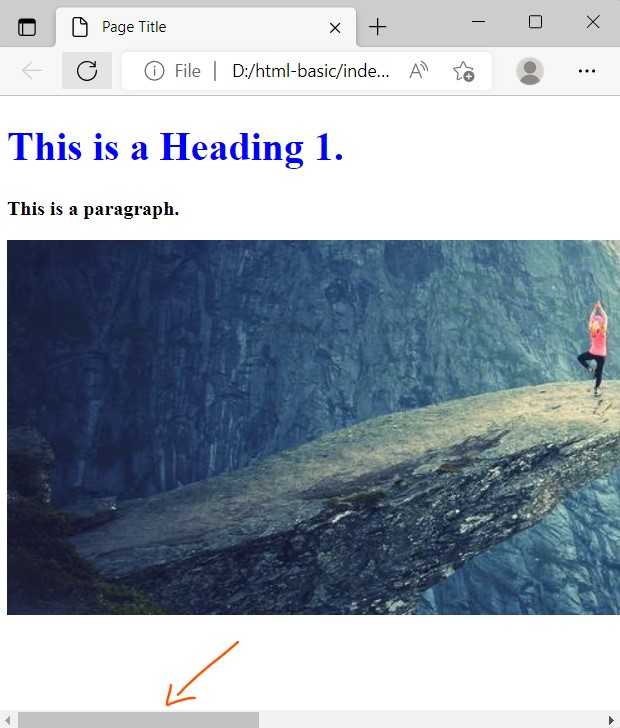
The above code display in the browser as below:
In the above, the image width is larger than the browser width. We can adjust the image width in CSS as below:
#image{
    width: 100%;
}
In the above CSS code, we use the id selector to style the <img> element. Now, refresh the browser, the below HTML is displayed:
Table in HTML
In HTML, We can structure content in columns and rows using the <table> element. To define the table in HTML, we can write the code as below:
<table>
      <caption>
        Grocery Items Bill
      </caption>
      <thead>
        <colgroup>
          <col/>
          <col/>
          <col/>
        </colgroup>
        <tr>
          <th>Item Name</th>
          <th>Quantity</th>
          <th>Price</th>
        </tr>
      </thead>
      <tbody>
        <tr>
          <td>Potatoes</td>
          <td>51</td>
          <td>$1.00</td>
        </tr>

      </tbody>
    </table>
The above code displays in the browser as below
Input forms
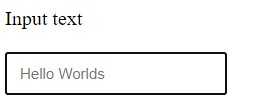
We can also use HTML to take input from the user. To define the input, we can write the below code:
<form>
  <label>Input text</label> <br />
  <input
    type="text"
    id="fullname"
    name="fullname"
    placeholder="Hello Worlds" />
</form>
The above HTML code displays in the browser as below.
Resourses
- How To Create Responsive Image
- https://taimoorsattar.com/blogs/image-slider-using-html-css
- How To Structure Data In HTML Table
- How To Create An HTML Form
- How To Format Input Text While Typing Using Javascript
- https://taimoorsattar.com/blogs/html-link
- Guide To The HTML Custom Data Attributes
- Disabled Property In HTML, CSS, And Javascript
